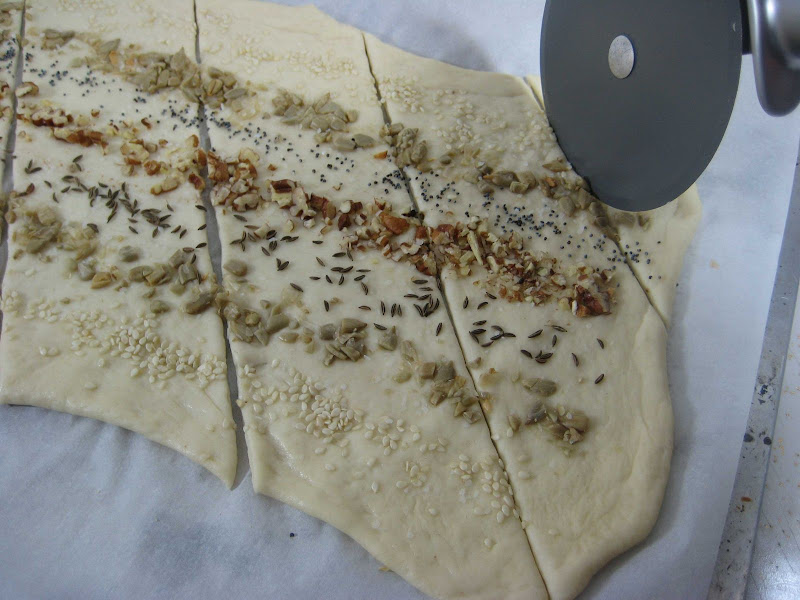
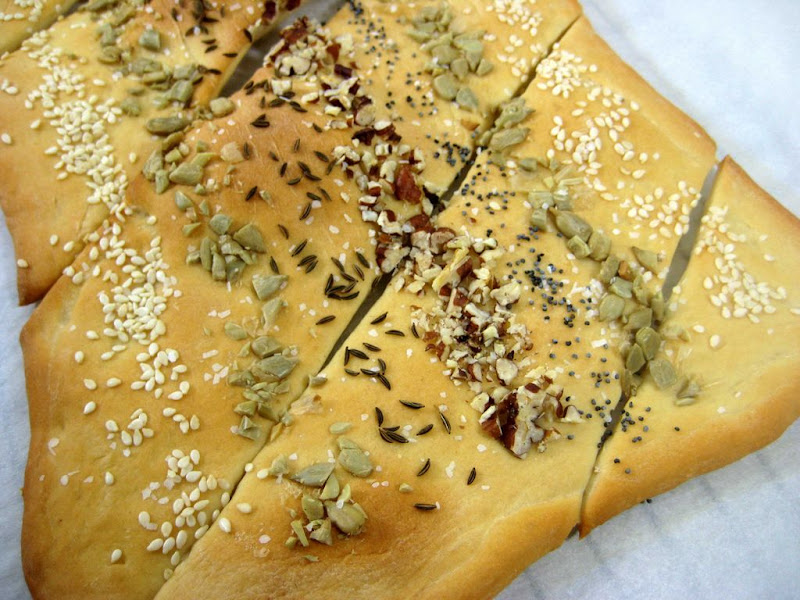
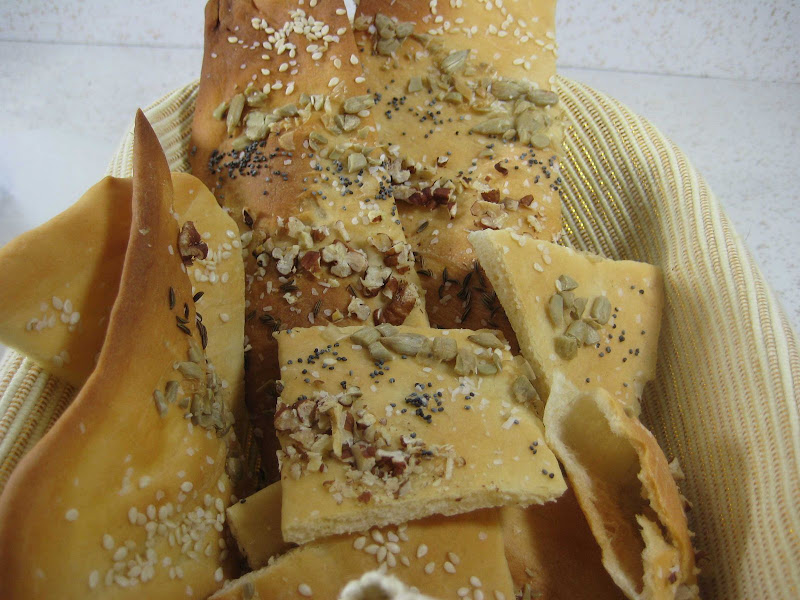
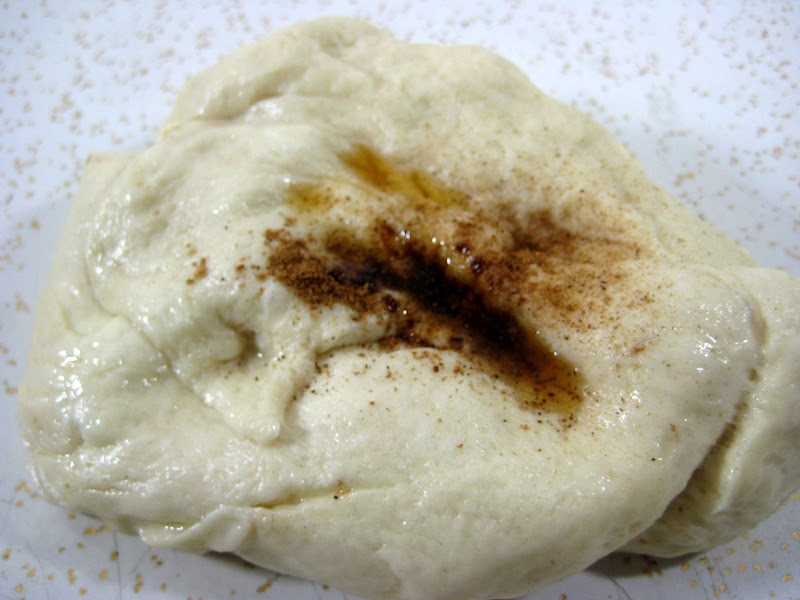
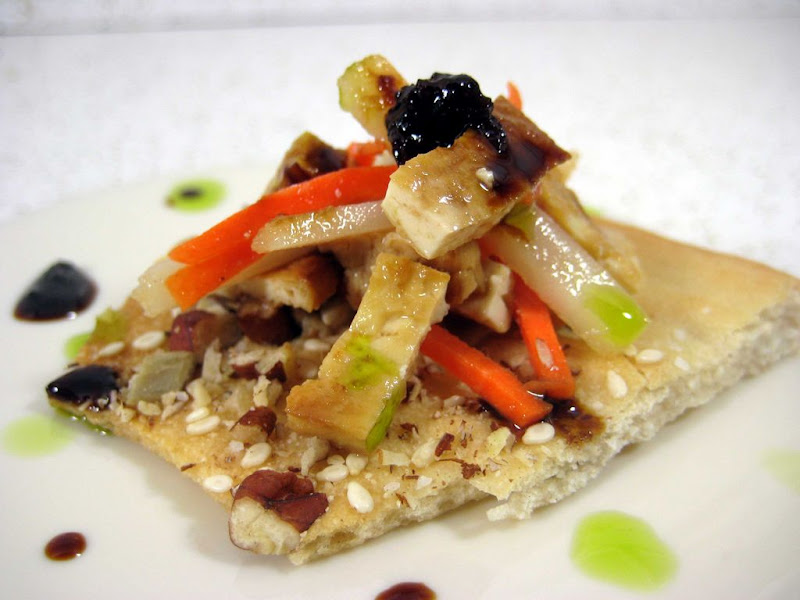
Our hostesses this month, Evelyne of Cheap Ethnic Eatz, and Valerie of a The Chocolate Bunny, chose delicious pate with freshly baked bread as their June Daring Cook’s challenge! They’ve provided us with 4 different pate recipes to choose from and are allowing us to go wild with our homemade bread choice.
Hostesses:
Valerie, from The Chocolate Bunny
Evelyne, from Cheap Ethnic Eatz
They decided that this month’s challenge would be: pâté. It’s incredibly versatile, it has the potential to be beautifully presented, and it’s perfect for summer (think picnics in the park.
Traditionally, pâté is meat-based, and often includes liver, or gizzards, or other potentially icky animal parts. But, because we realize that not everyone likes that kind of pâté, we have also included recipes for fish pâté, and vegetable pâté. However, if you know that you enjoy liver pâté, but are a little squeamish about cooking with liver, we urge you to give it a try: after making these, neither of us will ever buy meat-based pâté ever again! Having said that, the meatless pâtés are also very tasty.
Now, since pâté is rarely eaten alone, we are adding a second part to this challenge: you will have to make a bread, to go with your pâté. We’ve included a really good recipe for French baguette. However, because baguette is quite time-consuming to make, and because we know that the Daring Bakers have already made baguette a while ago, we’re also giving you a quicker recipe for a sandwich loaf, which you can also choose to make as little rolls, with white or whole wheat flour. But really, we’re giving you free range for the bread part of the challenge: if there’s a daring bread recipe you’ve been dying to try, and you think it would go well with your pâté, go for it!
Mandatory:
-You must prepare one pâté recipe listed below and one bread recipe of your choice.
- Your pâté has to 1) be baked or refrigerated (or both) for a significant amount of time, so that 2) you have to be able to unmold it onto a serving dish. This is to avoid the possibility of someone puréeing a bunch of vegetables, putting the mixture in a jar, and calling it "vegetable pâté": that is not a pâté, that is a spread.
[My comments are in red: I've always wanted to try making a pate. Chicken livers is one of those underutilized foods we have. For this month's challenge, I decided to make a chicken liver pate and the tricolor vegetable pate (I like pesto.) For the bread portion of this challenge, I made the French Baguette recipe included in this challenge. For the pate recipes, I made half recipes.]
Chicken Liver Terrine
Yields one 25 by 12,5 cm (10 by 5 inch) terrine or loaf pan
1 tbsp duck fat, or butter
2 onions, coarsely chopped
300g (11 oz) chicken livers, trimmed
3 tbsp brandy, or any other liqueur (optional)
100g (3 1/2 oz, 1/2 cup) smoked bacon, diced
300g (11 oz) boneless pork belly, coarsely ground
200g (7 oz) boneless pork blade (shoulder), coarsely ground (or ground pork see note below)
2 shallots, chopped
1 tsp quatre-épices (or 1/4tsp each of ground pepper, cloves, nutmeg and ginger is close enough)
2 eggs
200 ml (7 fl oz, 3/4 cup + 2 tbsp) heavy cream
2 fresh thyme sprigs, chopped
Salt and pepper
Hostesses:
Valerie, from The Chocolate Bunny
Evelyne, from Cheap Ethnic Eatz
They decided that this month’s challenge would be: pâté. It’s incredibly versatile, it has the potential to be beautifully presented, and it’s perfect for summer (think picnics in the park.
Traditionally, pâté is meat-based, and often includes liver, or gizzards, or other potentially icky animal parts. But, because we realize that not everyone likes that kind of pâté, we have also included recipes for fish pâté, and vegetable pâté. However, if you know that you enjoy liver pâté, but are a little squeamish about cooking with liver, we urge you to give it a try: after making these, neither of us will ever buy meat-based pâté ever again! Having said that, the meatless pâtés are also very tasty.
Now, since pâté is rarely eaten alone, we are adding a second part to this challenge: you will have to make a bread, to go with your pâté. We’ve included a really good recipe for French baguette. However, because baguette is quite time-consuming to make, and because we know that the Daring Bakers have already made baguette a while ago, we’re also giving you a quicker recipe for a sandwich loaf, which you can also choose to make as little rolls, with white or whole wheat flour. But really, we’re giving you free range for the bread part of the challenge: if there’s a daring bread recipe you’ve been dying to try, and you think it would go well with your pâté, go for it!
Mandatory:
-You must prepare one pâté recipe listed below and one bread recipe of your choice.
- Your pâté has to 1) be baked or refrigerated (or both) for a significant amount of time, so that 2) you have to be able to unmold it onto a serving dish. This is to avoid the possibility of someone puréeing a bunch of vegetables, putting the mixture in a jar, and calling it "vegetable pâté": that is not a pâté, that is a spread.
[My comments are in red: I've always wanted to try making a pate. Chicken livers is one of those underutilized foods we have. For this month's challenge, I decided to make a chicken liver pate and the tricolor vegetable pate (I like pesto.) For the bread portion of this challenge, I made the French Baguette recipe included in this challenge. For the pate recipes, I made half recipes.]
Chicken Liver Terrine
Yields one 25 by 12,5 cm (10 by 5 inch) terrine or loaf pan
1 tbsp duck fat, or butter
2 onions, coarsely chopped
300g (11 oz) chicken livers, trimmed
3 tbsp brandy, or any other liqueur (optional)
100g (3 1/2 oz, 1/2 cup) smoked bacon, diced
300g (11 oz) boneless pork belly, coarsely ground
200g (7 oz) boneless pork blade (shoulder), coarsely ground (or ground pork see note below)
2 shallots, chopped
1 tsp quatre-épices (or 1/4tsp each of ground pepper, cloves, nutmeg and ginger is close enough)
2 eggs
200 ml (7 fl oz, 3/4 cup + 2 tbsp) heavy cream
2 fresh thyme sprigs, chopped
Salt and pepper
NOTE: If you cannot find ground pork belly or blade, buy it whole, cut it into chunks, and pulse in the food processor. You can also replace the pork blade with regular ground pork. [I used a food processor and ground up some pork loin.]
Preheat oven to 200ºC (400ºF, Gas Mark 6).
Melt the fat or butter in a heavy frying pan over low heat. Add the onions and cook, stirring occasionally, for 5 minutes, until softened. Add the chicken livers and cook, stirring frequently, for about 5 minutes, until browned but still slightly pink on the inside.
Remove the pan from heat. Pour in the brandy, light a match and carefully ignite the alcohol to flambé. Wait for the flames to go out on their own, carefully tilting the pan to ensure even flavoring. Set aside.
[The exciting part of this challenge, lighting a fire! :-)]

Put the minced pork belly and blade in a food processor, then add the onion-liver mixture and the chopped shallots, and pulse until you obtain a homogenous mixture – make sure not to reduce it to a slurry.

Transfer to a bowl, and gradually stir in the chopped bacon, quatre-épices, cream, eggs, and thyme. Season with salt and pepper, and mix well. Spoon the mixture into a terrine or loaf pan, and cover with the terrine lid or with aluminum foil.
Ready for the oven!

Prepare a water bath: place the loaf pan in a larger, deep ovenproof dish (such as a brownie pan or a baking dish). Bring some water to a simmer and carefully pour it in the larger dish. The water should reach approximately halfway up the loaf pan.
Put the water bath and the loaf pan in the oven, and bake for 2 hours. Uncover and bake for another 30 minutes. The terrine should be cooked through, and you should be able to slice into it with a knife and leave a mark, but it shouldn’t be too dry. Refrigerate, as this pâté needs to be served cold. Unmold onto a serving platter, cut into slices, and serve with bread.
Right out of the oven two hours later!

NOTE: This pâté freezes well. Divide it into manageable portions, wrap tightly in plastic film, put in a freezer Ziploc bag, and freeze. Defrost overnight in the fridge before eating.
NOTE: This pâté freezes well. Divide it into manageable portions, wrap tightly in plastic film, put in a freezer Ziploc bag, and freeze. Defrost overnight in the fridge before eating.
[I decided to the the vegetarian pate so people would have a choild and it looked live a very simple recipe.]
Tricolor Vegetable Pâté
Yields one 25 by 12,5 cm (10 by 5 inch) terrine or loaf pan
Line your pan with plastic wrap, overlapping sides.
White Bean Layer
2 x 15-ounce / 900 ml cans cannellini (white kidney beans), rinsed, drained thoroughly
1 tbsp / 15 ml fresh lemon juice
1 tbsp / 15 ml olive oil
1 tbsp / 15 ml minced fresh oregano or 1 teaspoon dried
2 garlic cloves, pressed
Tricolor Vegetable Pâté
Yields one 25 by 12,5 cm (10 by 5 inch) terrine or loaf pan
Line your pan with plastic wrap, overlapping sides.
White Bean Layer
2 x 15-ounce / 900 ml cans cannellini (white kidney beans), rinsed, drained thoroughly
1 tbsp / 15 ml fresh lemon juice
1 tbsp / 15 ml olive oil
1 tbsp / 15 ml minced fresh oregano or 1 teaspoon dried
2 garlic cloves, pressed
Mash beans in large bowl. Add lemon juice, olive oil, oregano and garlic and blend until smooth. Season to taste with salt and pepper. Spread bean mixture evenly on bottom of prepared pan.
[First layer down in a plastic cling film lined container.]

Red Pepper Layer
7-ounce / 210 ml jar roasted red bell peppers, drained, chopped
3/4 cup / 180 ml crumbled feta cheese (about 4 ounces)
Combine peppers and feta in processor and blend until smooth. Spread pepper mixture evenly over bean layer in prepared dish.
7-ounce / 210 ml jar roasted red bell peppers, drained, chopped
3/4 cup / 180 ml crumbled feta cheese (about 4 ounces)
Combine peppers and feta in processor and blend until smooth. Spread pepper mixture evenly over bean layer in prepared dish.
Pesto Layer
2 garlic cloves
1 cup / 240 ml fresh basil leaves
1 cup / 240 ml fresh Italian parsley leaves
1/4 cup / 60 ml toasted pine nuts
3 tbsp / 45 ml olive oil
1/2 cup / 120 ml low-fat ricotta cheese
Mince garlic in processor. Add basil, parsley and pine nuts and mince. With machine running, gradually add oil through feed tube and process until smooth. Mix in ricotta. Spread pesto evenly over red pepper layer.

2 garlic cloves
1 cup / 240 ml fresh basil leaves
1 cup / 240 ml fresh Italian parsley leaves
1/4 cup / 60 ml toasted pine nuts
3 tbsp / 45 ml olive oil
1/2 cup / 120 ml low-fat ricotta cheese
Mince garlic in processor. Add basil, parsley and pine nuts and mince. With machine running, gradually add oil through feed tube and process until smooth. Mix in ricotta. Spread pesto evenly over red pepper layer.
Cover with plastic wrap and refrigerate overnight.

To unmold, invert pâté onto serving platter. Peel off plastic wrap from pâté. Garnish with herb sprigs and serve with sourdough bread slices.
French Baguette
yield: Three 16" baguettes
Starter
1/2 cup / 120 ml cool water
1/16 teaspoon active dry yeast
1 cup / 240 ml flour
Dough
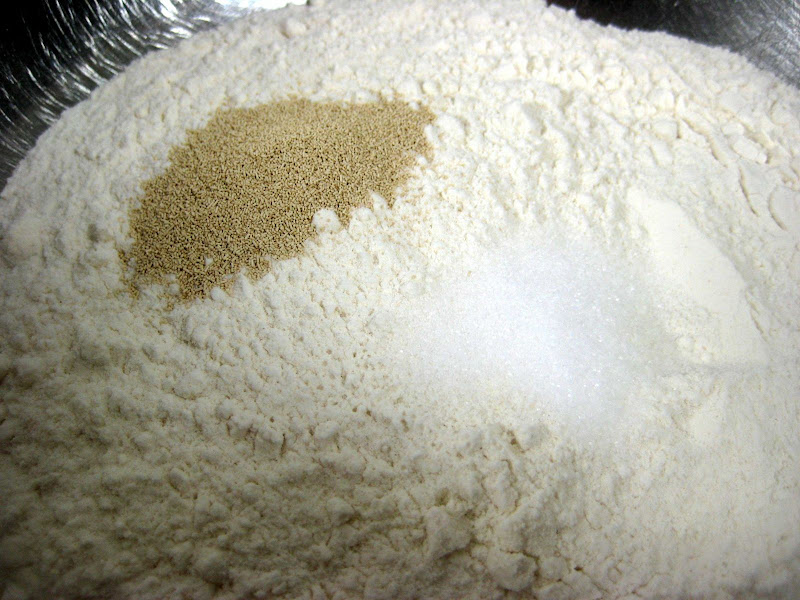
1 tsp / 5 ml active dry yeast
1 cup to 1 1/4 cups / 240 ml to 300 ml lukewarm water*
all of the starter
3 1/2 cups / 840 ml flour
1 1/2 tsp / 7 ml salt
*Use the lesser amount in summer (or in a humid environment), the greater amount in winter (or in a dry climate), and somewhere in between the rest of the year, or if your house is climate controlled.
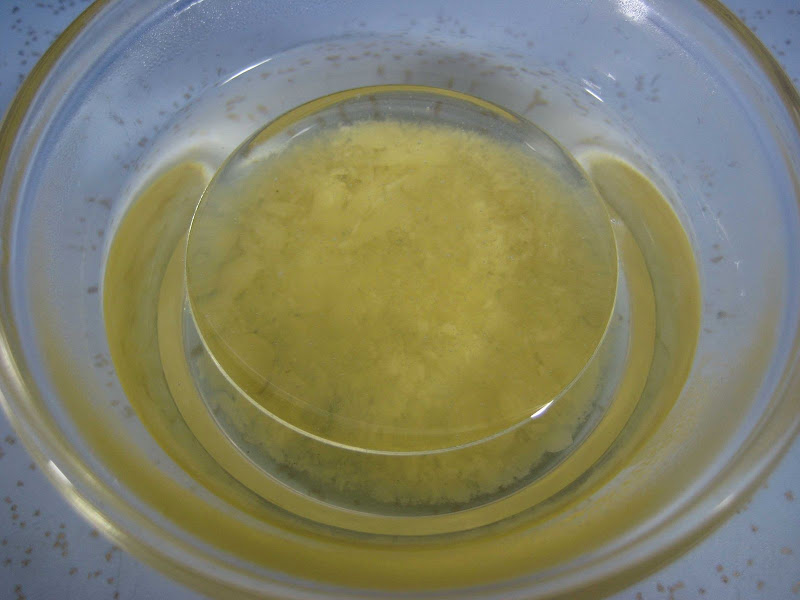
Make the starter by mixing the yeast with the water, then mixing in the flour to make a soft dough. Cover and let rest at room temperature for about 14 hours; overnight works well. The starter should have risen and become bubbly.
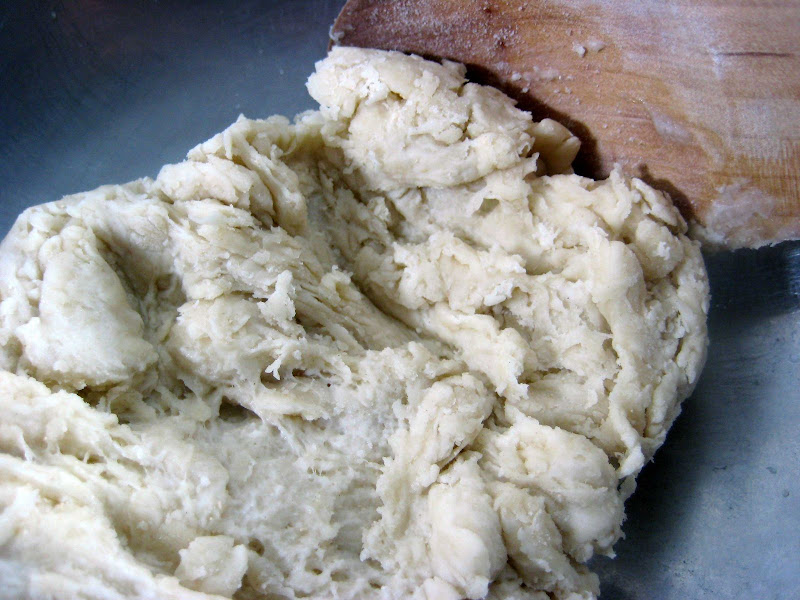
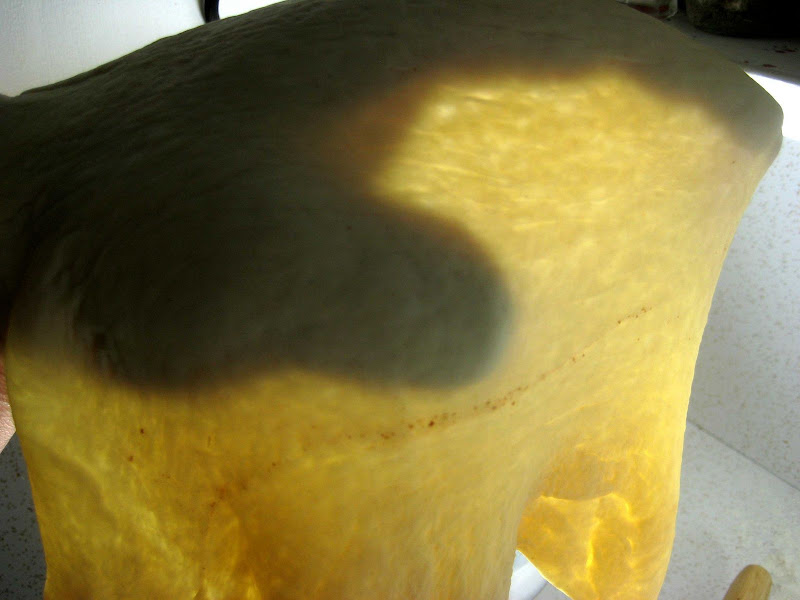
Mix active dry yeast with the water and then combine with the starter, flour, and salt. Mix and knead everything together—by hand, mixer or bread machine set on the dough cycle—till you've made a soft, somewhat smooth dough; it should be cohesive, but the surface may still be a bit rough. Knead for about 5 minutes on speed 2 of a stand mixer.
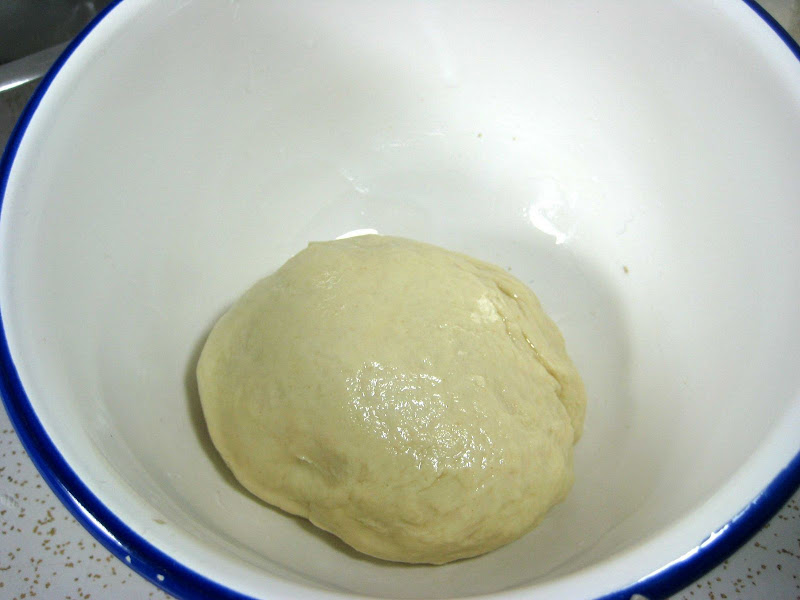
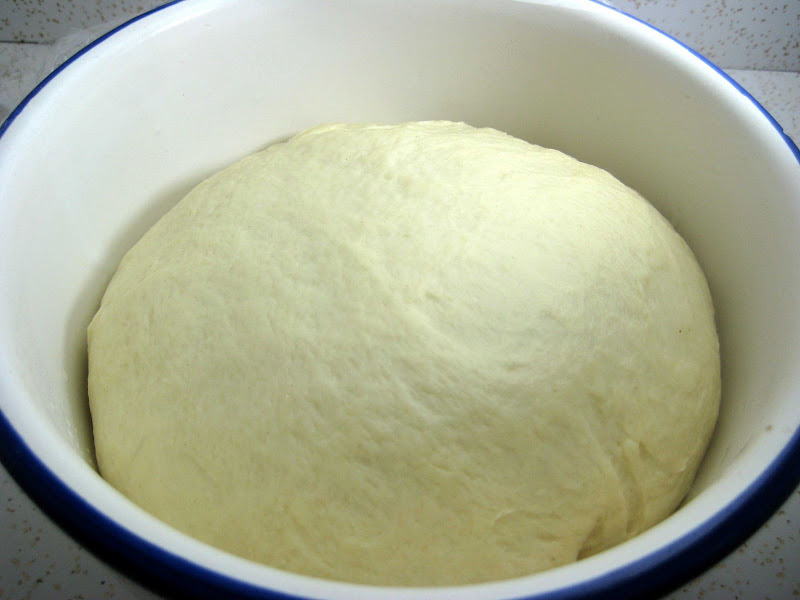
Place the dough in a lightly greased medium-size bowl, cover the bowl, and let the dough rise for 3 hours, gently deflating it and turning it over after 1 hour, and then again after 2 hours.
Turn the dough out onto a lightly greased work surface. Divide it into three equal pieces. Shape each piece into a rough, slightly flattened oval, cover with greased plastic wrap, and let them rest for 15 minutes.
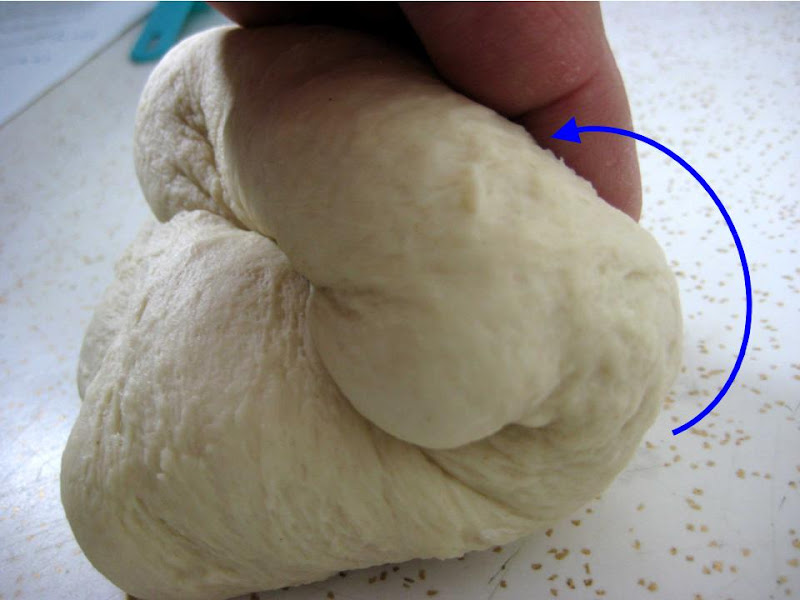
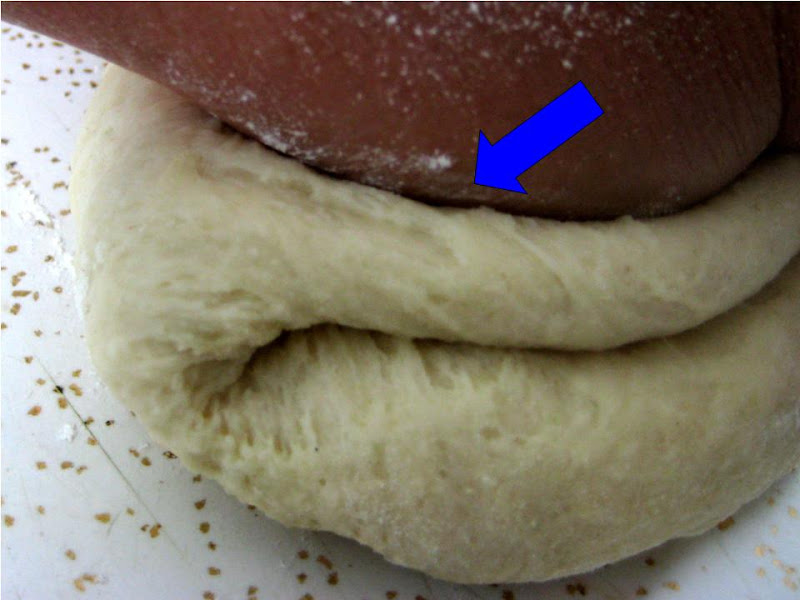
Working with one piece of dough at a time, fold the dough in half lengthwise, and seal the edges with the heel of your hand. Flatten it slightly, and fold and seal again. With the seam-side down, cup your fingers and gently roll the dough into a 15" log. Place the logs seam-side down onto a lightly greased or parchment-lined sheet pan or pans.
Cover them with a cover or lightly greased plastic wrap, and allow the loaves to rise till they've become very puffy, about 1 1/2 hours. Towards the end of the rising time, preheat your oven to 450ºF (240ºC).
Using a very sharp knife held at about a 45° angle, make three 8" vertical slashes in each baguette. Spritz the baguettes heavily with warm water; this will help them develop a crackly-crisp crust.
[Spritzing the dough with water]

Bake the baguettes until they're a very deep golden brown, 25 to 30 minutes. Remove them from the oven and cool on a rack. Or, for the very crispiest baguettes, turn off the oven, crack it open about 2", and allow the baguettes to cool in the oven.
[Fresh bread out of the oven!]

[Plating begins with unmolding the pates. These naked pates have a pale appearance. I guess they haven't been out in the sun that much! lol...]

[I decided to dress up the plate with chopped pistachios, feta, caramelized onion-apple-bacon jam, currants and fresh bread. I topped to pates just to give them some color... the equivalent of wearing Hawaiian shirts. :-) ]

Both pates turned out nicely!
Tricolor Veg Pate

Chicken liver pate

yield: Three 16" baguettes
Starter
1/2 cup / 120 ml cool water
1/16 teaspoon active dry yeast
1 cup / 240 ml flour
Dough
1 tsp / 5 ml active dry yeast
1 cup to 1 1/4 cups / 240 ml to 300 ml lukewarm water*
all of the starter
3 1/2 cups / 840 ml flour
1 1/2 tsp / 7 ml salt
*Use the lesser amount in summer (or in a humid environment), the greater amount in winter (or in a dry climate), and somewhere in between the rest of the year, or if your house is climate controlled.
Make the starter by mixing the yeast with the water, then mixing in the flour to make a soft dough. Cover and let rest at room temperature for about 14 hours; overnight works well. The starter should have risen and become bubbly.
Mix active dry yeast with the water and then combine with the starter, flour, and salt. Mix and knead everything together—by hand, mixer or bread machine set on the dough cycle—till you've made a soft, somewhat smooth dough; it should be cohesive, but the surface may still be a bit rough. Knead for about 5 minutes on speed 2 of a stand mixer.
Place the dough in a lightly greased medium-size bowl, cover the bowl, and let the dough rise for 3 hours, gently deflating it and turning it over after 1 hour, and then again after 2 hours.
Turn the dough out onto a lightly greased work surface. Divide it into three equal pieces. Shape each piece into a rough, slightly flattened oval, cover with greased plastic wrap, and let them rest for 15 minutes.
Working with one piece of dough at a time, fold the dough in half lengthwise, and seal the edges with the heel of your hand. Flatten it slightly, and fold and seal again. With the seam-side down, cup your fingers and gently roll the dough into a 15" log. Place the logs seam-side down onto a lightly greased or parchment-lined sheet pan or pans.
Cover them with a cover or lightly greased plastic wrap, and allow the loaves to rise till they've become very puffy, about 1 1/2 hours. Towards the end of the rising time, preheat your oven to 450ºF (240ºC).
Using a very sharp knife held at about a 45° angle, make three 8" vertical slashes in each baguette. Spritz the baguettes heavily with warm water; this will help them develop a crackly-crisp crust.
[Spritzing the dough with water]
Bake the baguettes until they're a very deep golden brown, 25 to 30 minutes. Remove them from the oven and cool on a rack. Or, for the very crispiest baguettes, turn off the oven, crack it open about 2", and allow the baguettes to cool in the oven.
[Fresh bread out of the oven!]
[Plating begins with unmolding the pates. These naked pates have a pale appearance. I guess they haven't been out in the sun that much! lol...]
[I decided to dress up the plate with chopped pistachios, feta, caramelized onion-apple-bacon jam, currants and fresh bread. I topped to pates just to give them some color... the equivalent of wearing Hawaiian shirts. :-) ]
Both pates turned out nicely!
Tricolor Veg Pate
Chicken liver pate