Showing posts with label carrots. Show all posts

Wednesday, September 10, 2008

Sep10: Clarifying Broth

I vaguely remember an episode of Iron Chef where one of the Iron Chefs was boiling a broth with egg whites and ground meat. According to the commentator, the purpose egg whites and ground beef was to clarify the broth he was making.

How is this so? Wouldn't you be making an egg drop soup?

Here's what I found out.
* Using egg whites to clarify a stock/broth is a common technique used in making consommé.
* The egg whites will coagulate into a fine mesh that will "filter" the stock as it simmers.
* Egg whites seem to be the key, but you can add julienned veggies for flavor the broth and to provide the support for the egg white raft (the stuff floating on top of the liquid.)
* Common additions are crushed egg shell, ground meat, carrots, green onion and other typical flavorings that go into a stock.
* Thumbing through Julia Childs' book, The Way to Cook, she uses 4 egg whites for 5 cups of stock.

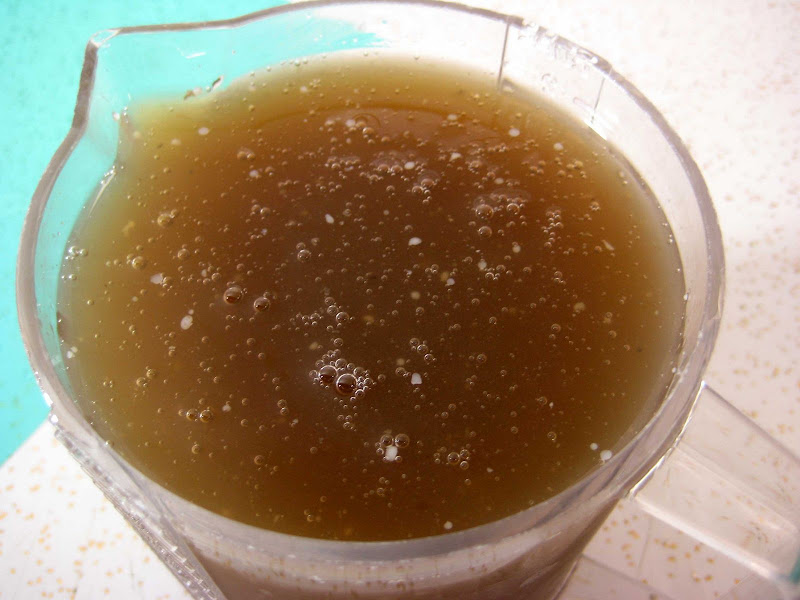
Here's my pho stock out of the fridge which I defatted by pouring through a fine mesh strainer. A good sign for the stock is the gelling from the refrigeration. This means a lot of flavor was squeezed out of the soup bones and more. :-)
I have five (5) cups remaining after serving pho on Monday.

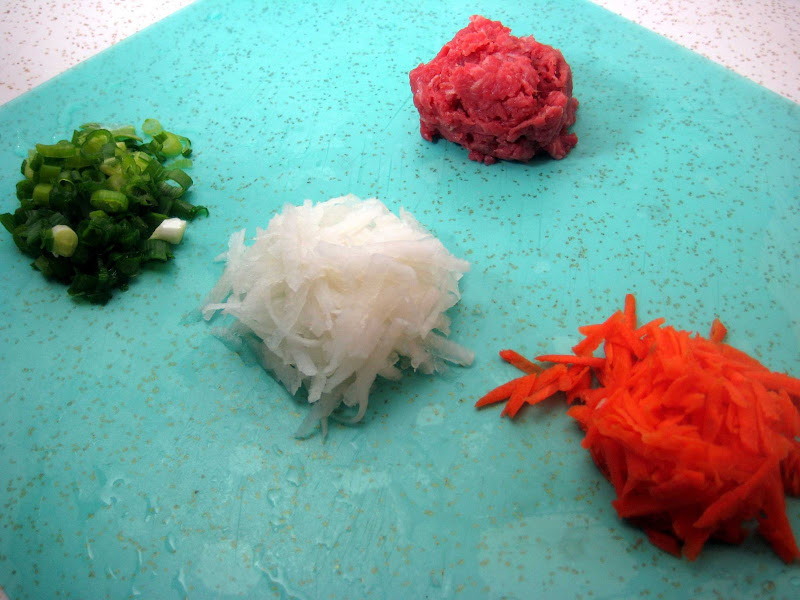
Here’s what I did to clarify the Pho broth...
Green Onion, coarsely cut
1/4 C Daikon, shredded
1/4 C Carrots, shredded
1/4 C lean Beef, minced (trim off the fat)


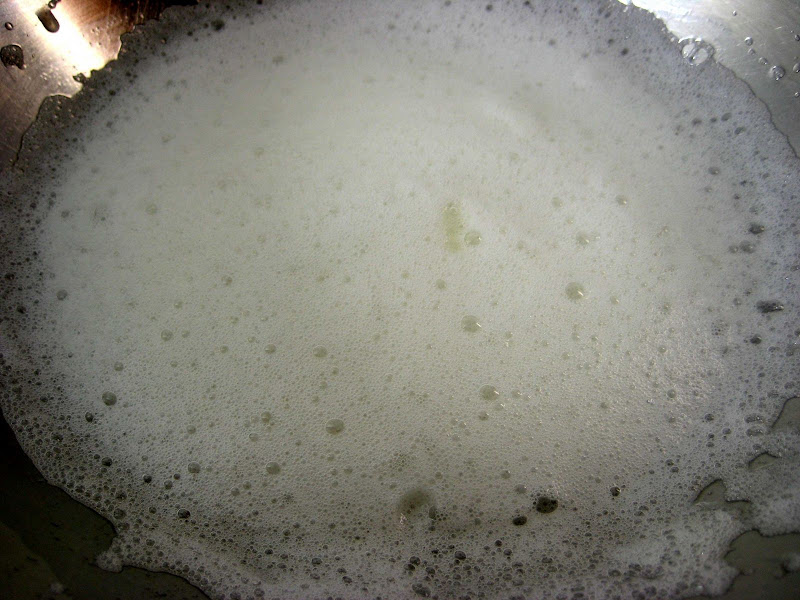
Two egg whites were whipped into a soft foam. I know Julia suggested using 4 egg whites, but that just seems like too much. In other words, I’m being cheap. Lol!

Mixed all the ingredients together into the egg whites.
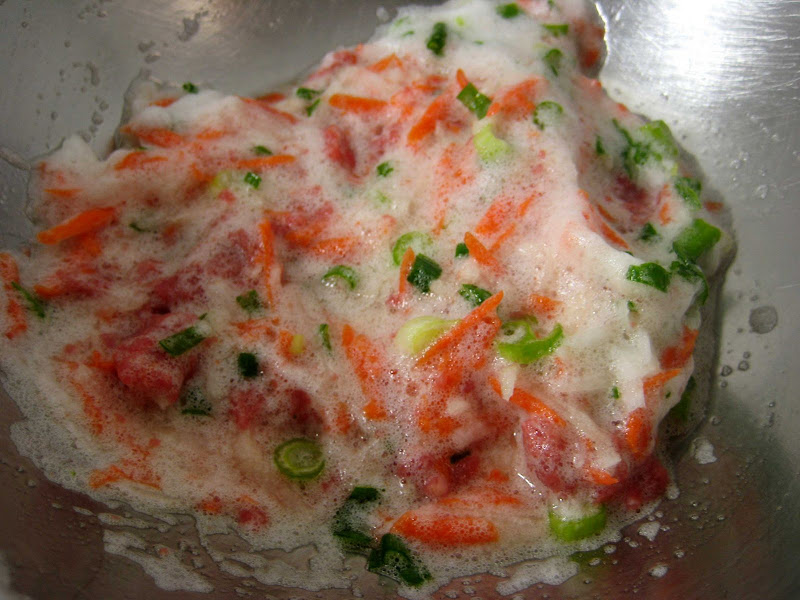

The egg white concoction was thoroughly mixed into the cold broth.
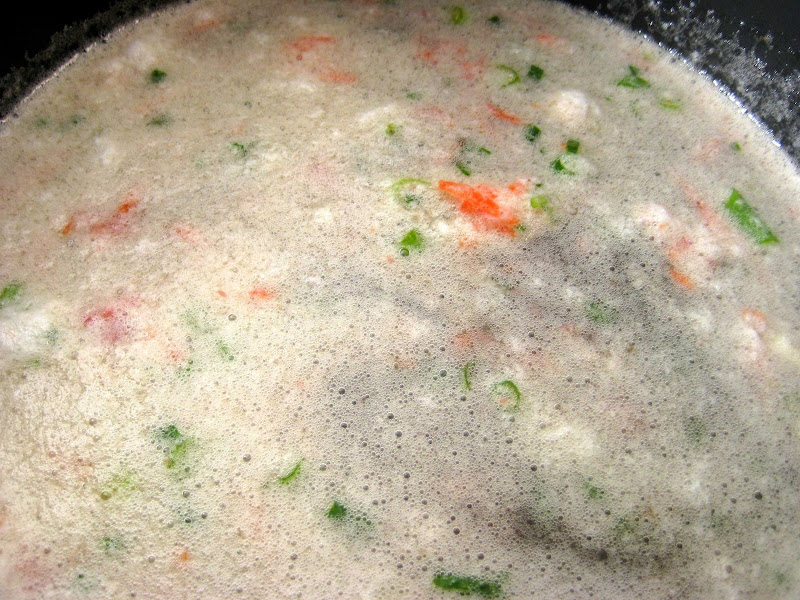

The broth was slowly brought to a simmer and allowed to simmer for about 35 minutes.
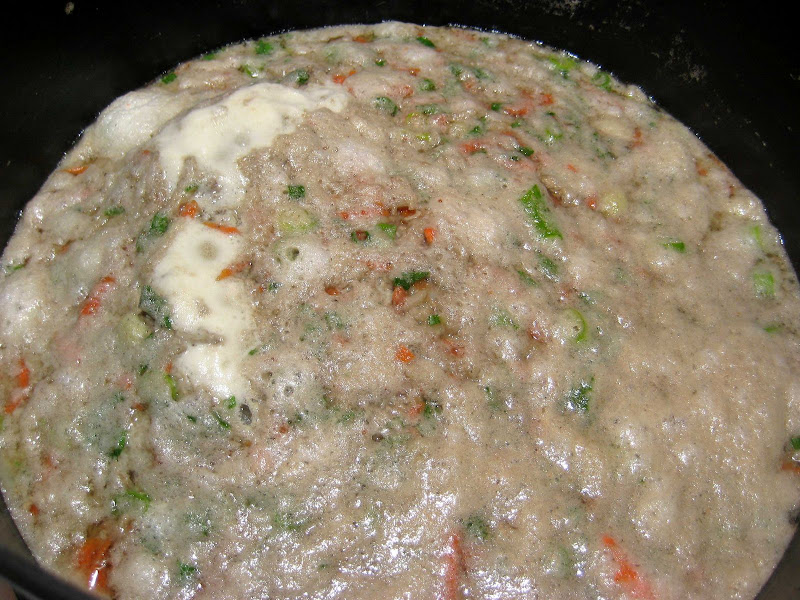

Wow! It worked!
I'm about to decant the broth into a colander lined with a coffee filter.
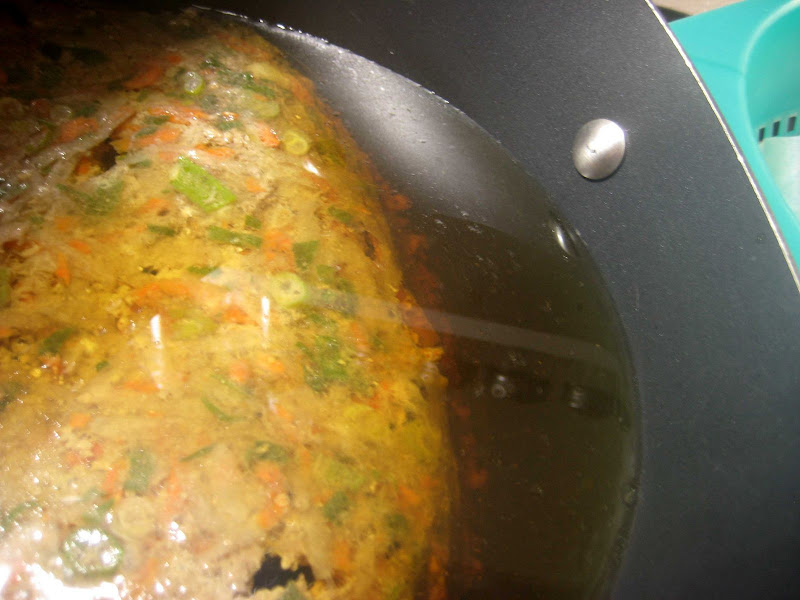

Before Clarifying (From Monday)
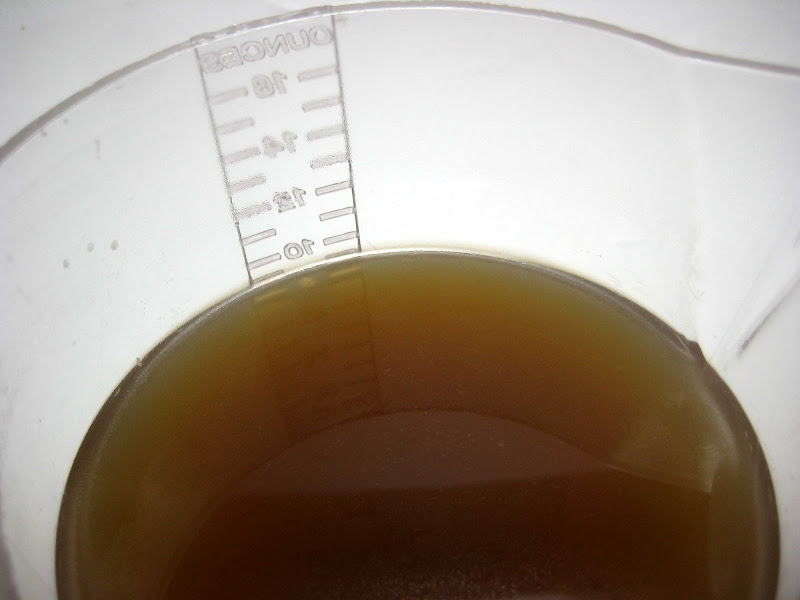

I would say it was a success. The muddiness is gone and now the broth is transparent. The broth looks like apple juice or apple cider vinegar. The extra ingredients also added more flavor to the so-so broth.

After Clarifying (Today)


More Info…
I found this discussion about clarifying broths using egg whites.
Also, it looks like someone watched the Iron Chef episode and was curious about clarifying broth too. :-)

http ://forums.egullet.org/index.php?showtopic=112366


Another method - you can clarify using gelatin instead of egg whites.
My post from Oct 3: http://eat4fun.blogspot.com/2008/10/oct-03-experiment-clarifying-stock-with.html

Monday, July 28, 2008

Jul 28: Eggplant Parmigiana

A couple things today...

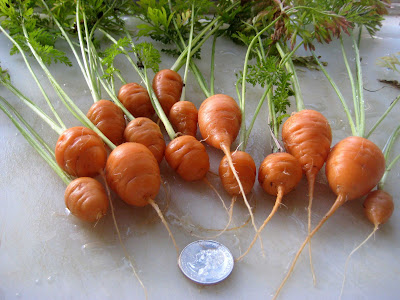
First, I finally pulled some carrots from my container garden to see what they looked like. Decent size. The seed directions recommended eating the carrots when they're the diameter of a nickel, 0.85" D. Some are slightly larger, quarter shown, but they tasted fine... like a carrot. Maybe slightly sweeter. I do like the funky ball/bell shape.


Second, S loves M's Eggplant Parmigiana and I've been trying to do a decent version. I believe M received the recipe from a Greek neighbor so it's seems to be a combo eggplant parm and moussaka recipe since this recipe contains potatoes.

The Fixins'
1 eggplant cut into round about 3/8" thick (See note about the eggplant)
1 russet potato, large, cut into 1/4"thick rounds
Spaghetti sauce - I made one with canned tomatoes, ground beef and Italian sausage
Shredded whole milk mozzarella

The Doin'
Fry the eggplant rounds with olive oil until browned on both sides. I used a pastry brush to brush the eggplants with olive oil. Also, after they're browned, season with salt, garlic powder and onion powder.

Fry the potato rounds until browned on both sides. Remove from pan season with salt, garlic powder and onion powder.

The layering: used an 8" x 8" Pyrex dish.
Bottom - a light coating sauce.
A layer of potatoes
A layer of eggplant
Sauce and cheese on top.
I had enough for another partial layer...
Top with sauce

Bake 350 for about 30 - 45 minutes.
Add final cheese topping at the last minute to melt and slightly brown the cheese.

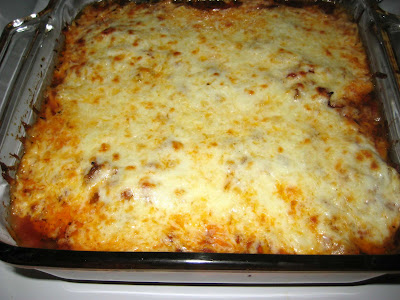
Right out of the oven...


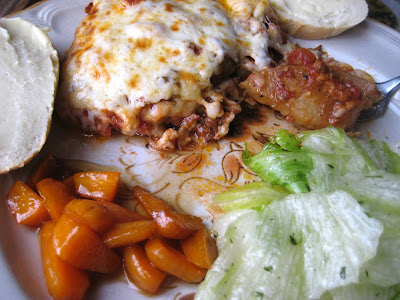
On the plate, eggplant parm, a salad with a simple oil/vinegar dressing, garden fresh carrots glazed with butter and a little brown sugar and bread slathered with garlic butter.


Today's version was much better than my previous attempts. I asked M how it was made and during her explanation I realized I was probably using too much sauce which water downed the flavor of the eggplant and potatoes.

Note - I used a male eggplant since they contain less seeds and less bitter than a female eggplant. Male eggplants have a flat blossom end while a female eggplant's blossom end looks like an innie (bellybutton).

Also, there's no need to salt the eggplant. I believe the salting (to remove the bittern juices) is a food myth.

Sunday, June 29, 2008

Jun 29: Vegetable Garden Status

Hot! Hot! Hot! These past few days: 80's and low 90's.
I was curious how the veggies were progressing in my garden.

April 12th: planted beets and carrots.

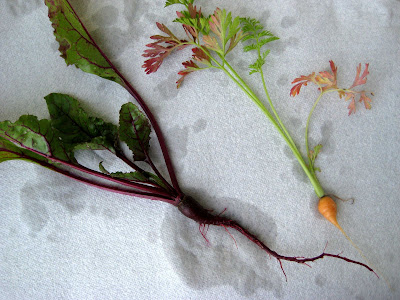
Today, I pulled a beet and a carrot to see how they're progressing. The package suggest 60 days to maturity, but during the Spring, we had only a couple days of sun per month so the plants were really growing slowly due to a low heat index.

Carrot is developing the desired spherical shape. The beet still more carrot looking than spherical looking. I'm guessing both are at least 2 to 3 week from maturity.


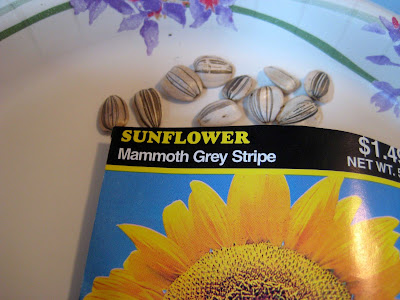
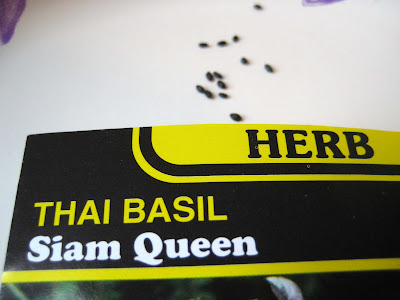
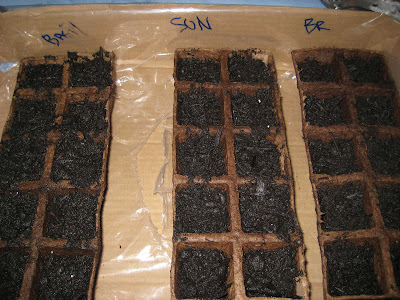
May 15th: started sunflowers, Thai Basil and Brussels sprouts.

The Thai Basil - flopped. A couple seed sprouted and died back. These seem very hard to grow and very slow to germinate.

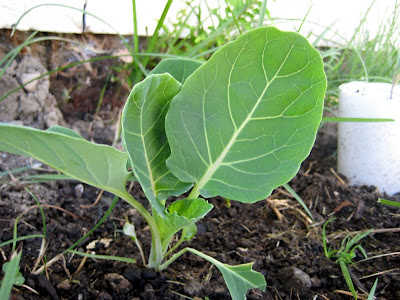
Brussels sprouts are in the ground and growing very slowly. 5 out of 10 were eaten by slugs.


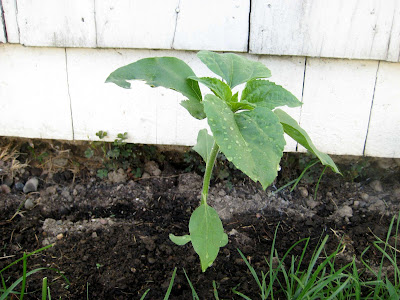
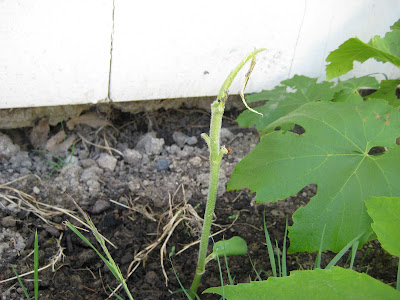
Sunflowers are in the ground, but 7 of 10 were hit by slugs and snails.
One of the few


Sunflower #7 bites the dust. Slug ate well this morning before he met Mr. Heel.


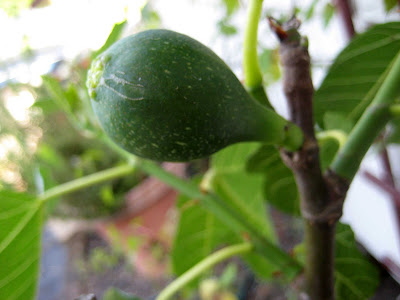
I have a little fig tree... actually more like a fig twig I purchased late in the season last year on the clearance desk.

Lone Peter's Honey Fig.

Sunday, May 25, 2008

May 25: Sunday Miscellaneous

I should have finished up the gardening today - planting the Brussels sprouts and the sunflowers, but it was too hot to till and work the soil. Anything over 65F is too hot... lol. I think it was 75F outside before my outdoor remote sensor conked out.

Instead I went to the local Asian market to look at the weird foodstuff.

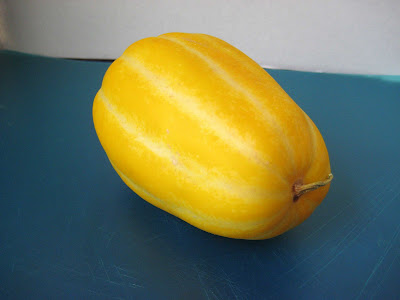
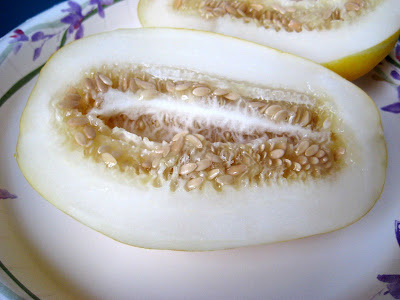
One thing did catch my eye... it was a bright yellow melon that looked like someone drew on with yellow highlighter. The melon was the size of a large mango.

The tag identified it as a "Korean Melon".

Being a curious eater, I purchased one.
Not knowing how to choose one... I gave a couple a light squeeze. They all felt the same - firm. The sniff test didn't yield much. I did smell a very faint sweet fragrant aroma. I just picked one that looked the "yellowest".

Brought it home and put it in the fridge. Cool fruit on a hot day sounded good.


After a few hours, I cut it in half. Small seeds with a central mass and some weird gelatinous material... like other melons.


The first bite.
The melon was crispy and firm like a cucumber. Also, juicy.
It was surprisingly sweet. It's not as sweet as an apple, but sweeter than I expected. I guess I imagined something this bright would be kind of bland.
The flavor reminded me of a honeydew melon.
The skin was a little tough to chew.

The second bite
Peeled the melon. The melon is thin skinned and peeled quite easily with a potato peeler. Although thin-skinned, the skin is a little tough.

Cold, crispy, sweet and juicy. A nice little treat on a hot day.

More info: This online seed website has a description of the Korean melon, Hybrid Golden Liner.


The container garden

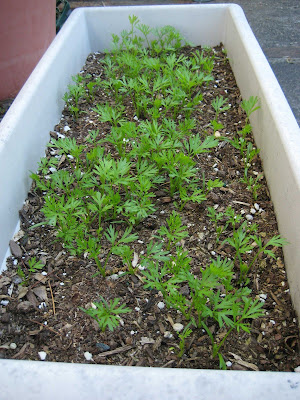
The carrots with its real leaves - the feathery ones.


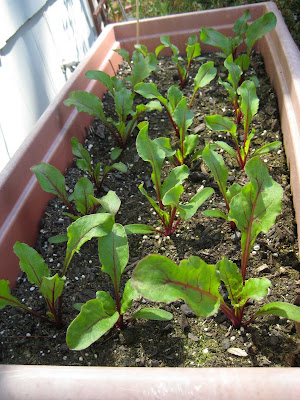
The beet leaves are growing. Hopefully, the beet roots are getting plump and sweet.


The beets with their real leaves.
When to harvest? I don't know.

Thursday, May 15, 2008

May 15: The Container Garden

We're supposed to have a few dry days through the weekend. Today, without getting soaked, I was able to look at the beets and carrots I planted.

The geek word for today is "cotyledon." Cotyledon is the fancy botanical name for a sprouted seeds first leaves, usually two.

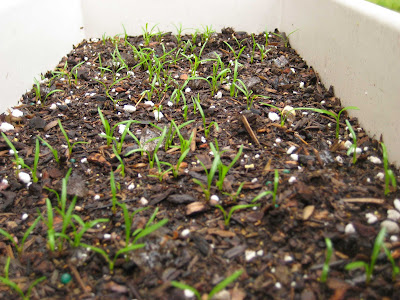
The carrots. Only the first leaves, no "real" carrot leaves.


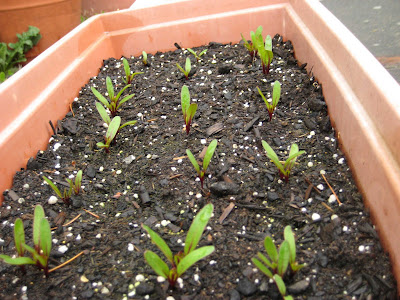
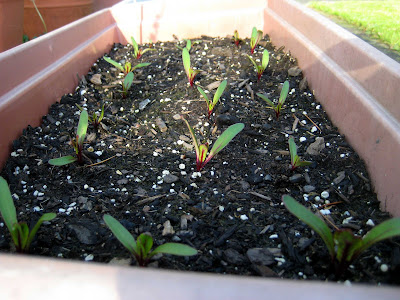
The beets have all sprouted and are growing. Since each beet I planted contained more than one seed. I had to thin out the beets - remove the extra plants.


The beets after thinning.


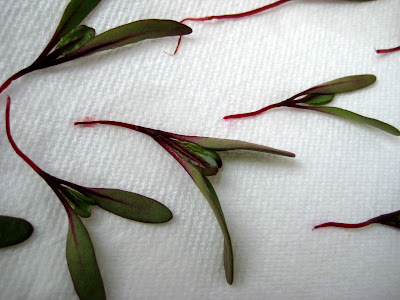
I read that the seedlings are edible so I washed and towel dried the microgreens.
Note - the rootlets (?) are dying the towel pink like an itty-bitty little beet.
Also, the beets are starting to grow it's real leaves.

I popped one in my mouth and chewed. The first taste tasted like a radish. The next one I tried the root only. The taste was bland with a very faint hint of sweetness. Next, the leaves which tasted like raw spinach.

Adding to the garden. Other vegetables I'm adding to the garden.

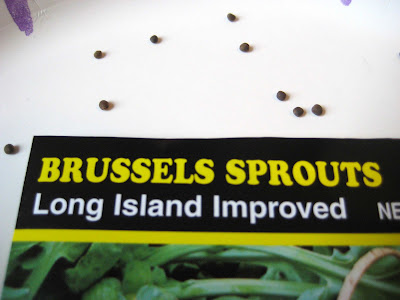
Little miniature cabbages.


Big Flowers


A fragrant herb


Planted and watered. We'll see if the seeds will sprout in about two weeks.


Not quite self-sufficient farming, yet. lol :-)

Saturday, April 12, 2008

Apr 12 - Gardening: Spring Planting

The weather is getting better and we actually had some sun today. A 70 degree heat wave... lol

The neighbors were out in force these past two days mowing their lawn. Of course, I'm the last one to do it. I wonder what my rep in the 'hood is like.

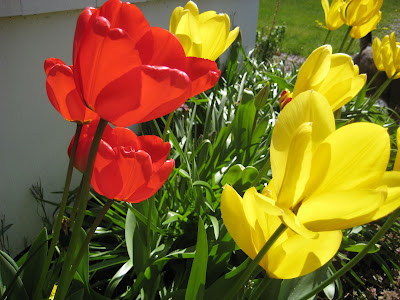
The dandelions dotting my lawn have pretty yellow flowers. Also, the tulips are adding some color to the neighborhood.


I can't resist looking into the flower.


What's all this have to do with food and eating?

Well... this seasons project is to plant beets and carrots. I can't use the backyard because the dogs will trample the garden. Also, the sunlight is better in the front of the house. Container gardening to the rescue! :-)

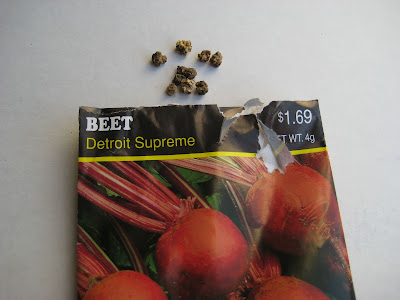
Beets seeds. Apparently, beet seeds are actually cut up pieces of pod that contain more than one seed.


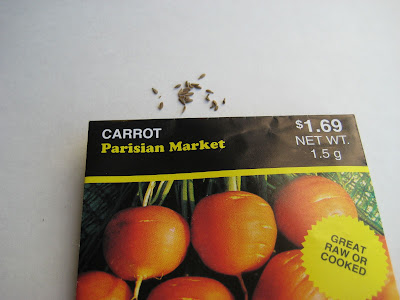
Carrots seeds. These seeds are tiny. One sneeze and I'm growing carrots in my lawn. lol. Of course, I can't stick with normal looking carrots. I picked these ball looking carrots. I'm such a rebel. lol.


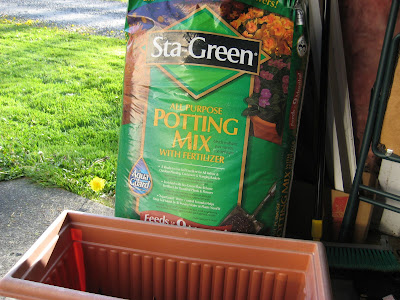
My container and the el-cheapo potting soil. See the dandelion flower sneaking in the photo. :-)


I added some perlite to the potting soil in an effort to lighten it up and help with drainage. The potting soil contains perlite so I'm not sure if this is pointless step.


For the beets the package recommends 4" spacing. The top of a drinking cup was used as a guide. Again, probably overkill again, but I'm a geek and measure things out. Of course, this assumes all the seeds will germinate. Typically, people just sow the seeds and thin to 4". Not me, I have faith.


After the beets seeds were positioned. I covered them with a 1" layer of potting soil. For the top layer, I mixed in a handful of lime to "sweeten" the soil... push the pH level to the alkaline side. Beets apparently like alkaline soil. We'll see how it works.

For the carrot seeds, since they are so small I just scattered them onto the soil and covered with a light layer of potting soil. For the carrots, I'll eventually thin to 2" spacing... according to the package.

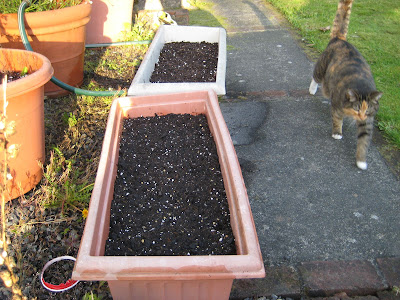
Red Container for beets... White container for carrots.
Hopefully, my cat will keep the squirrels away.


Beets
GERMINATION: 2 to 3 weeks in warm weather.
Approximately 59 days to maturity.

Carrots
GERMINATION: Approximately 2 weeks in temperatures of 60 degrees.
50 to 60 days to maturity.