Showing posts with label experiment. Show all posts

Sunday, April 12, 2009

Apr 12: Eggs for Easter?

Happy Easter!

Today is Easter and I didn't buy any dye to make Easter eggs. However, I got to thinking about hard boiled eggs. This year I'll make hard eggs two ways.

Egg #1: Slow Cooked Eggs... Really Low and Slow
Last year, I experimented with hard boiled vs hard cooked eggs. I was taught the preferred method was to hard cook eggs by soaking in boiled water. This is supposed to make a tender hard cooked egg. However, from my experiment, I couldn't tell the difference between the two methods so I just boil away for 7 minutes.

I remembered from a cooking class that egg whites will solidify (coagulate) at 140F to 150F while the yolk will solidify 150F to 160F.

Hmmm... [pondering] If we want a tender egg, then we just need to cook the egg until it solidifies. Cook the egg low and slow so the proteins don't toughen up.

Thinking I hit on something unique, I searched the web and found that chefs have been experimenting around with sous vide eggs where cooking is accomplished in a highly accurate water bath.

I don't have an immersion cooker, but I improvised one with a large pot of water. Using a lot of water is the key since the water will act as a heat tank - holding the temperature steady than using a small amount of water.

The Method:
1) Bring a large pot of water to 160F. Actually, my digital thermometer is slow to respond and low by 3 degrees... so I just kept the hot water bath between 155 to 160F.


2) When the temperature has leveled off and steady, I dropped in 3 eggs on a steamer basket. The temperature dropped 1 degree but came back up within a minute. Looks like the temperature will remain steady.

Cooking time: 35 - 40 minutes.


After 35-40 minutes, the eggs where placed in a cold water bath.

I was hungry so I gave one a try with salt and pepper.
As you can see the egg whites and yolk are solid, but not firm as you would have with a hard cooked egg. The egg white is very soft like a light custard. The yolk is firm.


Egg #2: Chinese Tea Eggs
This recipe is the opposite of the one above. No low and slow here... It's a double cook method is a couple hours of simmering.

Reference recipe: The Classic Chinese Cookbook by Leung, Mai, Harper & Row 1976

Tea Mixture
4 t Salt
1/2 t Five Spice Powder
4 tea bags
3 C Water
3 T Dark Soy Sauce
1 T Light Soy Sauce

Add the ingredients to a sauce pan and bring to a boil.

1) Start with hard boiled eggs.
Crack the shell, but do not peel.
Add to the tea mixture and let simmer for 2 hours.
After 2 hours of simmering, turn off the heat and let soak for 2 hours.


The results... the cracks in the eggshell allows the soy sauce-tea mixture to "color" the egg. The inside of the shell looks pretty cool too.


Side by side comparison of the two eggs.
As you can tell, the whites from the low and slow egg are very soft where it doesn't hold it's shape. The tea egg is solid.


As you can see, the yolks are vastly different. Firm yet tender compared to firm and powdery. Also, the long soak created a green ring around the tea egg. For the tea eggs, I hard boiled the eggs and immediately cooled the egg to prevent to green ring. However, the reheating must have driven the iron back towards the yolk.


I'm not a big fan of hard eggs, but it's fun to try something different.
The low and slow egg worked as I expected and not bad. I don't know if I dig the very soft egg white. It's a texture thing. If I try this again, I'll shoot for a higher temperature.... maybe 160 to 165F.

The tea eggs have a nice flavor, but powdery egg yolks are unappealing to me. Maybe that's why I prefer deviled eggs... the mayo moistens the cooked yolk.

Wednesday, January 28, 2009

Jan 28: CNY Something Sweet Experiment

A coworker asked about Chinese dim sum custard tartlets. In phonetic Cantonese, "On Tot" which is "egg tart". His problems was the custard baked up bubbly, instead of smooth and silky.

Researching my cookbooks, I came across a recipe that used eggs and water. What no milk or cream? Now, I have to be open-minded and give it a try. However, I wanted go to the other end of the spectrum and use all cream.

I wanted to focus on the custard so I used a prepared pie crust for the shell.

Chinese Egg Tartlets
Water Based Filling

1/2C + 2T Hot Water
1/4C Sugar
2 Eggs, beaten
1/2 t Vanilla
1/2 t Vinegar... Vinegar!

Cream Based Filling
1/2C + 2T Cream
1/4C Sugar
2 Eggs, beaten
1/2 t Vanilla

1. Dissolve sugar in the liquid. Add the vanilla and vinegar. When cool, add the beaten egg and whisk lightly. Set aside.

Before the egg was added, water mixture on the left and the cream mixture on the right.


Since I used a premade pie crust, I had to cut out round for the muffin pan.
Using a 4 inch diameter cutter... was a little to large with only a yield of 4 round per crust.


Being frugal, I switched to a 3" diameter can... many more rounds per crust. I'm happy. :)


However, I had to roll out to 4" Diameter to match the muffin paper.


The shells ready for filling....


Left side - six filled with the water based egg mixture and the right six filled with the cream based egg mixture.

Bake 375F for 20 minutes.


Much my surprise... the water based custard (on the left) actually has a smoother appearance.


Also, silkier interior.


Not what I expected... The water based custard looked very similar to the tartlets found in dim sum restaurants. Both were much too sweet and too much vanilla. The cream based custard was rich, but also had a stronger eggy flavor.

Besides the cream... the only difference between the two fillings was vinegar. Hmmm... I wonder if that had anything to do with the appearance? Now, I'm gonna have to think about it some more... and try again in the future.

A few things I would change is use less sugar (cut in half the amount used) and same goes for the vanilla. I would also add just a touch of salt. A little salt always seems to help dessert dishes.

Monday, January 12, 2009

Jan 12: Homemade White Wine Vinegar

Two months ago I started an experiment to make white wine vinegar.
Brief Summary
1. I started with an old bottle of Pinot Grigio... added more from a new bottle as needed.
2. Added raw apple cider vinegar with live mother of vinegar culture
3. Cover with a paper towel so air could reach the liquid.
4. Give time for the bacteria do it's job.
(Ref: http://eat4fun.blogspot.com/2008/11/nov-09-experiment-making-vinegar.html )

The developing vinegar was stored in my oven. Over the past weeks the aroma of vinegar has been getting stronger. With the recent check, the cellulose layer containing the mother sank to the bottom of the container where no new layer forming on the surface. I took this as an indication that all the alcohol has converted to vinegar.

What to do next?
I found this factsheet: http://ohioline.osu.edu/hyg-fact/5000/5346.html
According to the factsheet, vinegar can keep indefinitely when pasteurized. To pasteurize, pour the vinegar into sterilized bottles and heat in a hot water bath to a minimum of 140F but no higher than 160F.

Picture of the completed vinegar poured into a clear plastic container. The mother of vinegar looks like a flat jelly fish.


Sterilizing the bottles, funnels and ladle in boiling water.


The vinegar was filtered through a double layer of coffee filters.


The filtered vinegar.


A funnel was lined with another coffee filter before pouring into sterilized bottles.


The bottles were placed in a 150F hot water bath. A probe thermometer was inserted into the bottle. The alarm was set to 145F. Note: While the vinegar was translucent after the first filtering, for some reason the vinegar was opaque after pouring into the bottles.


The finished vinegar.


The Results:
There's no pungent aroma as you would have with the commercially produced distilled white vinegar, apple cider or red wine vinegars.

You can taste the sourness of the vinegar with a slight hint of sweetness. However, I was hoping some of the characteristics of the wine would remain - sweetness and flavor.

I ended up using 1 1/2 bottles of wine. The first bottle was an older pinot gris that was sweet, but had no discernible flavor. The second bottle was a newer bottle of pinot gris that had the great taste of a crisp green Granny Smith apple.

I read online (don't remember where) that commercially vinegar makers will dilute vinegar down to 5% by adding water or a water-wine mixture. I was tempted to do that with the remaining pinot gris. A little of the wine was diluted down to 0.05% alcohol where a light green apple flavor still remained. However, I decided to leave the vinegar as is. I felt I was cheating by adding diluted wine to boost the flavor. Maybe next time. :-)

Friday, October 3, 2008

Oct 03: Experiment - Clarifying Stock with Gelatin

When I was researching methods to clarify stocks with egg whites, I came across another method of clarify stock using gelatin.

To me, this was intriguing... How does gelatin work to clarify stock? Does it really work?

How does it work?
The stock is frozen solid. Afterwards, the stock is wrapped in cheese cloth and allowed to thaw into a clean bowl while in the refrigerator. The gelatin forms a microscopic matrix that traps impurities, but he water is able to pass through.

Does it work?
That's the objective of this experiment to find out. :-)

I have 4 cups of broth that I divided into 2-two cup portions.
One portion will be the control (as is, nothing added) and the other portion will have gelatin added to the liquid.

Amount of gelatin?
0.5% per weight of the liquid.
The 2 cup portion of stock weighed 460 grams... so I added 460*.5% = 2.3 grams. My scale is not that accurate so I added a 1/2 teaspoon.

The gelatin was added to 1 cup of warm broth to soften for about 5 minutes. Afterwards, I added to the rest of the broth and brought to a boil.


The two portions of broth were placed in separate bowls. Covered with saran wrap and placed in the freezer for two days.

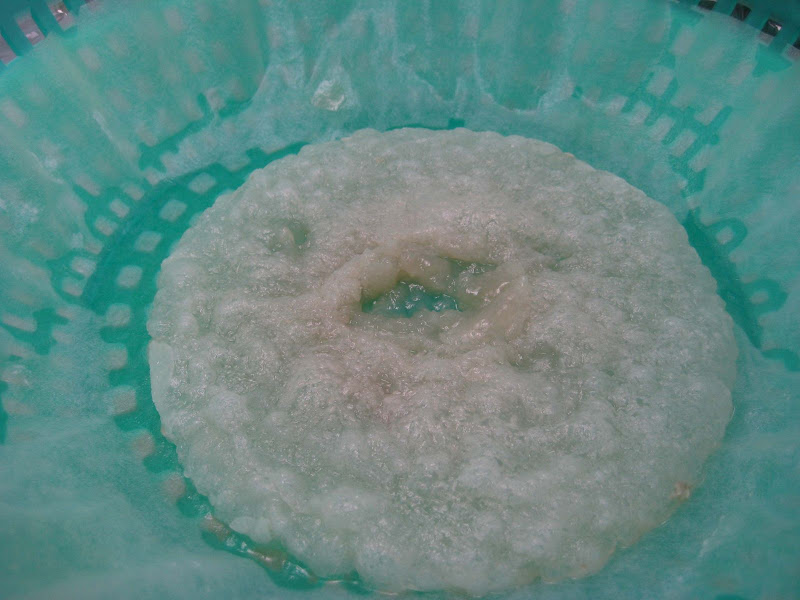
This is the basic broth - no addictions. Instead of cheesecloth, I used a coffee filter. This was placed in the refrigerator to thaw slowly.


After 36 hours, the only stuff left is a slimy puddle. Looks like the stock did contain gelatin from the chicken bones.


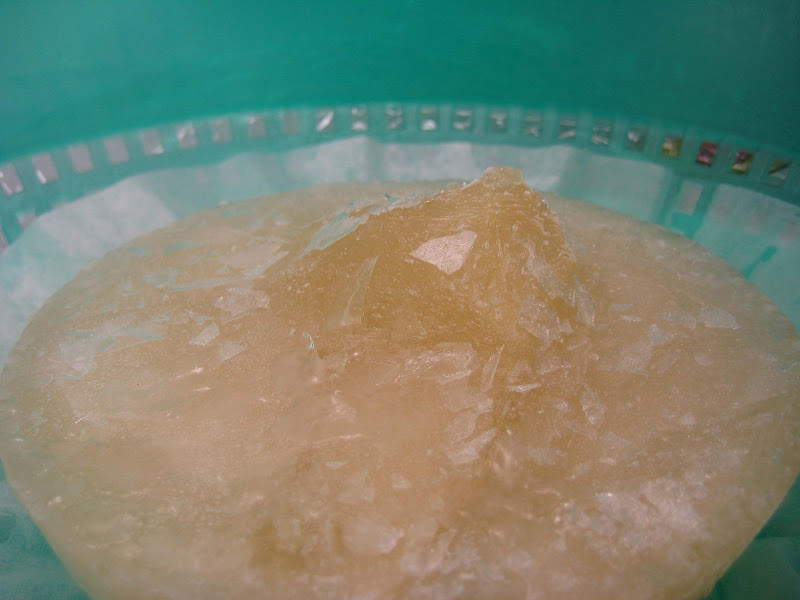
This is the broth with the added gelatin. Interesting thing to point out in both pictures, the little mound near the center of the stock-sicle. Water is one of the few compounds that actually expand when it freezes. (Typically, materials shrink as they get colder). You can tell the stock froze from the outside towards the center. As the stock expanded, it pushed the slushy center into a mound.


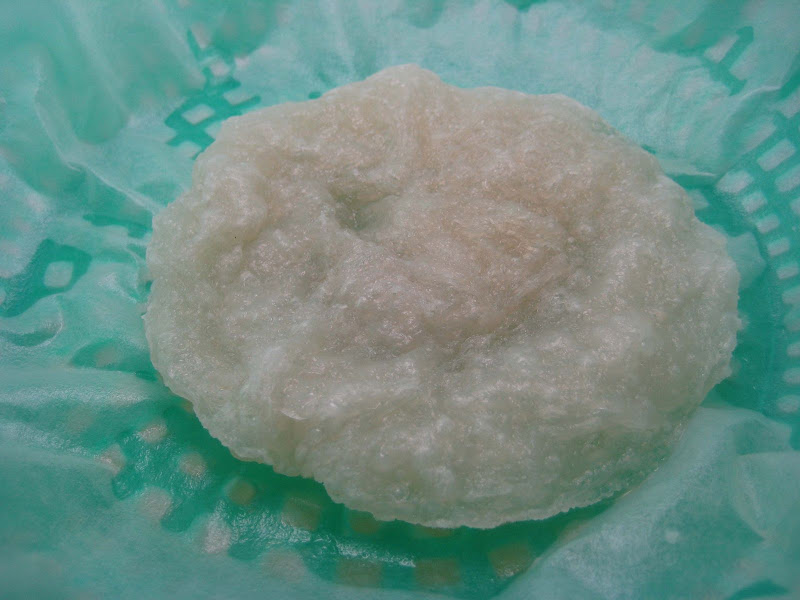
After 36 hours in the refrigerator, there's more slimy junk.


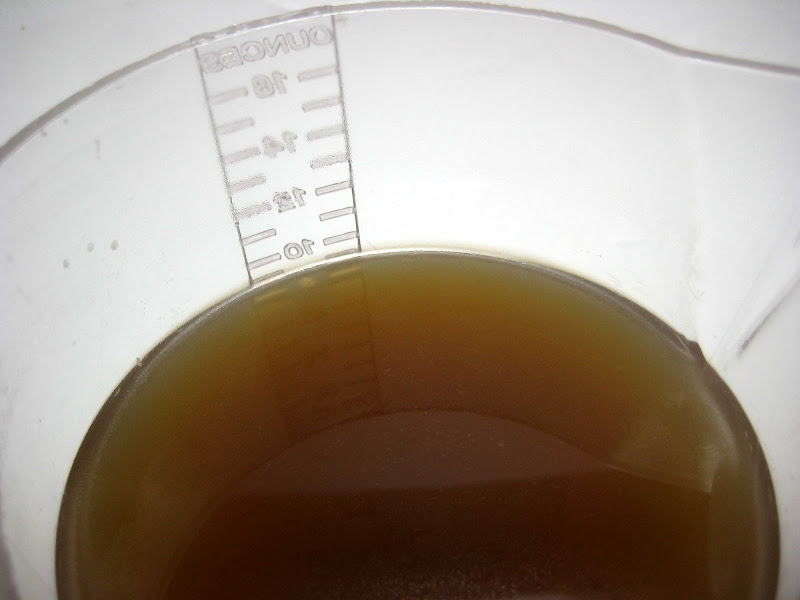
Surprisingly, both stocks were clarified. The little gelatin in the basic stock was able to filter out the impurities. The stock with the added gelatin was clear and seemed a little lighter in color. However, both had the clarity of a glass of white wine.
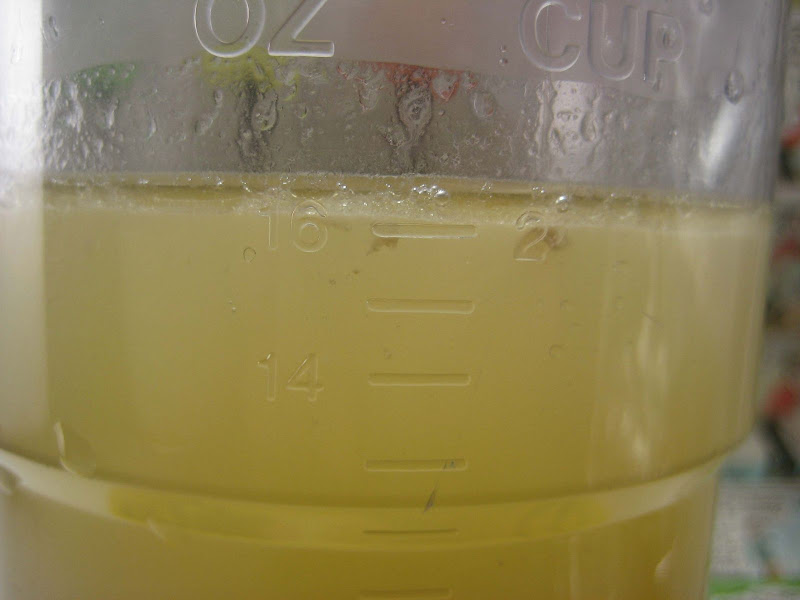
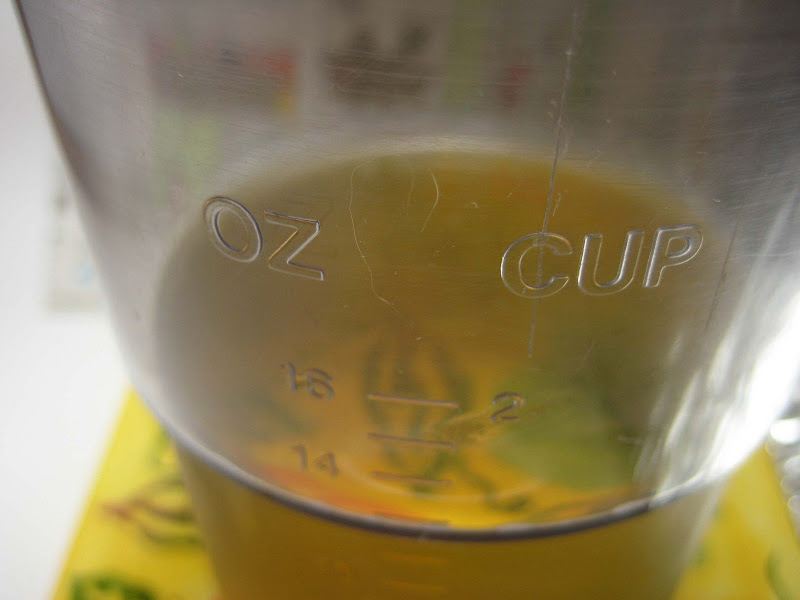
Both samples started with 16 fluid ounces.
Remaining stock (Control - no gelatin added): 13 fluid ounces
Remaining stock (0.5% gelatin added): 11.7 fluid ounces
I did not try squeezing any out of the coffee filter. The broth had 36 hours to drain. I figured what was still on the filter was trash.


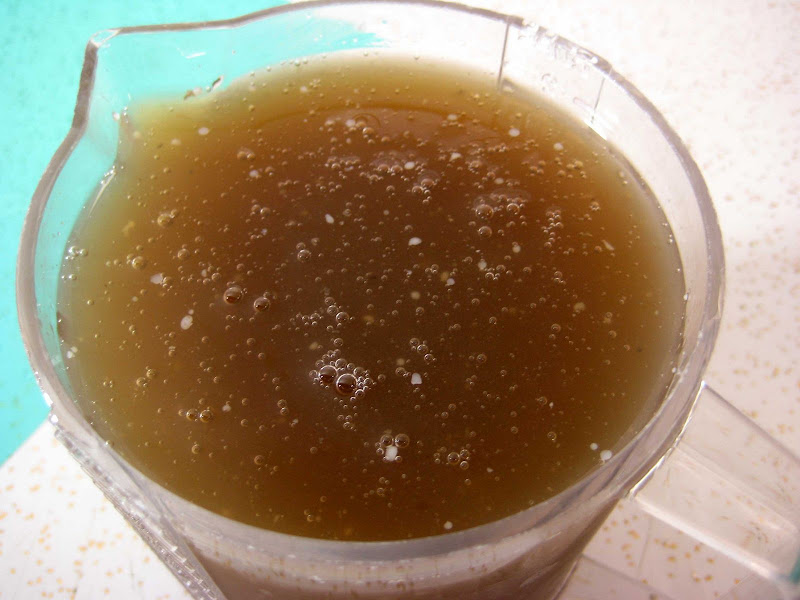
Bowl of stock before clarification.


Bowl of stock after clarification.


The gelatin worked at clarifying the stock. Typically, meat stocks made by boiling bones contain natural gelatin and additional gelatin isn't needed. However, the batch I made did not gel in the refrigerator so I figured I needed to added a little.

Based upon the results, I could have clarified the stock without adding the extra gelatin. However, adding the extra gelatin is just insurance.

Tasting
Currently, I have a cold so I can't taste much of anything.
The clarified stock was warm and soothing for my sore throat.
Other than that, I'd have to wait to get over my cold to get a real taste.

One of the pros of this method, you can use it to clarify almost any stock or juice.

One of the cons of this method is the gelatin in the stock and the fat are filtered out so you end up with a flavorful "water". Some people miss the mouth feel of the gelatin and fat in their stock.

Further Discussion and Information can be found at this link: Clarifying broth and juices with gelatin

Wednesday, September 10, 2008

Sep10: Clarifying Broth

I vaguely remember an episode of Iron Chef where one of the Iron Chefs was boiling a broth with egg whites and ground meat. According to the commentator, the purpose egg whites and ground beef was to clarify the broth he was making.

How is this so? Wouldn't you be making an egg drop soup?

Here's what I found out.
* Using egg whites to clarify a stock/broth is a common technique used in making consommé.
* The egg whites will coagulate into a fine mesh that will "filter" the stock as it simmers.
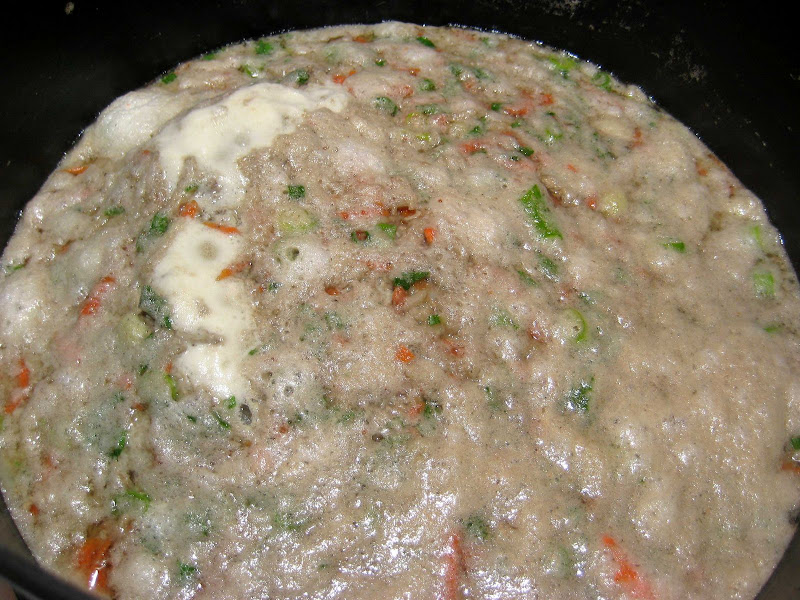
* Egg whites seem to be the key, but you can add julienned veggies for flavor the broth and to provide the support for the egg white raft (the stuff floating on top of the liquid.)
* Common additions are crushed egg shell, ground meat, carrots, green onion and other typical flavorings that go into a stock.
* Thumbing through Julia Childs' book, The Way to Cook, she uses 4 egg whites for 5 cups of stock.

Here's my pho stock out of the fridge which I defatted by pouring through a fine mesh strainer. A good sign for the stock is the gelling from the refrigeration. This means a lot of flavor was squeezed out of the soup bones and more. :-)
I have five (5) cups remaining after serving pho on Monday.


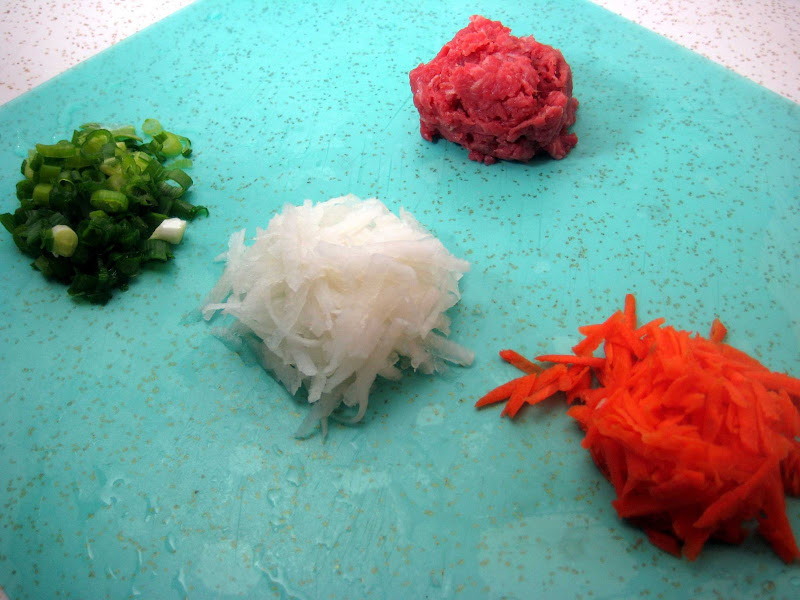
Here’s what I did to clarify the Pho broth...
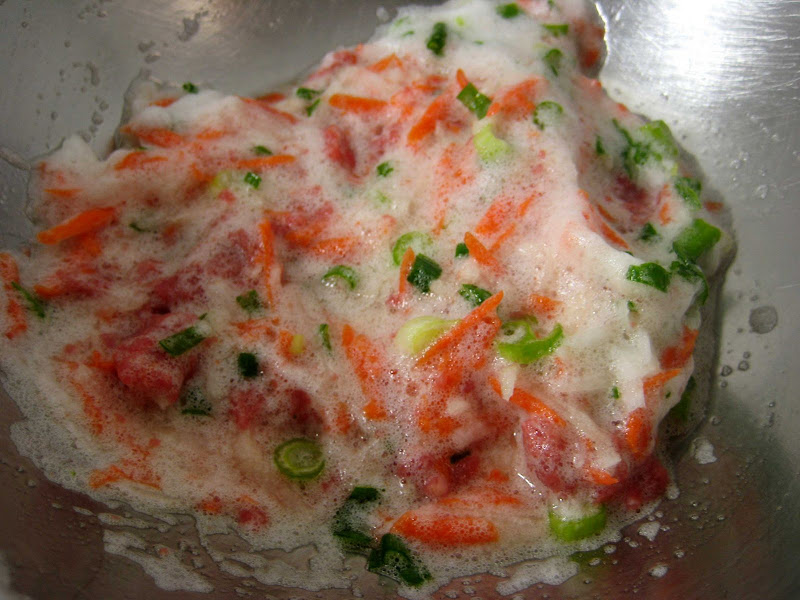
Green Onion, coarsely cut
1/4 C Daikon, shredded
1/4 C Carrots, shredded
1/4 C lean Beef, minced (trim off the fat)


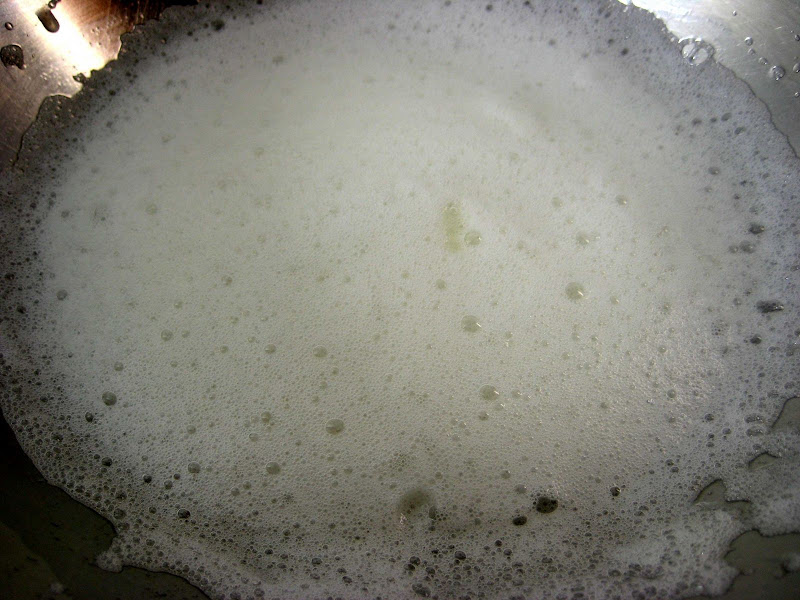
Two egg whites were whipped into a soft foam. I know Julia suggested using 4 egg whites, but that just seems like too much. In other words, I’m being cheap. Lol!


Mixed all the ingredients together into the egg whites.


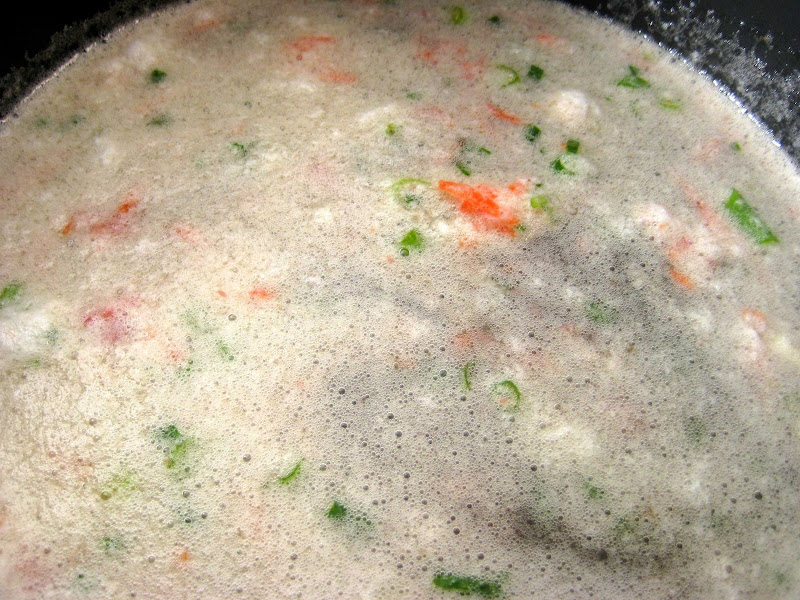
The egg white concoction was thoroughly mixed into the cold broth.


The broth was slowly brought to a simmer and allowed to simmer for about 35 minutes.


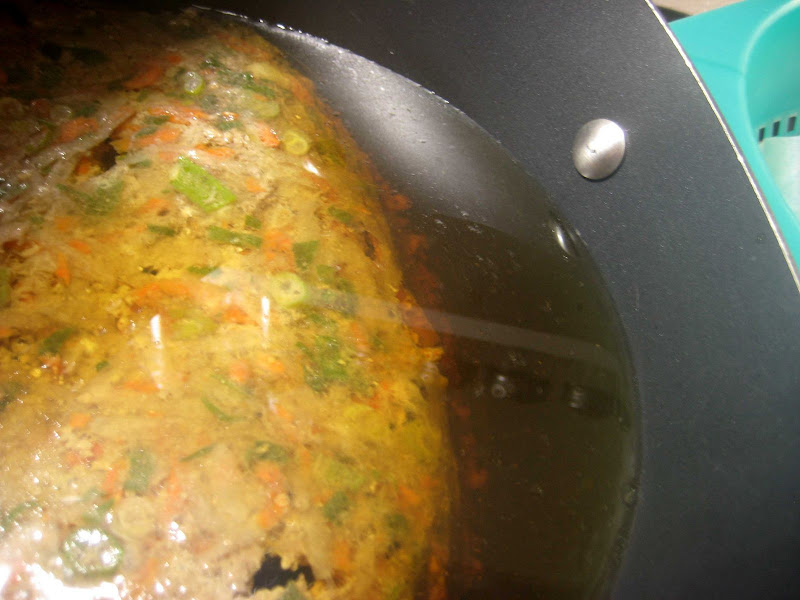
Wow! It worked!
I'm about to decant the broth into a colander lined with a coffee filter.


Before Clarifying (From Monday)


I would say it was a success. The muddiness is gone and now the broth is transparent. The broth looks like apple juice or apple cider vinegar. The extra ingredients also added more flavor to the so-so broth.

After Clarifying (Today)


More Info…
I found this discussion about clarifying broths using egg whites.
Also, it looks like someone watched the Iron Chef episode and was curious about clarifying broth too. :-)

http ://forums.egullet.org/index.php?showtopic=112366


Another method - you can clarify using gelatin instead of egg whites.
My post from Oct 3: http://eat4fun.blogspot.com/2008/10/oct-03-experiment-clarifying-stock-with.html

Tuesday, September 2, 2008

Sep 02: Eclair Follow-Up (The Experiment)

This is a follow-up/continuation of the Daring Bakers Challenge - Chocolate Eclairs which I posted Sept 31st.

I was initially disappointed with the results of the eclairs. The choux did not puff the way I imagined and some deflated into ladyfingers... and this (I thought) was supposed to be the "easy" part of the challenge.

Seeking advice in the Daring Bakers Forum, the advice centered around baking times. The reason for the deflating eclairs is undercooking. Another factor that I wasn't sure of was the consistency of the choux before piping. The recipe called for "ribbons". Julia Childs recipe shows a stiffer scoopable choux while Alton Brown's choux was in-between - soft but no ribbons.

The flat eclairs bugged me so much that I decided to make the choux recipe one more time, but this time I'll experiment with baking times. I also tried another consistency of the dough and another piping tip.

The Dough
The basic recipe was the same as the challenge... the only difference was the amount of egg added to form the final choux dough.

Try #1 - followed the recipe to the letter. The final dough was smooth and free flowing, but viscous like honey or molasses.


Try #2 - I looked through a Julia Childs cookbook and the picture of the finished choux was firm and scoopable. I beat the eggs this time instead of adding whole unbeaten eggs. This dough is scoopable. I added about 4 eggs instead of 5.


Try #3 (about 2 1/2 weeks after tries #1 and #2) - I caught Alton Brown's show on choux pastry. His recommendation was the dough should form a "V" when lifted by the spoon and it should tear. Again, I added beaten the eggs... added about 4.5 eggs. The texture was sticky... like getting stuck in the mud. Note the jagged edges where the dough did tear.


The Tip
The recipe called for a 2cm tip (which is about 0.75 inches).

Try #1 - used a ziploc with a corner cut out. Note eclairs are flat to start out with and not really round.


Try #2 - I noticed the end of my water bottle had a 0.75" diameter opening so I used that as a tip in the ziploc. :-) A little dough did slip pass the end of the bag.


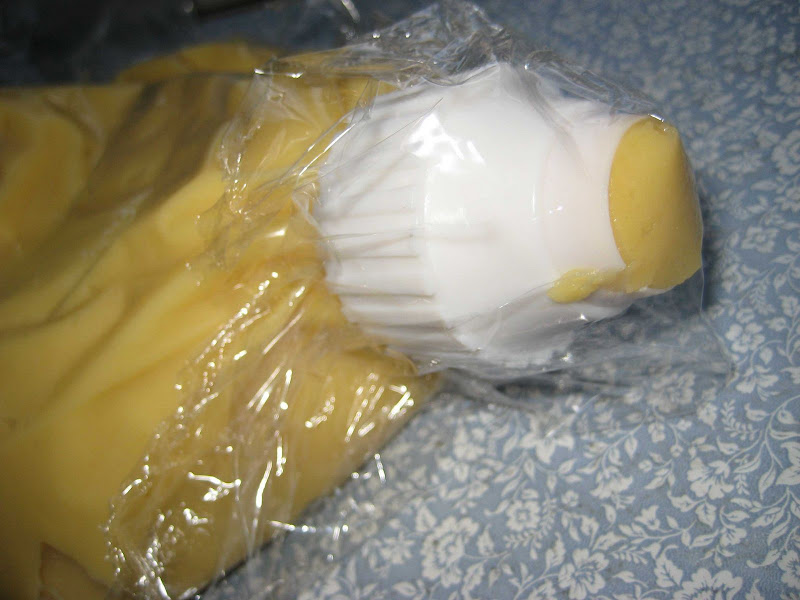
For Try #3 - I caved in and purchased a large piping coupler. I was actually looking in a craft store and there it was. Tip diameter is 0.75 inches. The coupler is two parts that screws together so there should be no problems with leakage.


The Baking Experiment
I decided on 6 baking times and temperatures
1. PH Method (Basic recipe) - 375F, with spoon, without spoon... 20 minutes total.
2. PH Method, no spoon - 375F no door propping, but rotated... 20 minutes total
3. PH Method With Water - Same as one except added a pan of water in the oven... 20 minutes total
4. CIA Method - 325F for 30 minutes (rotate at 15)
5. Alton Brown Method - 425F for 10 mins, rotate, 350F another 10 minutes... 20 minutes total
6. PH Method (Basic recipe) again to see if anything changed.

PH = Pierre Herme
CIA = Culinary Institute of America

Example: Experiment 3 - Water
A pan of water is placed in the oven while the oven is preheating. The water increases the humidity in the oven which is supposed to help the choux rise.

Note: I only baked 3 at a time.
From left to right:
W01 - as piped
W02 - scored with a fork (the lines are supposed to help the choux puff up like an accordion)
W03 - scored with a sharp paring knife (to see if a sharp cut into the dough would work better than the tines of a fork)


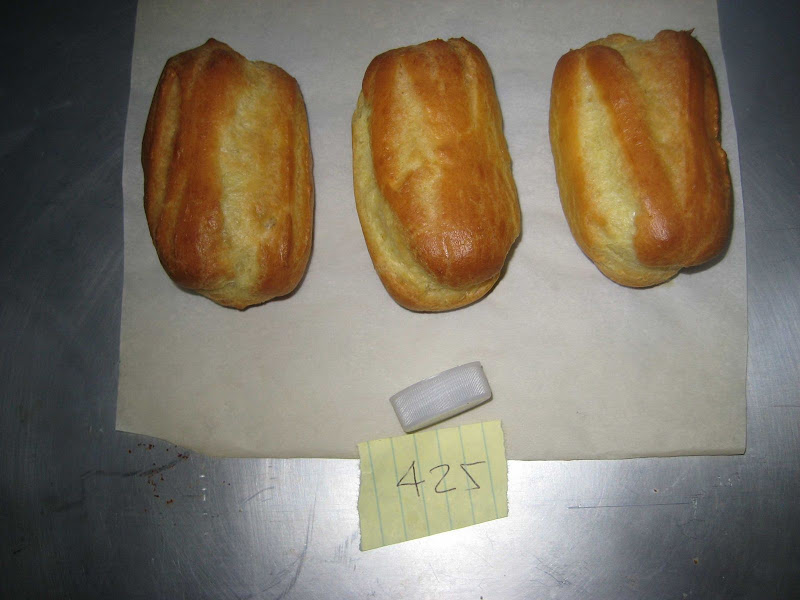
The finished results - The water bottle cap gives scale. The inner ring (dark) is 0.75 inches.
Definite puffing in this shot. Taken out of the oven. No deflating.


A top view - an increase in width too! All these sizes are about the same, but the knife slits seemed to puff the best.


These puffed the most and were baked at 425F. Makes sense. More heat gives more steam.


Comparison of all the results for Try #3.
All methods puffed really well and there was no deflating.
The water pan seemed to help with size, but the choux baked at 425F seemed to puff the most.
Using a knife to make shallow grooves seemed to help. However, using a knife to make grooves should be done on the sides so the top is thicker and uniform looking.


Try #3 - The finished eclairs. Made the chocolate pastry cream filling, but he topping this time is a ganache (because it was easier).


Conclusion - All baking methods seemed to produce good results. General rule of thumb... The hotter the oven the better.

However, I'm starting to believed dough consistency contributes a lot more to the final product size. For example, the ribbony choux produced flat eclairs (too much liquid?) while try #2 was better but still had some deflation (too little water?) and try #3 was the best. A lot of puffing and no deflation.