Thursday, September 18, 2008

Sep 18: Cutting up a Chicken

"Cut it up!" "Cut it up!" "Cut it up!"
Is one of the catch phrases for Chef Martin Yan on his PBS cooking show, Yan Can Cook.

Part of his campy shtick is his demonstration on breaking down a chicken in 18 seconds.


I can't break down a chicken in 18 seconds. Maybe two minutes in more my speed.

**** Warning! I will be cutting a chicken in this post ****
**** Not for the squeamish! ****

I had a roommate in college who had no problems eating meat or chicken, but preparing chicken freaked him out. I remember one day I was prepping a chicken when he walked into the kitchen. He saw chicken and gasped like he saw a ghost!

Before I continue with the post... I read through Julia Childs book and her recommendations. What struck me was her methods and concerns about dealing with raw chicken. Her method reminded me of The Anal Retentive Chef skit from Saturday Night Live.

Here for your view pleasure :-)

Oops... I can't embed the video... so you'll have to go check it out at NBC.
Anal Retentive Chef Clip <--- The clip is quite funny.

According to Julia, you need to lay ample amounts of newspaper around the area. Have your area ready, towels, dishes and knives at the ready.

My three favorite knives and a good pair of kitchen/poultry shears. This time, I picked the shears and the knife (the sharpest) below the shears.
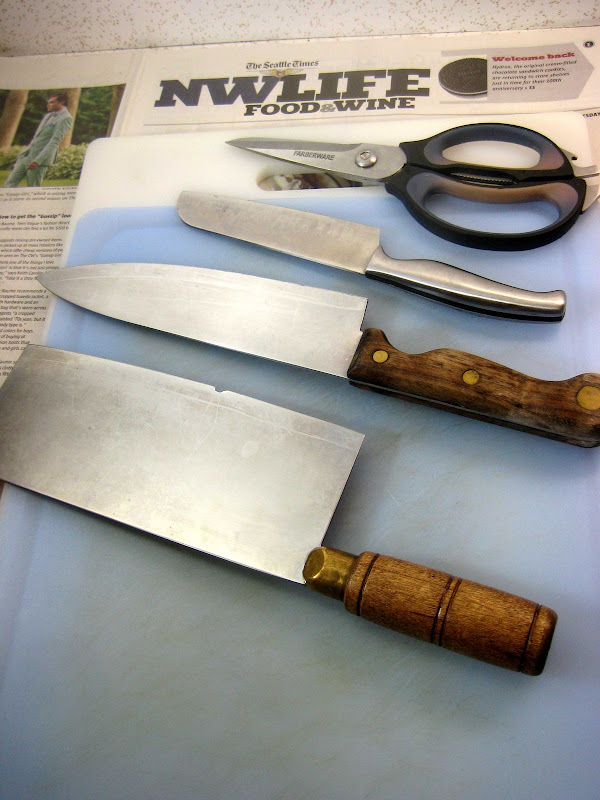

One word about the cleaver. It's more of a Chinese vegetable cleaver that's good for slicing and light chopping. I tried chopping a chicken bone one time and you can tell the chicken bone won that round... lol!


When buying a chicken at the supermarket, look for the chicken with the least amount of discoloration on the wing tip. In the USA, chickens can be labeled as "fresh" when they're not stored below 26F. The theory is least amount of discoloration the fresher the chicken.


Remove the extra fat and giblets. Wash the chicken inside and out. Dry.
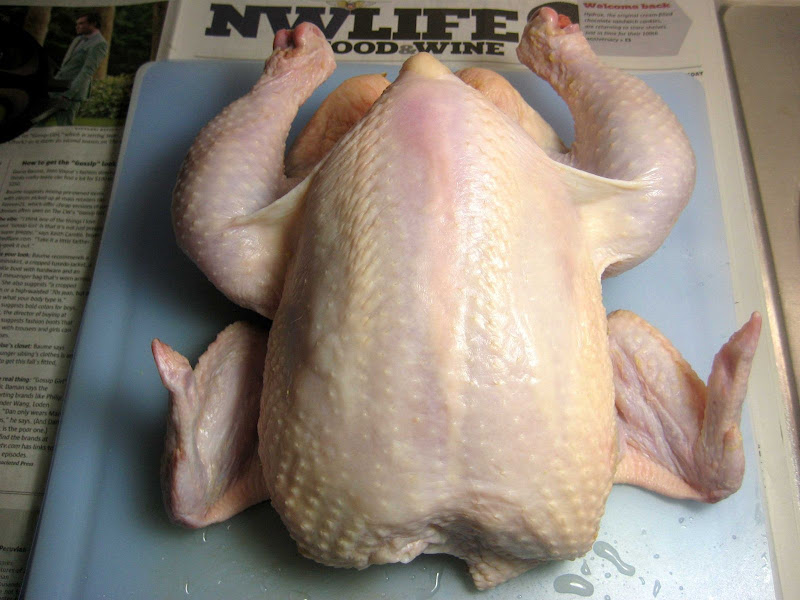

Wings
[left photo] Grab the wing and roll chicken on it's side to see the crease where the joint is located.
[right photo] Cut through joint to remove the wing.


Chicken Breast
For the breast you can have the bone-on or boneless. I, generally, go the boneless route.

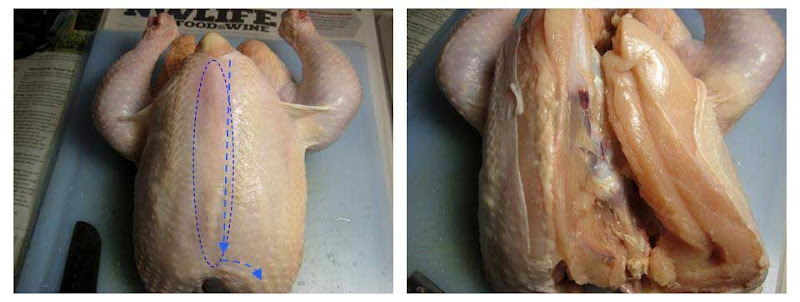
Boneless Chicken Breast
[left photo] Along the top center-line of the chicken you'll see a ridge and a line of fat. That is the keel bone of the chicken (shown in the dashed oval).
[right photo] Cut along the side of the keel bone and use the bones to guide the knife under the breast. At the front of the chicken is the wishbone, just let the wishbone guide the knife.

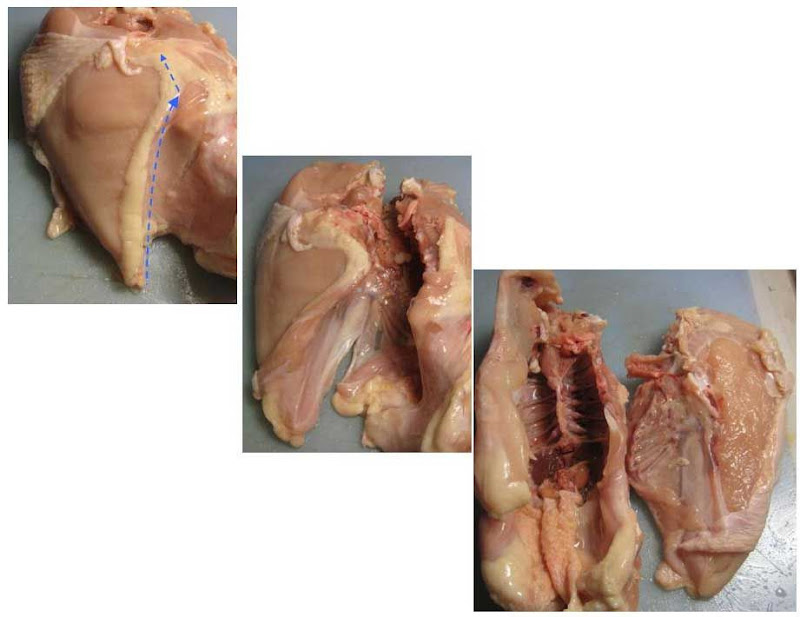
Chicken breast - rib still attached.
[left photo] Lay the chicken on its side... the line of fat is what I use as a reference. Shears makes this part easy.
[middle photo] The breast is now cut away from the backbone.
[right photo] Roll chicken breast side up. Cut the breast meat away from the keel bone or you can use the shears to cut through the keel bone (can be difficult). When the breast is cut off the keel bone, use the shears to cut off the breast with the ribs still attached.

Leg Quarter
[left photo] For the leg quarter, pull up on the leg and slice through the skin.
[right photo] Pop the joint and slice from back towards the front.


Splitting the Leg Quarter
[left photo] Use the line of fat (shown in the oval) as a reference to find the joint.
[right photo] Slice down and through. Now you have a drumstick and a thigh.


Breaking down is very straight forward. The natural creases, ridges, lines of fat in the chicken act as reference points to simplyfy the whole process.

The Chicken cut into pieces - still need to trim the fat and skin, but the big task is done - breaking down the chicken.
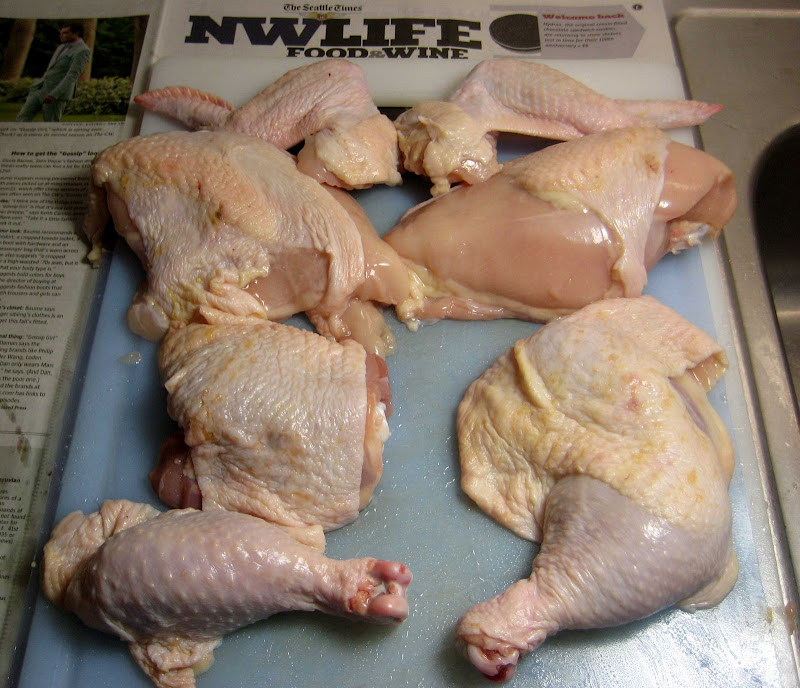

Cost:
Chicken was on sale for $0.79/pound.
Chicken weight on package: 5.66 pounds
Cost for the whole chicken: $4.47

What I ended up with after trimming excess fat and removing excess skin.
Boneless, Skinless Chicken Breast:1.42 lbs (Typically at $3.49/pound=$4.95)
Wings: 0.63 lbs (Typically at $2.29/pound=$1.45)
Thigh: 0.92 lbs (Typically at $1.29/pound=$1.19)
Drumsticks: 0.62 (Typically at $1.29/pound=$0.79)
Total Cost, if purchased separately, $8.38

Savings by buying whole: $3.91 !!!
Even if you only like boneless chicken breast... you still come out ahead buying whole that's on sale.

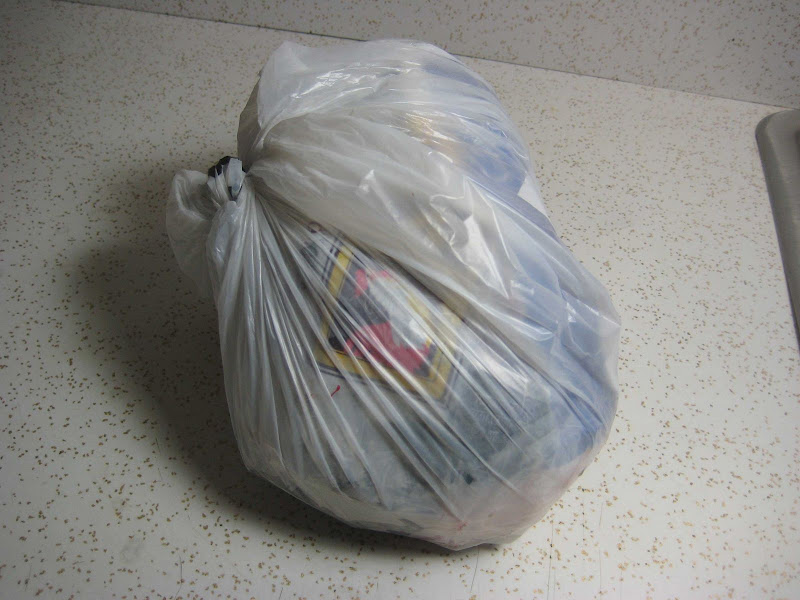
As you can tell, I can never be an anal retentive chef.
1. No aluminum foil.
2. Corners aren't squared.
3. No Tape to seal package.
Tuesday, September 16, 2008

Sep 16: New Watch ???

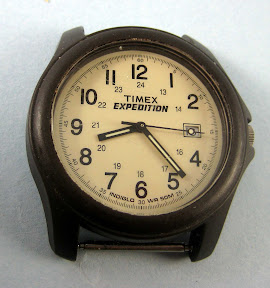
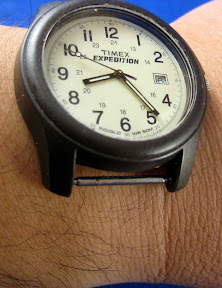
The boys were so concerned with my wrist watch tan that they left me a new watch when I got home from work.

Watch with an invisible band?


No more unsightly tan lines around the wrist! (It's a vanity thing... Not to be confused with Vanity 6.)


The reality...
Owning hounds dogs can be a challenge. They're able to sniff stuff out with ease.
I left for work this morning, but couldn't find my watch.
I guess one of the boys found it for me and wanted to let me know. lol!

Can you guess which one left me a new watch?
Click on one of the dog's image to find out. :-)

DDD - A fence climber, counter jumper, cat food stealer and George Foreman breaker


DD - Money-eater, carpet ripper, cat food stealer when low to the ground.

Monday, September 15, 2008

Sep 15: Pork Chop Dinner (Part 2)

Continuation from last night's dinner: Pork Chop Dinner

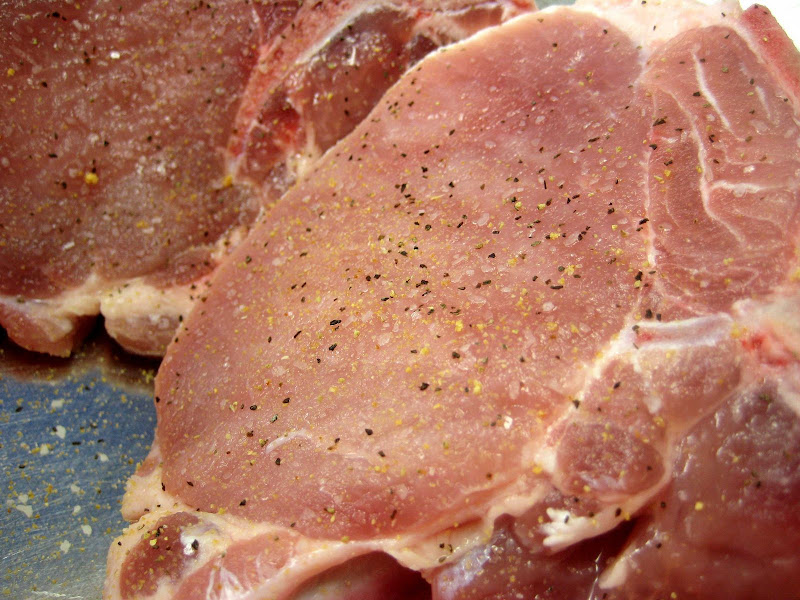
Rinse and dry pork chops.

Season each pork chop, both sides, with kosher salt, pepper and garlic powder.
Let the seasoning meld for about 30 minutes. (During which I worked on the scalloped potatoes.)


The pork chops were pan fried for about 5 minutes each side, to brown, using medium to medium-high heat. Next, the heat was lowered to medium and covered with about 1/4 cup of broth to steam a few minutes... about 5 to 10.

After the 5 to 10 minutes, the pork chops were moved to a plate.

Quick Pan Sauce
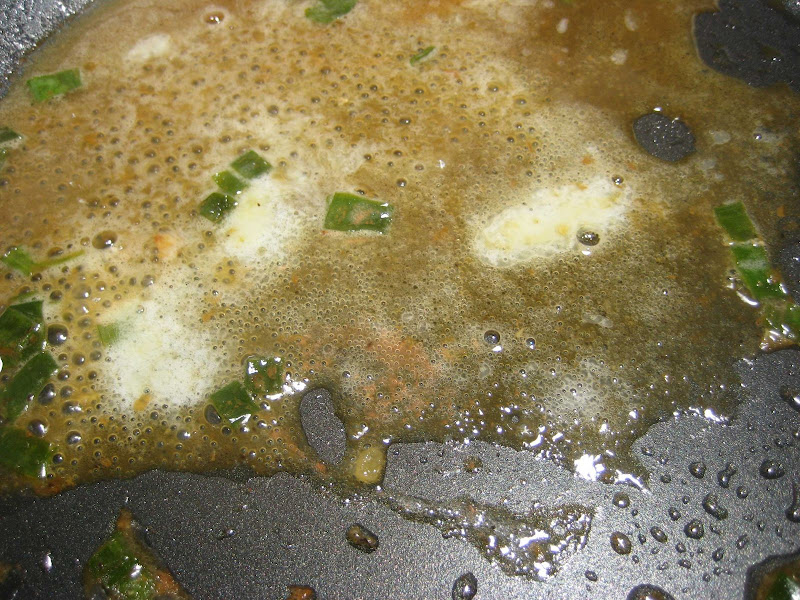
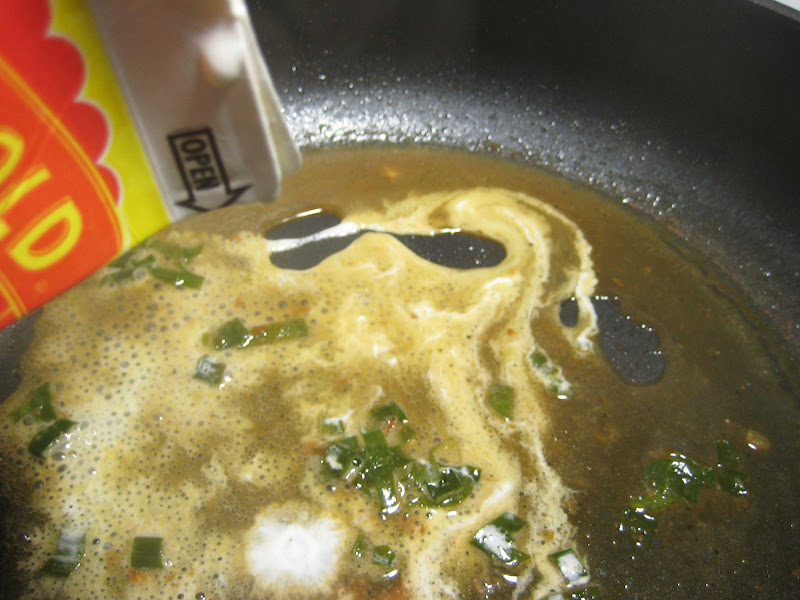
The pan was deglazed with about 1/2 cup of broth with 1/2 t (teaspoon) of cider vinegar and 1 T (Tablespoon) of green onions.

When the liquid reduced by 1/3, 1 T (Tablespoon) of butter was added, mixed in and allowed to reduce a little more... medium heat.


After which, about 1 T of cream was added to thicken.


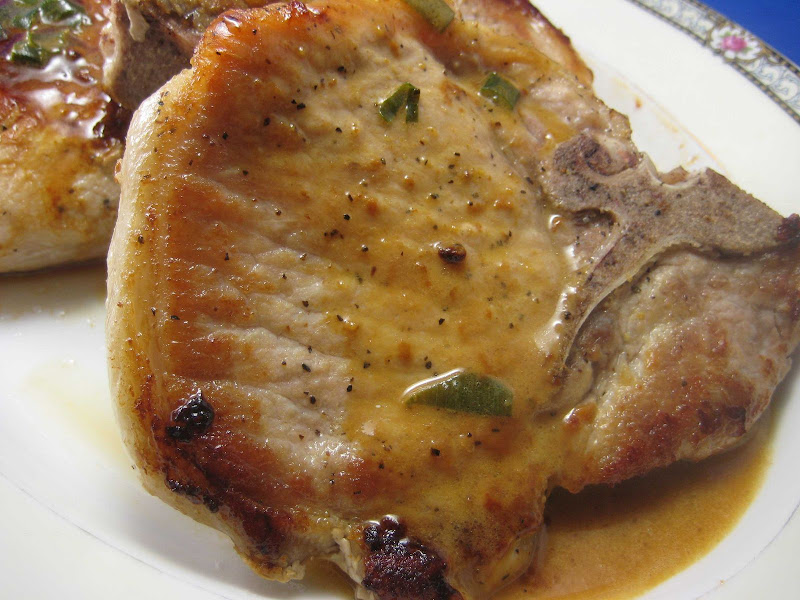
The pan sauce was poured over the plated chops and served.

Sunday, September 14, 2008

Sep 14: Pork Chop Dinner

As Peter Brady would say, “Pock Schops and Apple Shawz”

Actually today’s dinner was more than pork chops and apple sauce. I made my version of au gratin potatoes which, to me, is sliced potatoes with onions and cheese. Some people like the dish saucy while I like the dish with less sauce.

The Dinner: Peas, Pork Chop, Apple Sauce and the Au Gratin Potatoes.


Now I’m not sure what the difference between au gratin potatoes and scalloped potatoes are… I think one has cheese (au gratin) and the other has more of a cream sauce. No matter what the difference… I get to use a gadget. :-) A Martha Stewart mandoline. Did she sell these for her legal defense fund? I don’t remember. Lol!

Au Gratin Potatoes
Preheat Oven 400F

The Fixins’
5 Red Potatoes, sliced thin
½ Onion, sliced thin
¼ to ½ t Thyme
¼ to ½ t Tarragon
½ cup broth
½ C Cream
½ C Croutons, onion and garlic flavored, crushed
½ T Butter, soft
1 C Cheddar, shredded (reserve ¼ C for the topping)

Use the mandoline to slice the red potatoes… The thickness was about 1/8”. However, for russet potatoes I would go thicker... maybe twice as thick.


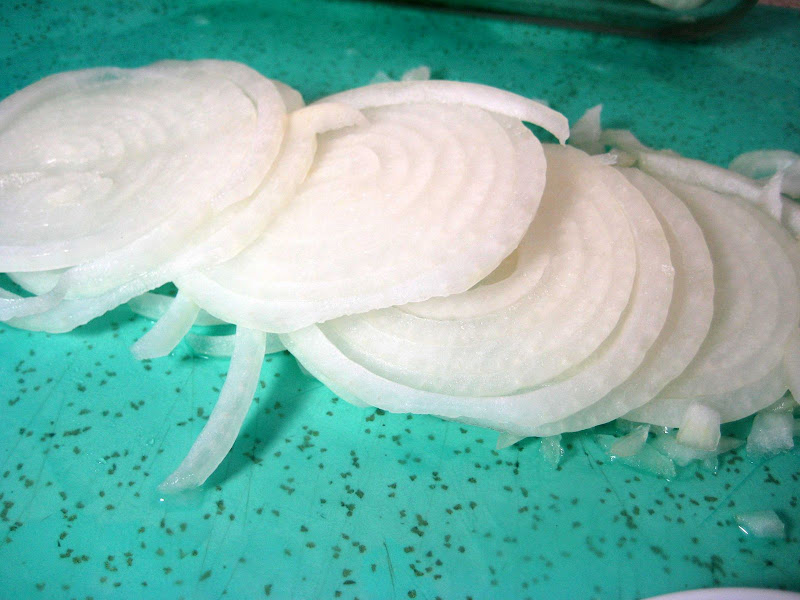
Sliced onions


I sauteed the onions lightly in butter with the salt, pepper, thyme and tarragon. Objective is not to really brown, but to sweat the onions to they release some flavor.

Another problem I’ve had in the past with scalloped potatoes is that the potatoes take a long time to cook thoroughly. I decided to lightly cook the potatoes before layering in the baking dish. Also, for me, it’s easier to judge the amount of salt and pepper when the potatoes are spread out.
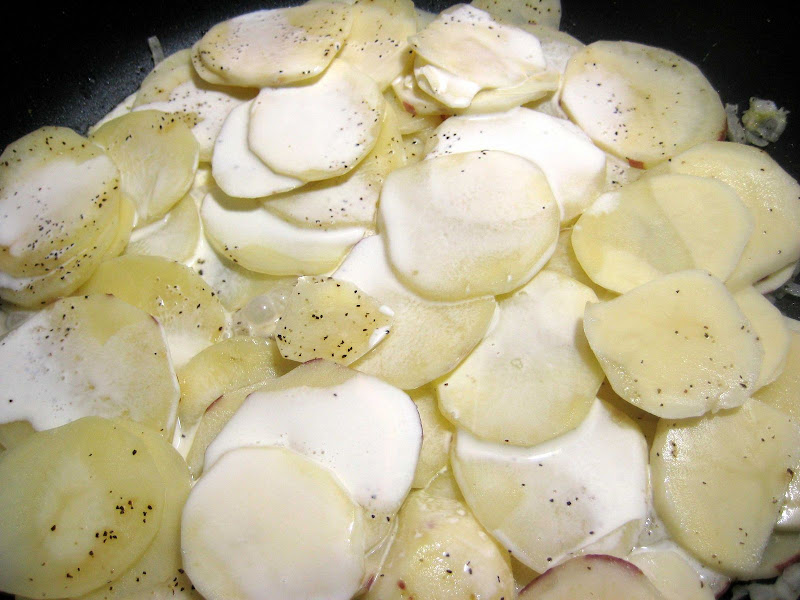
After the onions have sweated for about 5 minutes, I added the potatoes and about ½ cup of broth. Just enough to steam the potatoes. Cover and simmer for 5 minutes.


After 5 minutes, the potatoes are starting to cook. I add about ½ C cream for some richness. Carefully mix the potatoes, onions and cream.


Layer into a 8” x 8” Pyrex dish. Add cheese between layers. I did three layers, but could have gotten by with two.


Add the remaining juices over the top layer.


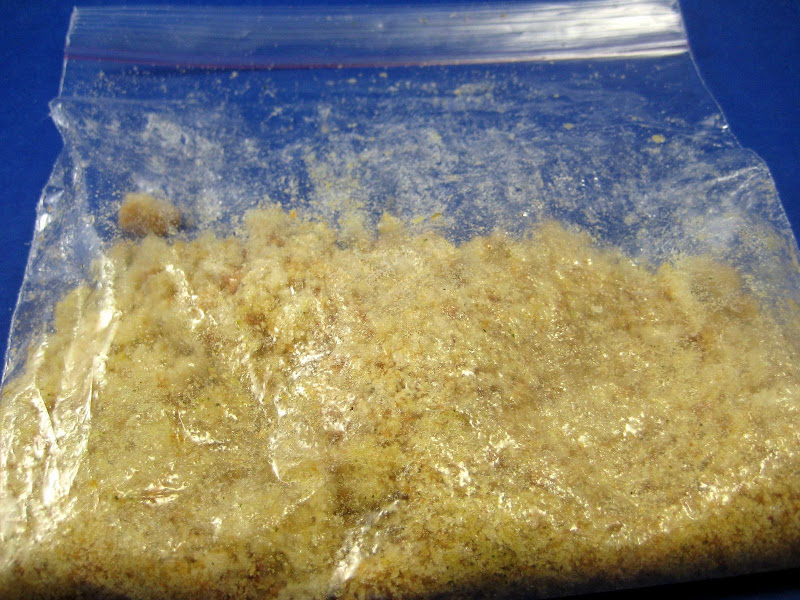
I’m not sure if au gratin potatoes have a bread crumb topping or that’s scalloped potatoes. I decided to add a crumb topping, but didn’t have bread crumbs. I did have onion and garlic croutons… ½ C croutons in a Ziploc.


Vent aggression! Crush, smash and pulverize the croutons.
Next, add ½ T (Tablespoon) of soft butter and ¼ C shredded cheese.
Mix thoroughly.


Top the potatoes before baking.


Bake 400F for about 40 minutes.
Right out of the oven.


This is how it looks.


The Taste
The flavor of the onions and herbs flavored the dish through out, but not overpowering. The topping crunchiness was a nice contrast to the softness of the potatoes. Cheesy but not saucy. The dish turned out very nicely.

If you want more sauce, double the liquids: Broth and cream/milk.

Saturday, September 13, 2008

Sep 13: Lumpia and Pancit (Part 2)

This is a continuation from yesterday’s post (Lumpia and Pancit)

As I mentioned, my close friends growing up were all Filipino. Eventually, as we grew up, a few friends moved away (as I did too), married and became civilized, but one dude I kept in touch with – Prestone (his nickname) stayed local. We would hangout when I was in town.

I asked him (he deferred to his wife) how pancit was made. The following is what I was shown. His wife didn’t have a written recipe and ingredients weren’t measured out. She made pancit, as anyone who’s made a recipe many times over, based upon a little of this and that.

I was familiar with many of the ingredients from my family’s cooking.

My version of pancit uses the ingredients as shown to me. The quantities are based upon my preference – more veg, less meat.

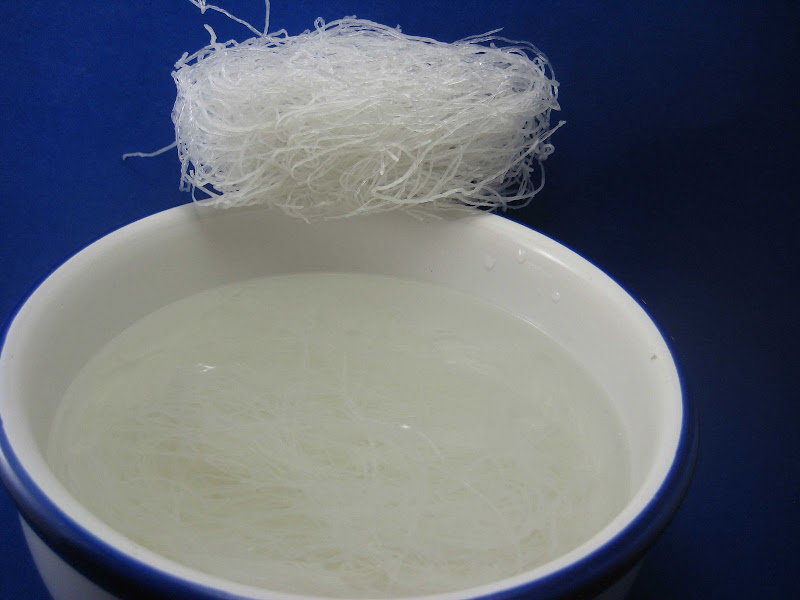
The noodles – Mung Bean Vermicelli noodles. (Recipe found on the internet uses rice noodles).

Soak in cool water until soft and pliable.


My Version of Pancit
The Fixins’
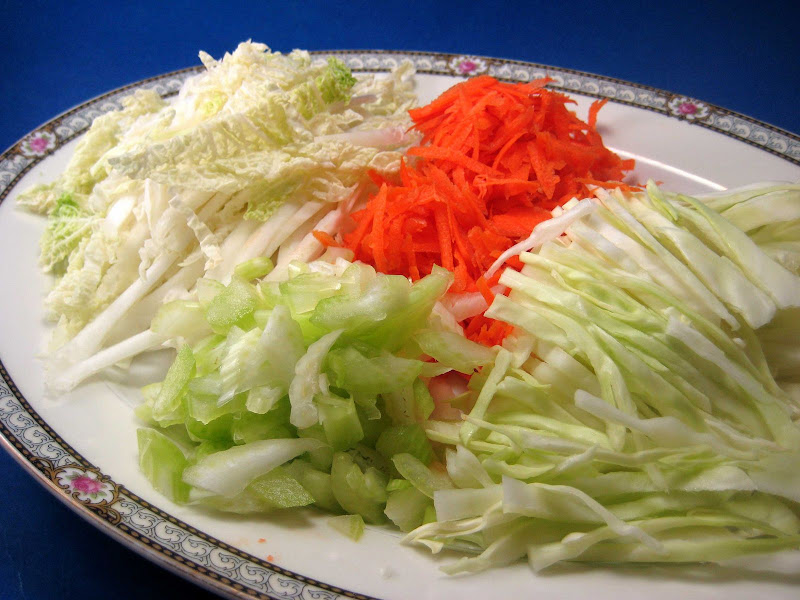
1.5 C Cabbage, sliced thin
1.5 C Nappa Cabbage, sliced thin
1 Rib Celery, coarse chop
1 Carrot, shredded
½ Chicken Breast, sliced thin
1 Green Onion, coarse chop
2 Cloves Garlic, pressed
1 C Chicken Broth
1 T Soy Sauce (actually to your own taste)

The vegetables


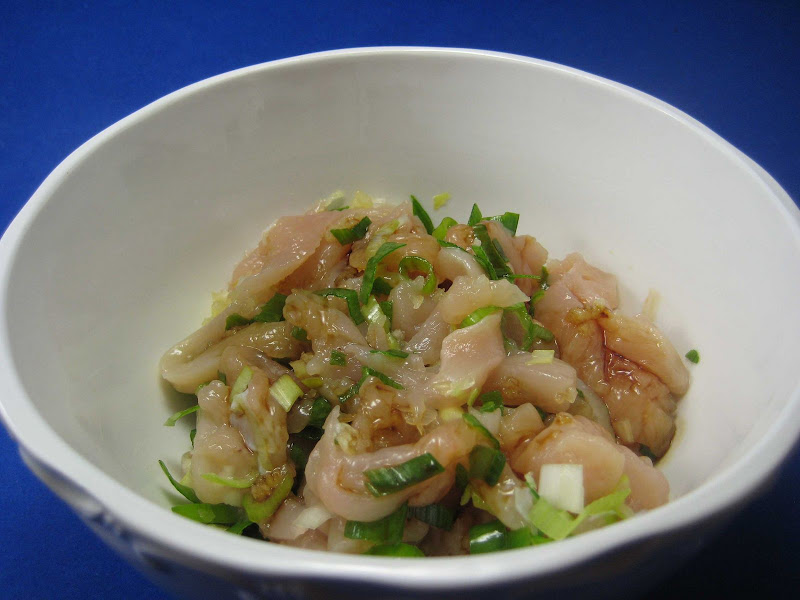
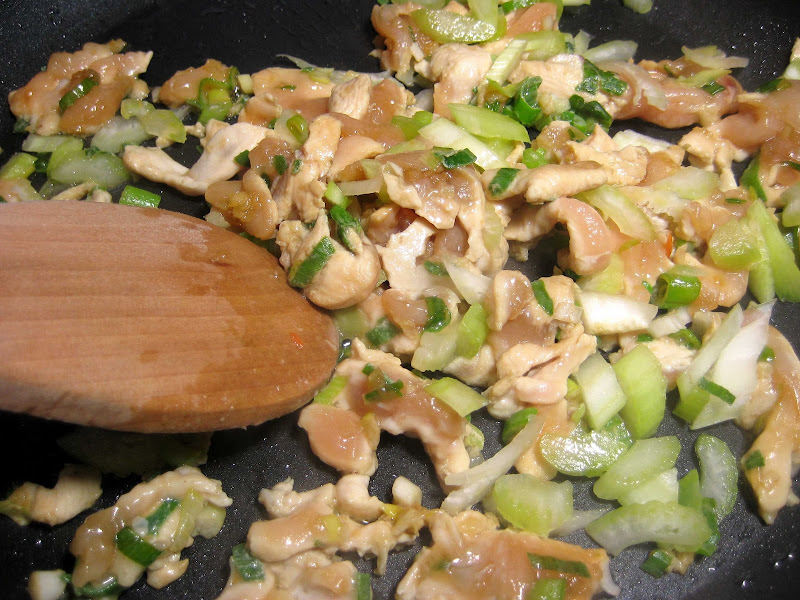
The chicken was mixed with the green onions, garlic and about 1 t (teaspoon) of soy sauce and allowed to marinade for a few minutes.


Saute the chicken. You’re not really trying to brown the meat.


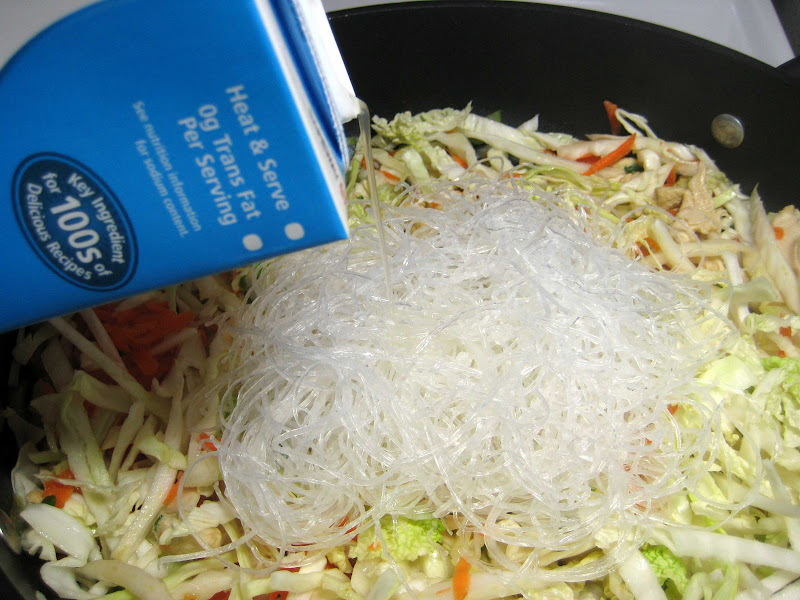
When the chicken is nearly done, I added the vegetables, noodles and broth. (This is where I goofed on the recipe. I should have added the veg and some broth first to precook the veg with the lid on. The noodles are added and cooked with the lid off)


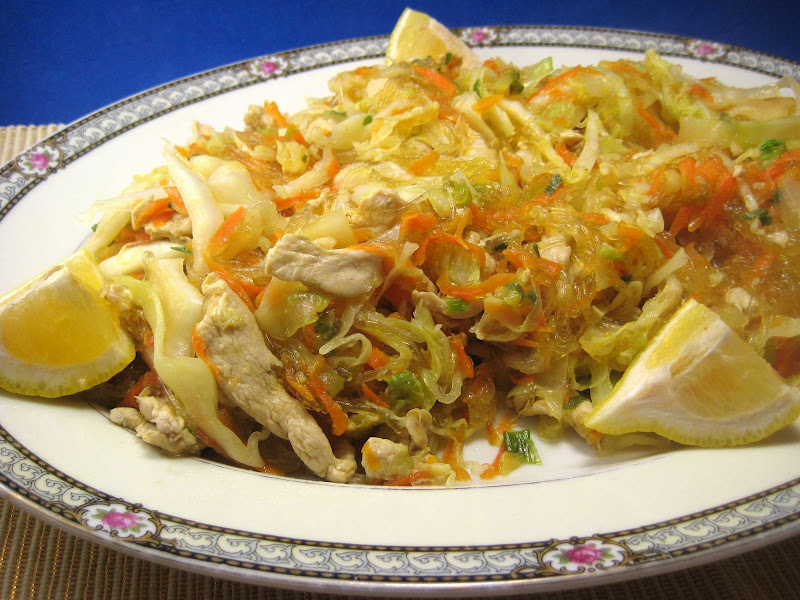
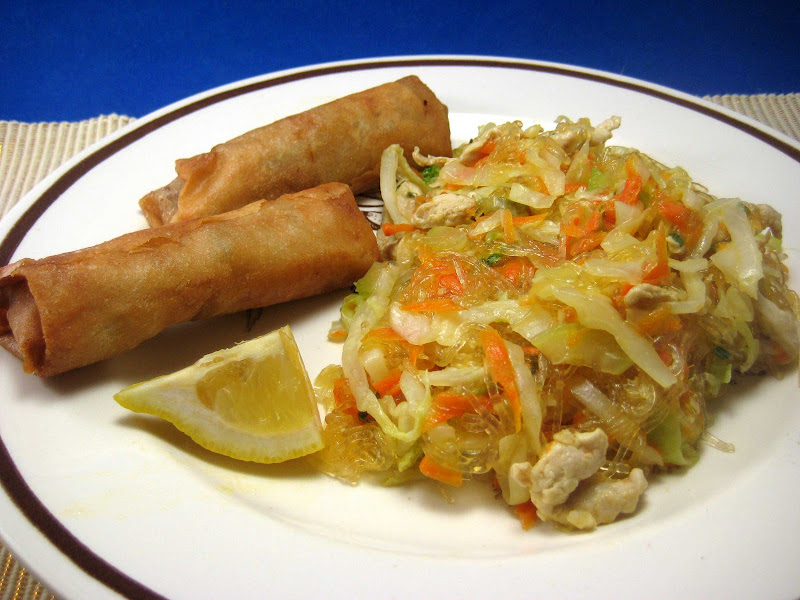
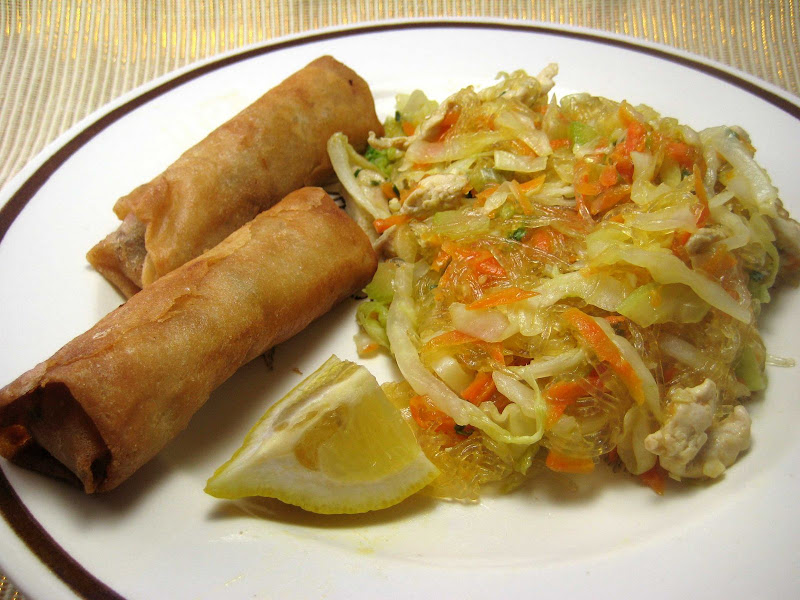
The completed pancit served with lemon wedges.


The pancit was very flavorful. The garlic, green onions and celery were reminiscent to a stir-fry. I really didn’t have to add soy sauce since the broth added sodium and flavor.

However, the noodles did absorb a lot more liquid and softened more than I wanted. I should have allowed the veg to cook first.

Overall, the lumpia and pancit were very flavorful. A few missteps on my part, but that’s straight forward to fix.


Recipes found on the Internet:
Lumpia Eight (8) recipes found on Allrecipes.com
Pancit Five (5) recipes found on Allrecipes.com

Friday, September 12, 2008

Sep 12: Lumpia and Pancit

Dinner tonight is homemade lumpia and pancit. Both are pretty standard Filipino dishes and these are my attempts to make my version of those classics.


I grew up in a diverse neighborhood, but my friends through grade school to community college were all Filipino. My neighbors were Filipino too. A couple dishes seem to come to mind when I think about potlucks and parties are lumpia and pancit.

Today, I’ll detail my recipe for lumpia.
Tomorrow, Pancit (Lumpia and Pancit Part 2)

A lumpia is essentially a Filipino egg roll or spring roll. The main difference is a lumpia was rolled into a tighter package with sizes ranging from AA batteries to small cigars. I’m sure people do made lumpias larger, but small is what I remember.

A couple other characteristics I remember was the fried lumpia was smooth, while Egg rolls tend to have a coarse bubbly exterior. The filling was mainly ground meat (pork?) and maybe bean sprouts. I just seem to remember it was pretty much an all meat filling.

For my attempt, I made more of an egg roll filing - ground pork and veggies. I added garlic chives and water chestnut which I needed to use up before they went bad.

In other words, the filling is just what you have available.

Fried Lumpia

The Fixins'
1 lb Ground Pork
1 C Cabbage, Shredded
1 C Bean Sprouts
½ C Carrot, coarse chop
½ C Water Chestnut, coarse chop
1 Green Onions, coarse chop
1 ½ C Garlic Chive, coarse chop (Optional)
2 T Soy Sauce
2 T Oyster Sauce

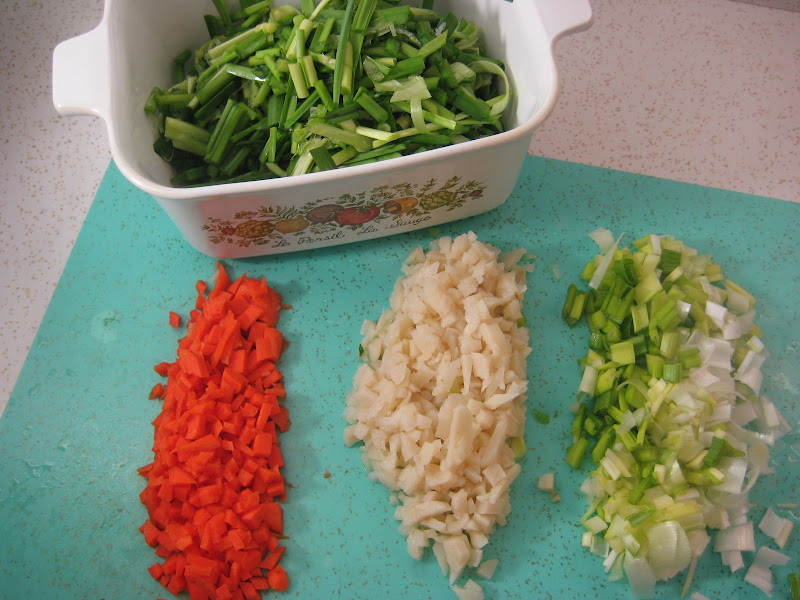
Some chopped veg…


Sauté the ground pork until almost cooked and add the rest of the ingredients.
Drain mixture in a colander and allow to cool.

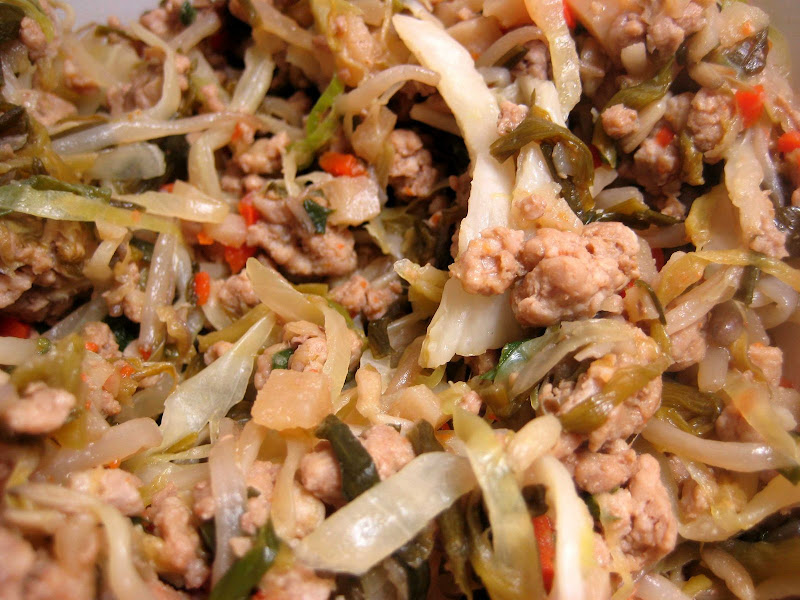
The completed filling


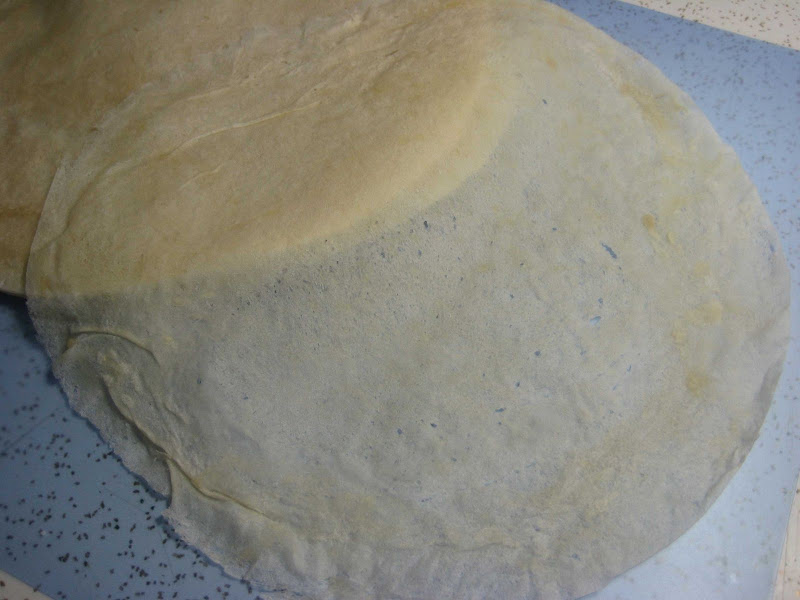
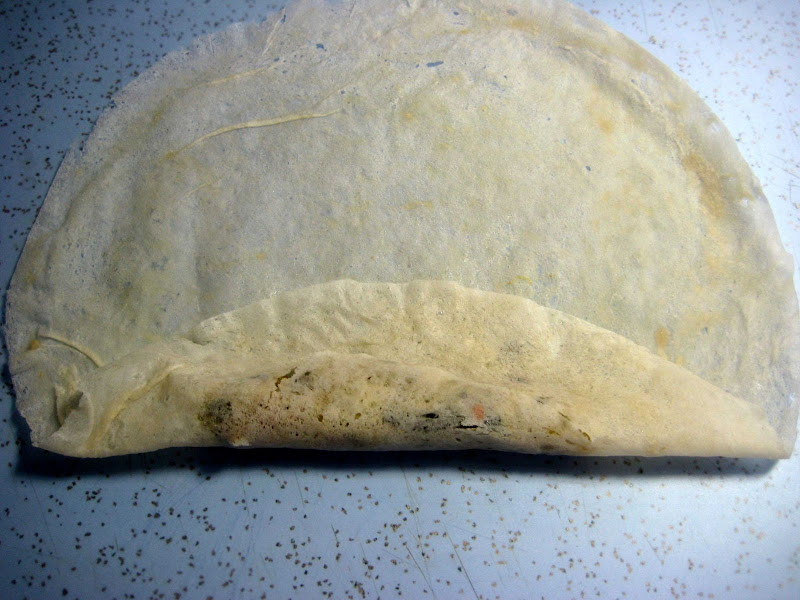
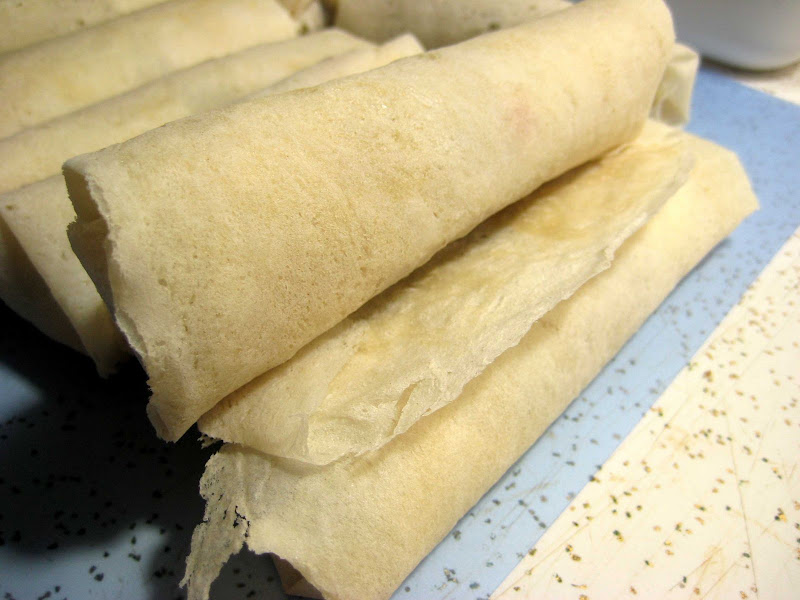
These wrappes are round. I thought they would be square. Also, the wrappers are similar to a thin crepe.


Filling and Rolling
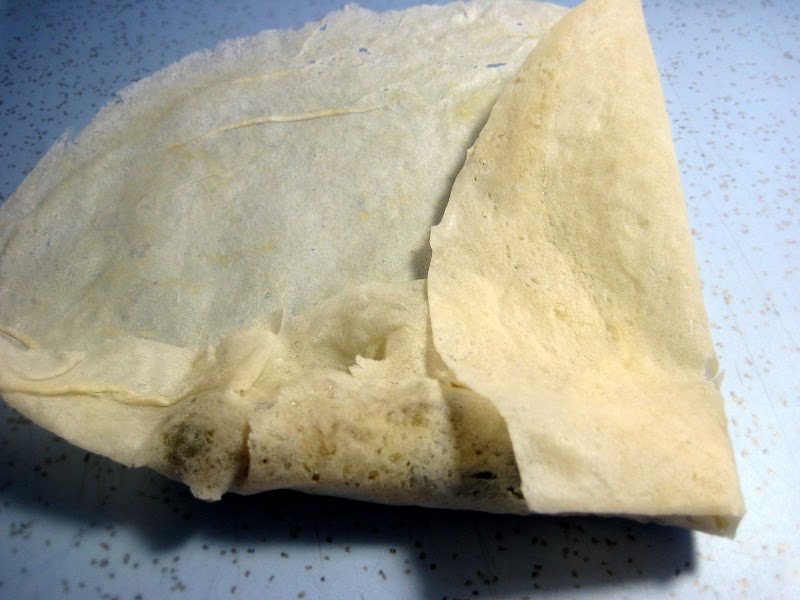
2 T of filling in a line about ¼ away from edge. Fold over and pull the top fold towards you to compact the filling.


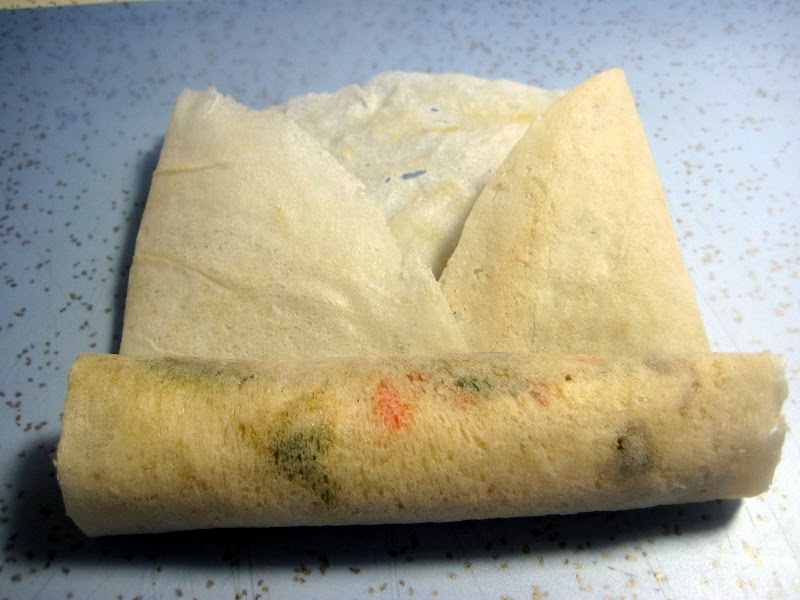
Fold over edges


Roll…


For some reason, egg or water couldn't seal the end of the roll.


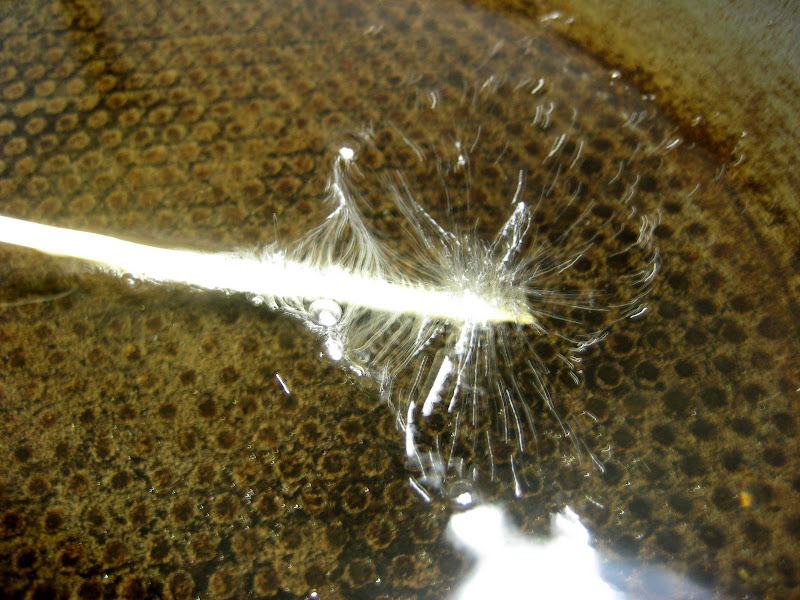
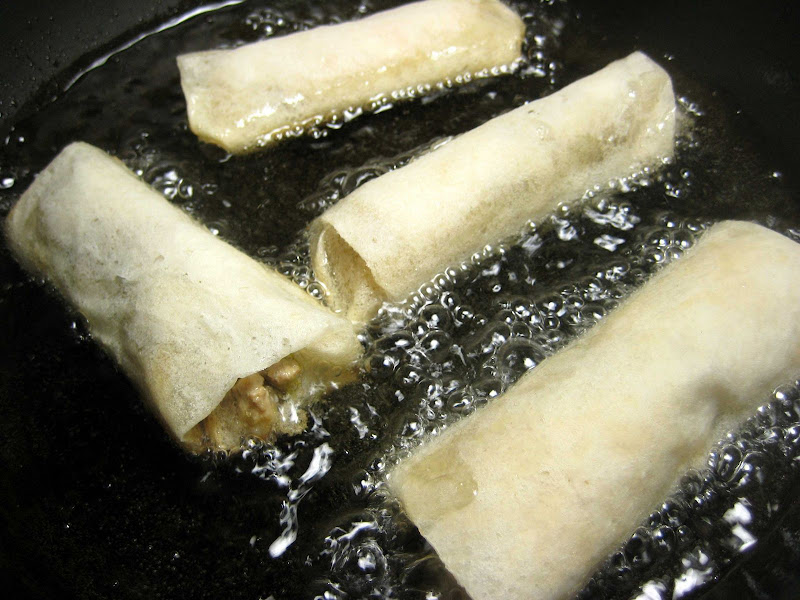
Heat oil to about 350F. One way to check if the oil is ready is to use a bamboo skewer. If the oil boils vigorously around the skewer, then the oil is ready. Personally, I'll stick with a thermometer.


Fry lumpia with the loose end down… The frying locks the end into place.


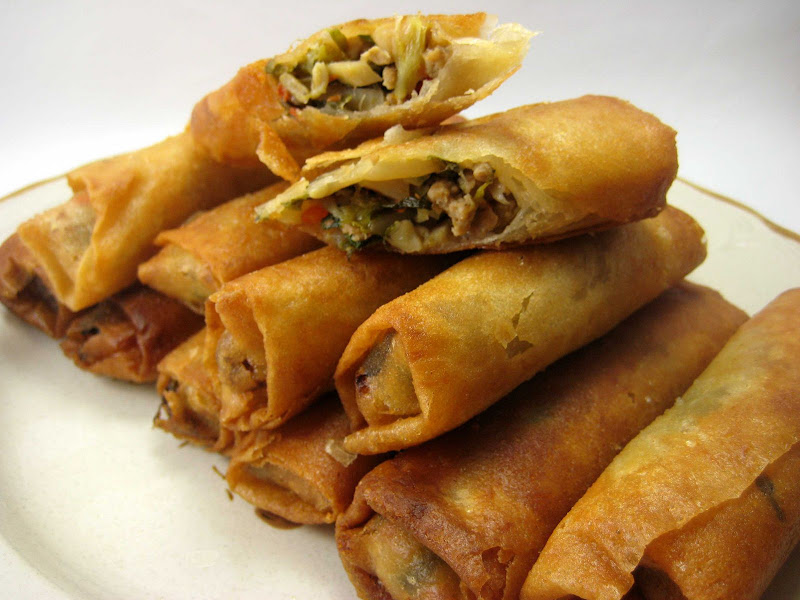
The completed lumpia… Note it has the smooth outer shell.


Overall, the flavor was good and the lumpias are crispy.
Not bad. Authentic? Maybe.
I still need to work on rolling the lumpias tighter and maintain consistent sizes.

Edit: Sep 13...
I just looked at YouTube. People actually posted videos on how they make lumpia.
One thing I noticed. The filling is raw! Ingredients appeared to be chopped finely and mixed with the raw pork.

Using raw ground meat seems to be the key to rolling a tight lumpia. The raw filling conforms to the roll so you don't end up with air pockets. I'll have to try that the next time around.

Wednesday, September 10, 2008

Sep10: Clarifying Broth

I vaguely remember an episode of Iron Chef where one of the Iron Chefs was boiling a broth with egg whites and ground meat. According to the commentator, the purpose egg whites and ground beef was to clarify the broth he was making.

How is this so? Wouldn't you be making an egg drop soup?

Here's what I found out.
* Using egg whites to clarify a stock/broth is a common technique used in making consommé.
* The egg whites will coagulate into a fine mesh that will "filter" the stock as it simmers.
* Egg whites seem to be the key, but you can add julienned veggies for flavor the broth and to provide the support for the egg white raft (the stuff floating on top of the liquid.)
* Common additions are crushed egg shell, ground meat, carrots, green onion and other typical flavorings that go into a stock.
* Thumbing through Julia Childs' book, The Way to Cook, she uses 4 egg whites for 5 cups of stock.

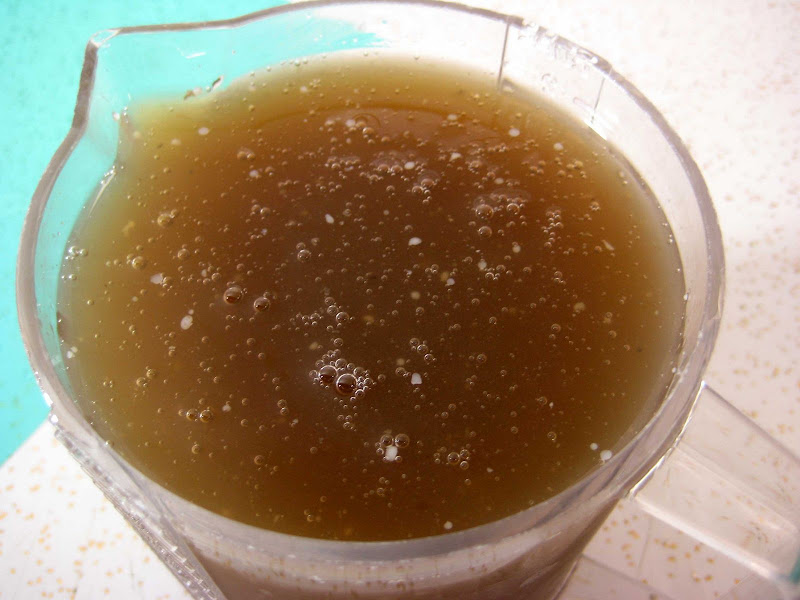
Here's my pho stock out of the fridge which I defatted by pouring through a fine mesh strainer. A good sign for the stock is the gelling from the refrigeration. This means a lot of flavor was squeezed out of the soup bones and more. :-)
I have five (5) cups remaining after serving pho on Monday.


Here’s what I did to clarify the Pho broth...
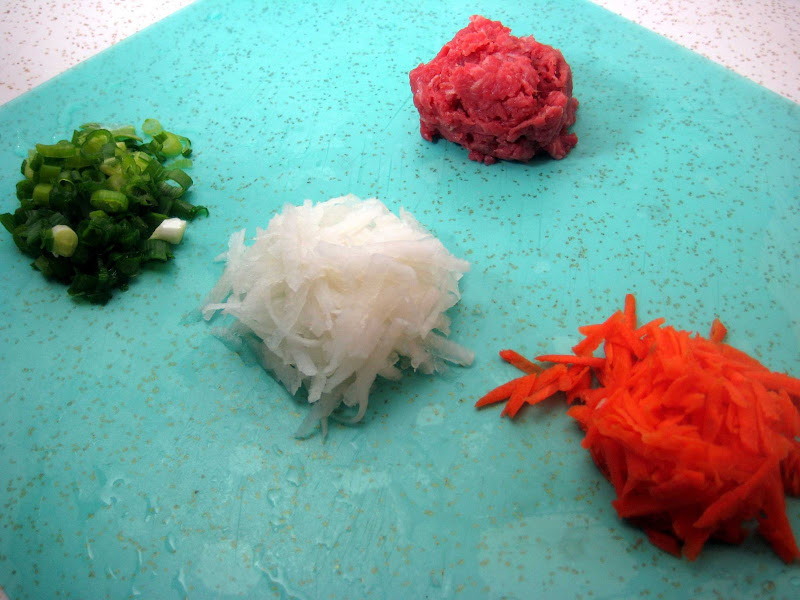
Green Onion, coarsely cut
1/4 C Daikon, shredded
1/4 C Carrots, shredded
1/4 C lean Beef, minced (trim off the fat)


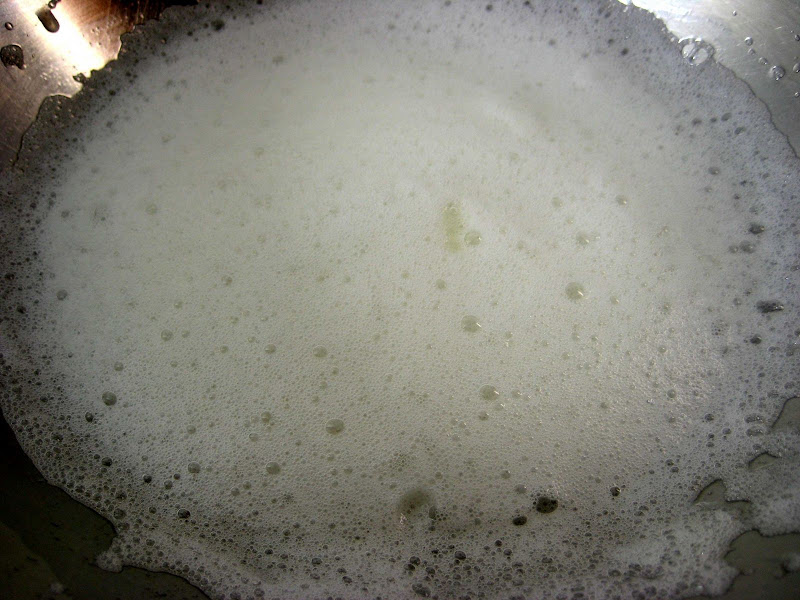
Two egg whites were whipped into a soft foam. I know Julia suggested using 4 egg whites, but that just seems like too much. In other words, I’m being cheap. Lol!


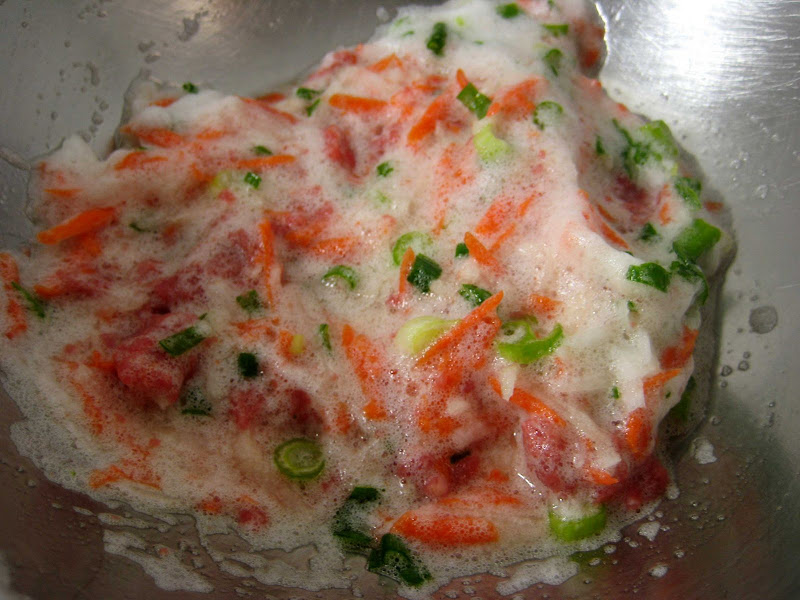
Mixed all the ingredients together into the egg whites.


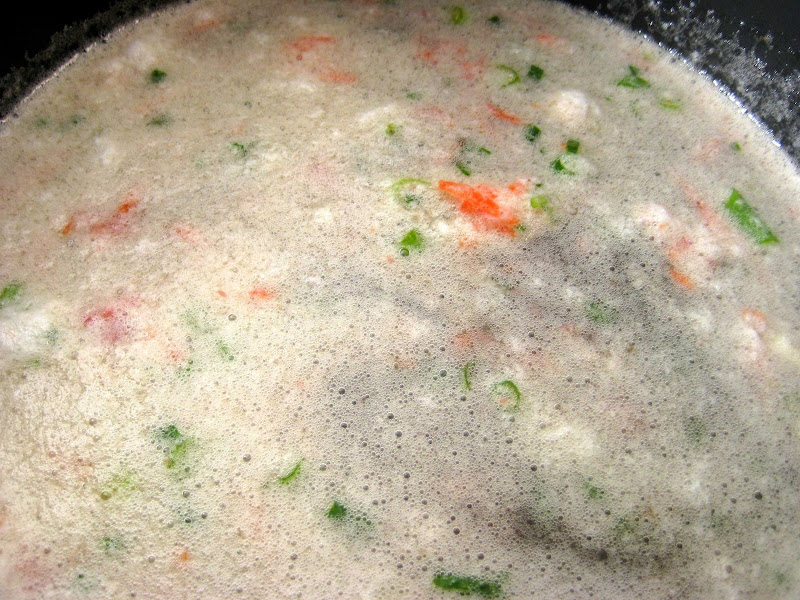
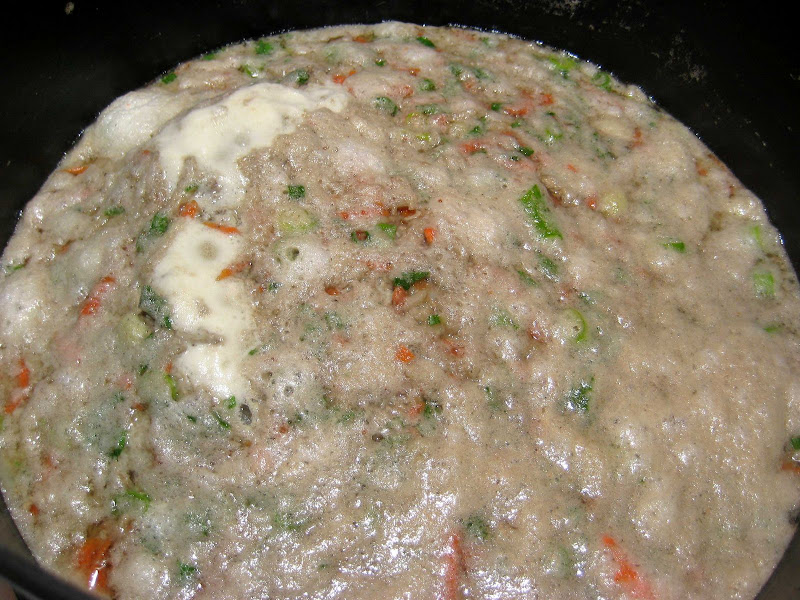
The egg white concoction was thoroughly mixed into the cold broth.


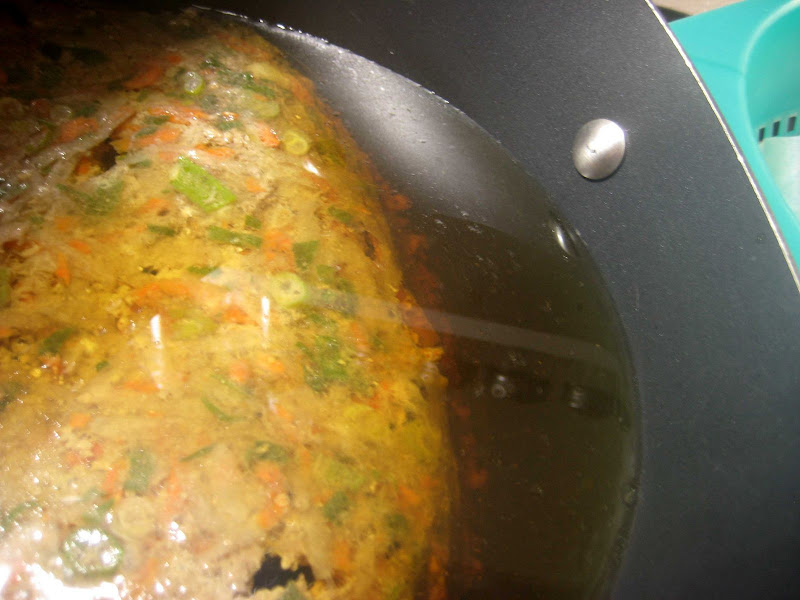
The broth was slowly brought to a simmer and allowed to simmer for about 35 minutes.


Wow! It worked!
I'm about to decant the broth into a colander lined with a coffee filter.


Before Clarifying (From Monday)


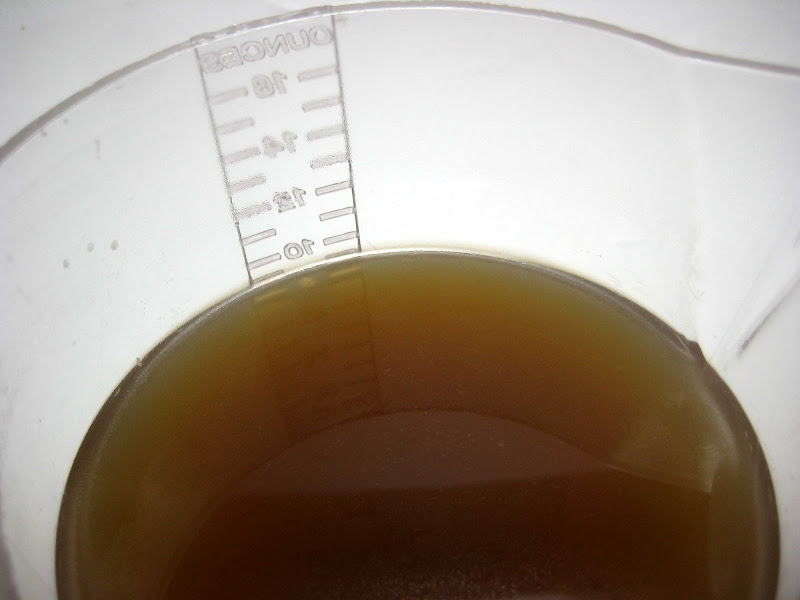
I would say it was a success. The muddiness is gone and now the broth is transparent. The broth looks like apple juice or apple cider vinegar. The extra ingredients also added more flavor to the so-so broth.

After Clarifying (Today)


More Info…
I found this discussion about clarifying broths using egg whites.
Also, it looks like someone watched the Iron Chef episode and was curious about clarifying broth too. :-)

http ://forums.egullet.org/index.php?showtopic=112366


Another method - you can clarify using gelatin instead of egg whites.
My post from Oct 3: http://eat4fun.blogspot.com/2008/10/oct-03-experiment-clarifying-stock-with.html