Friday, September 12, 2008

Sep 12: Lumpia and Pancit

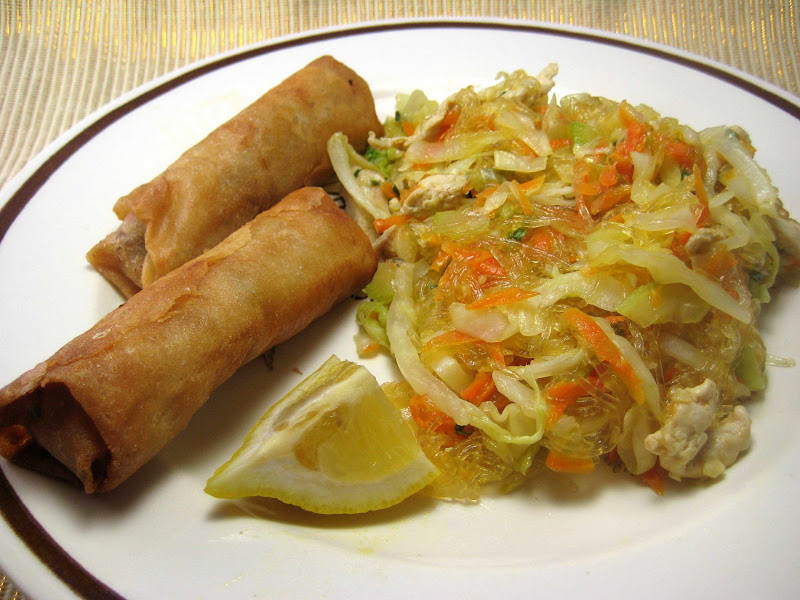
Dinner tonight is homemade lumpia and pancit. Both are pretty standard Filipino dishes and these are my attempts to make my version of those classics.


I grew up in a diverse neighborhood, but my friends through grade school to community college were all Filipino. My neighbors were Filipino too. A couple dishes seem to come to mind when I think about potlucks and parties are lumpia and pancit.

Today, I’ll detail my recipe for lumpia.
Tomorrow, Pancit (Lumpia and Pancit Part 2)

A lumpia is essentially a Filipino egg roll or spring roll. The main difference is a lumpia was rolled into a tighter package with sizes ranging from AA batteries to small cigars. I’m sure people do made lumpias larger, but small is what I remember.

A couple other characteristics I remember was the fried lumpia was smooth, while Egg rolls tend to have a coarse bubbly exterior. The filling was mainly ground meat (pork?) and maybe bean sprouts. I just seem to remember it was pretty much an all meat filling.

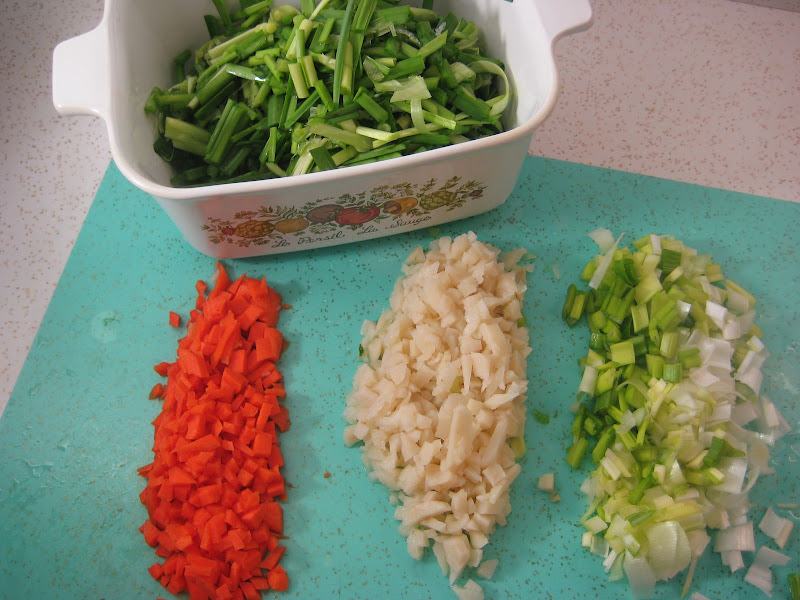
For my attempt, I made more of an egg roll filing - ground pork and veggies. I added garlic chives and water chestnut which I needed to use up before they went bad.

In other words, the filling is just what you have available.

Fried Lumpia

The Fixins'
1 lb Ground Pork
1 C Cabbage, Shredded
1 C Bean Sprouts
½ C Carrot, coarse chop
½ C Water Chestnut, coarse chop
1 Green Onions, coarse chop
1 ½ C Garlic Chive, coarse chop (Optional)
2 T Soy Sauce
2 T Oyster Sauce

Some chopped veg…

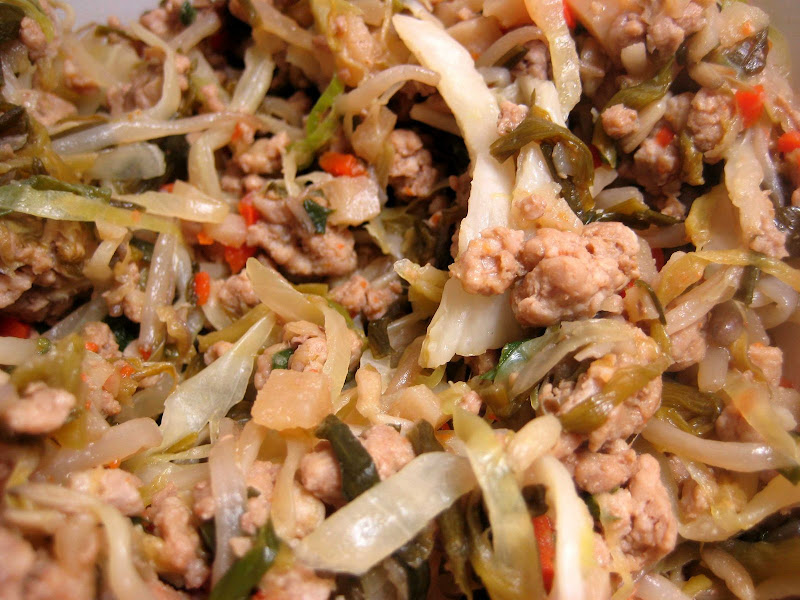
Sauté the ground pork until almost cooked and add the rest of the ingredients.
Drain mixture in a colander and allow to cool.

The completed filling

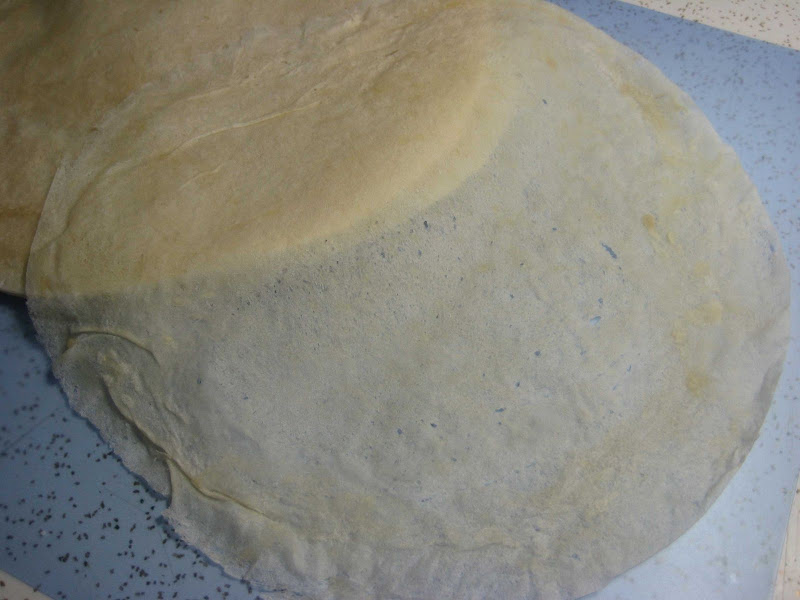
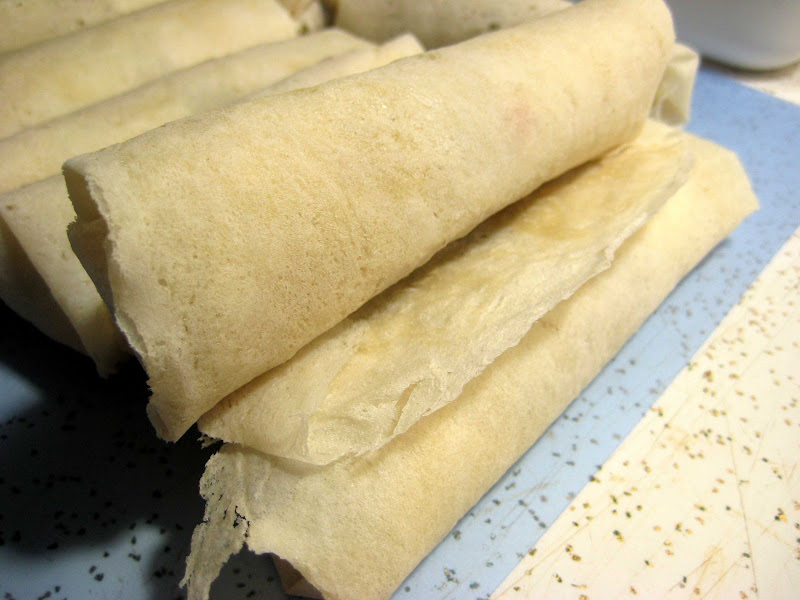
These wrappes are round. I thought they would be square. Also, the wrappers are similar to a thin crepe.

Filling and Rolling
2 T of filling in a line about ¼ away from edge. Fold over and pull the top fold towards you to compact the filling.
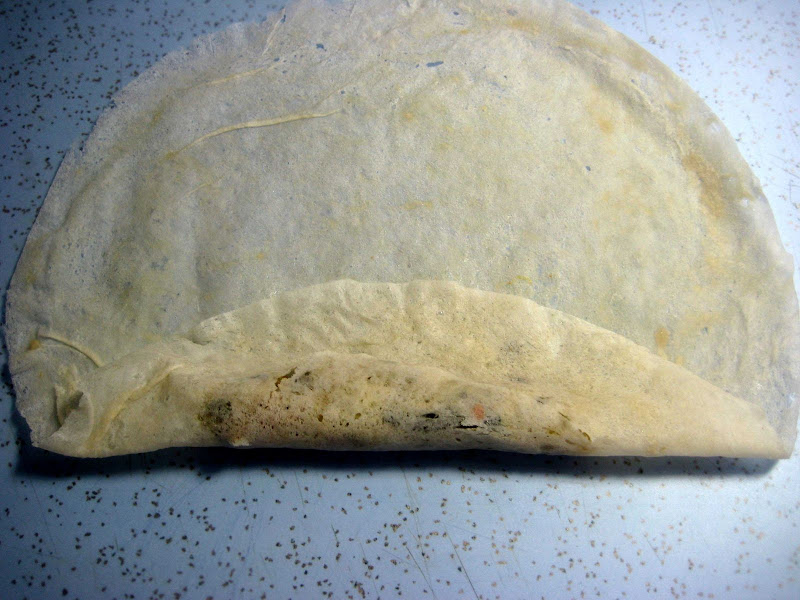

Fold over edges
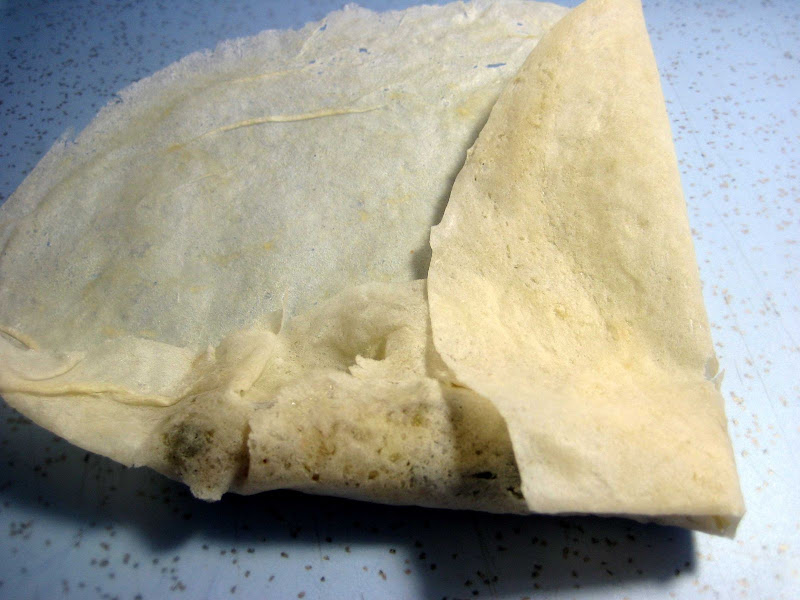

Roll…
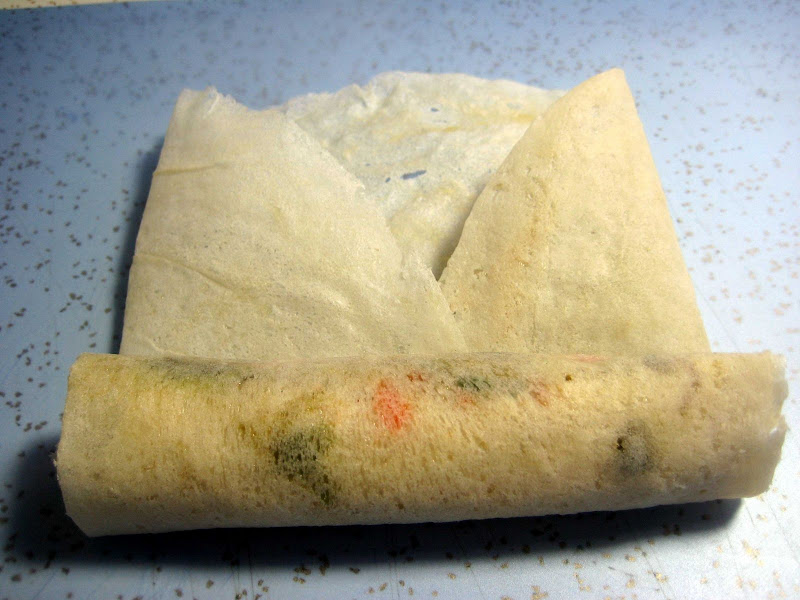

For some reason, egg or water couldn't seal the end of the roll.

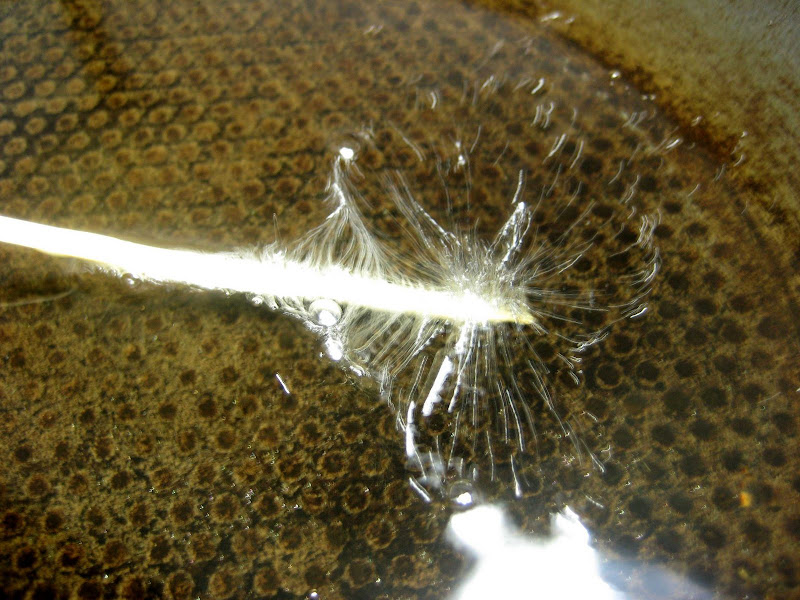
Heat oil to about 350F. One way to check if the oil is ready is to use a bamboo skewer. If the oil boils vigorously around the skewer, then the oil is ready. Personally, I'll stick with a thermometer.

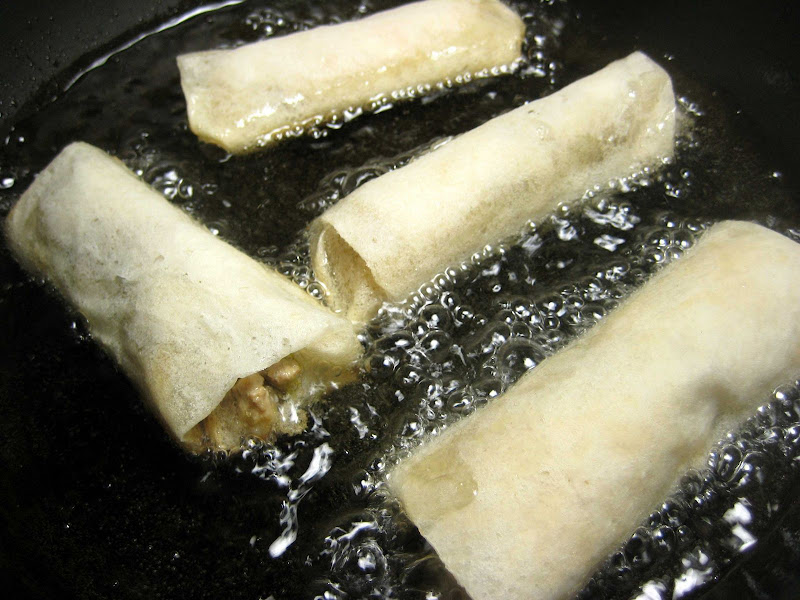
Fry lumpia with the loose end down… The frying locks the end into place.

The completed lumpia… Note it has the smooth outer shell.
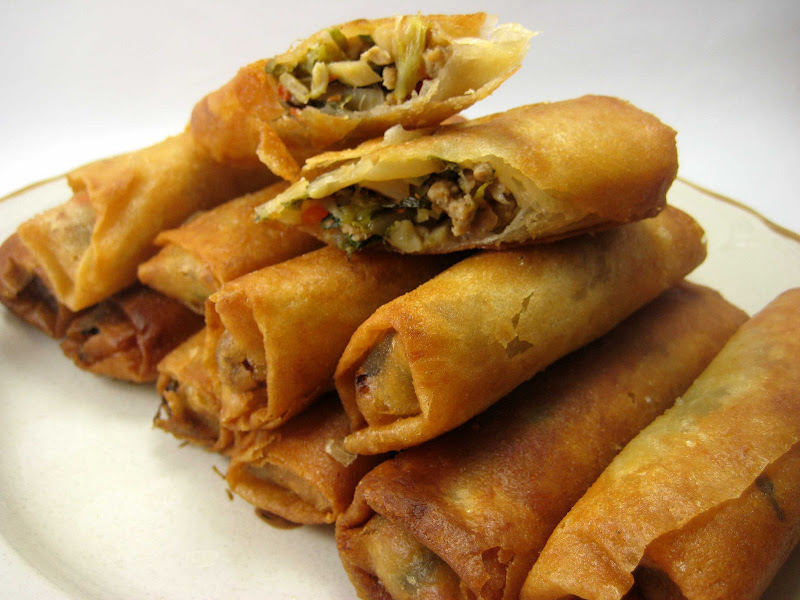

Overall, the flavor was good and the lumpias are crispy.
Not bad. Authentic? Maybe.
I still need to work on rolling the lumpias tighter and maintain consistent sizes.

Edit: Sep 13...
I just looked at YouTube. People actually posted videos on how they make lumpia.
One thing I noticed. The filling is raw! Ingredients appeared to be chopped finely and mixed with the raw pork.

Using raw ground meat seems to be the key to rolling a tight lumpia. The raw filling conforms to the roll so you don't end up with air pockets. I'll have to try that the next time around.

Wednesday, September 10, 2008

Sep10: Clarifying Broth

I vaguely remember an episode of Iron Chef where one of the Iron Chefs was boiling a broth with egg whites and ground meat. According to the commentator, the purpose egg whites and ground beef was to clarify the broth he was making.

How is this so? Wouldn't you be making an egg drop soup?

Here's what I found out.
* Using egg whites to clarify a stock/broth is a common technique used in making consommé.
* The egg whites will coagulate into a fine mesh that will "filter" the stock as it simmers.
* Egg whites seem to be the key, but you can add julienned veggies for flavor the broth and to provide the support for the egg white raft (the stuff floating on top of the liquid.)
* Common additions are crushed egg shell, ground meat, carrots, green onion and other typical flavorings that go into a stock.
* Thumbing through Julia Childs' book, The Way to Cook, she uses 4 egg whites for 5 cups of stock.

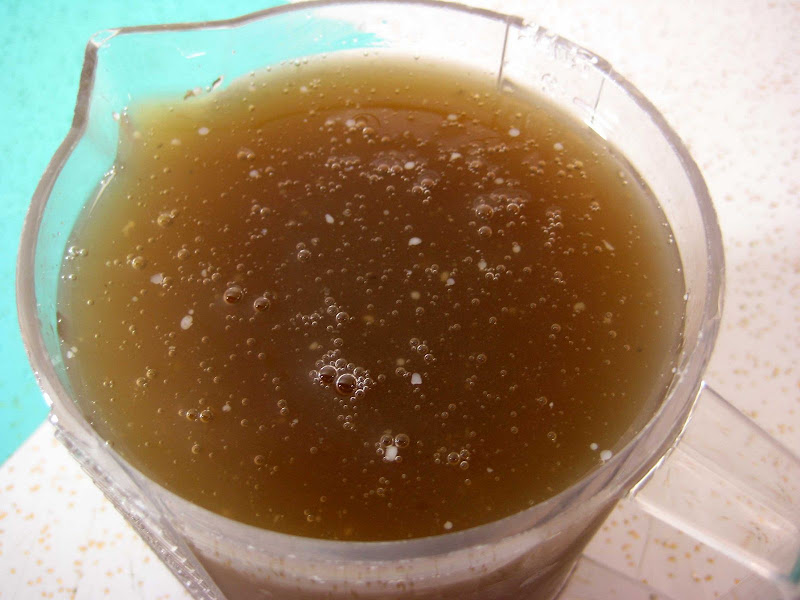
Here's my pho stock out of the fridge which I defatted by pouring through a fine mesh strainer. A good sign for the stock is the gelling from the refrigeration. This means a lot of flavor was squeezed out of the soup bones and more. :-)
I have five (5) cups remaining after serving pho on Monday.


Here’s what I did to clarify the Pho broth...
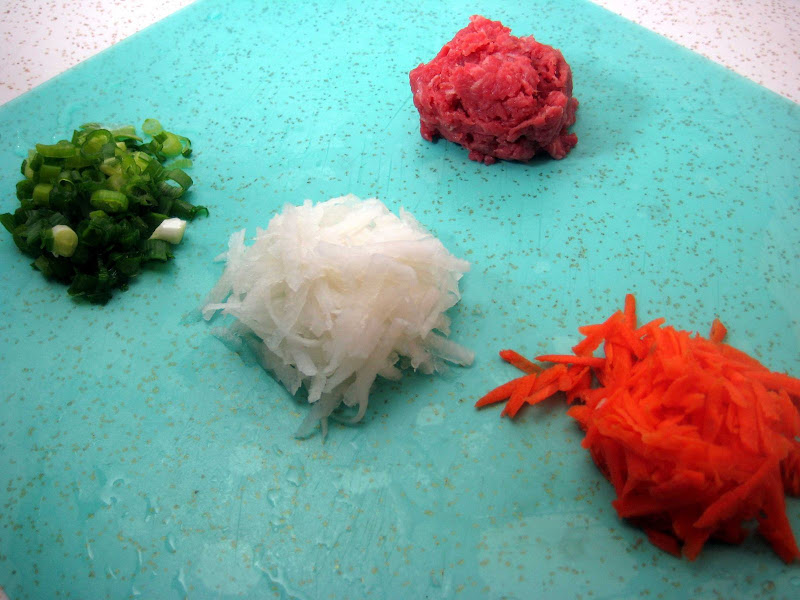
Green Onion, coarsely cut
1/4 C Daikon, shredded
1/4 C Carrots, shredded
1/4 C lean Beef, minced (trim off the fat)


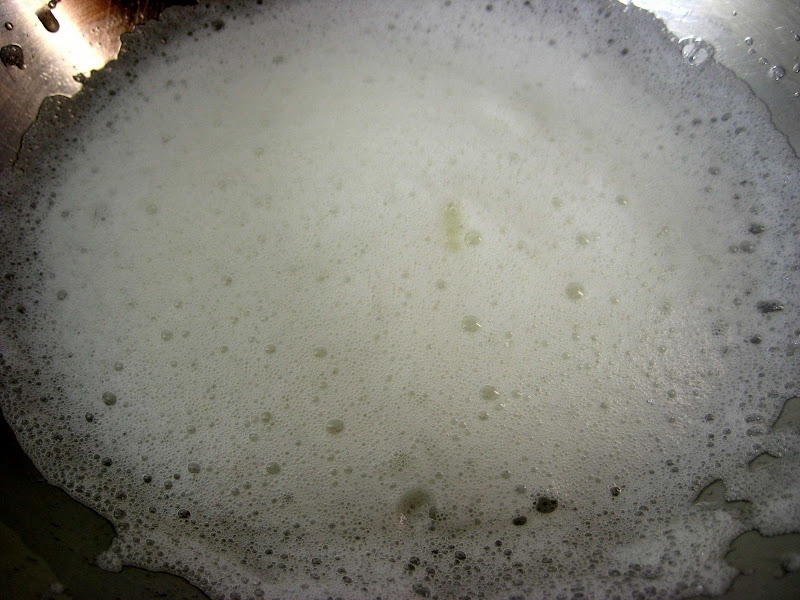
Two egg whites were whipped into a soft foam. I know Julia suggested using 4 egg whites, but that just seems like too much. In other words, I’m being cheap. Lol!


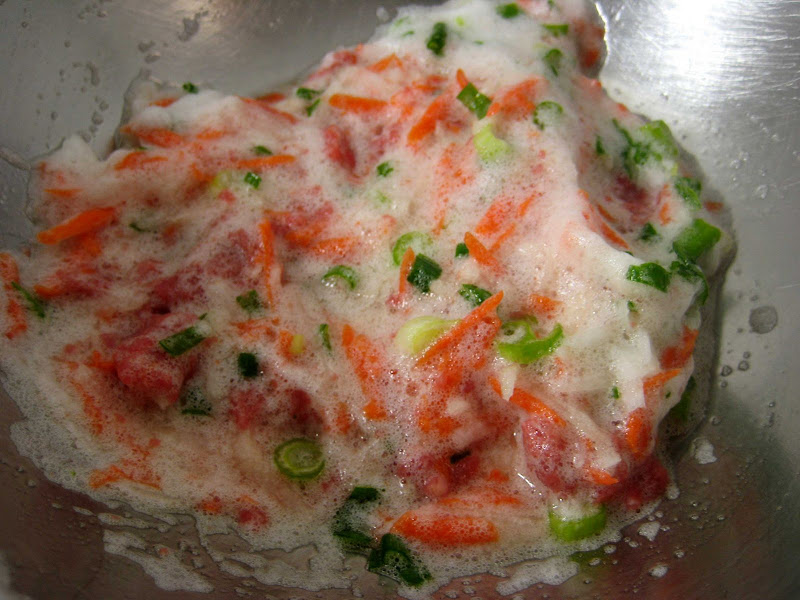
Mixed all the ingredients together into the egg whites.


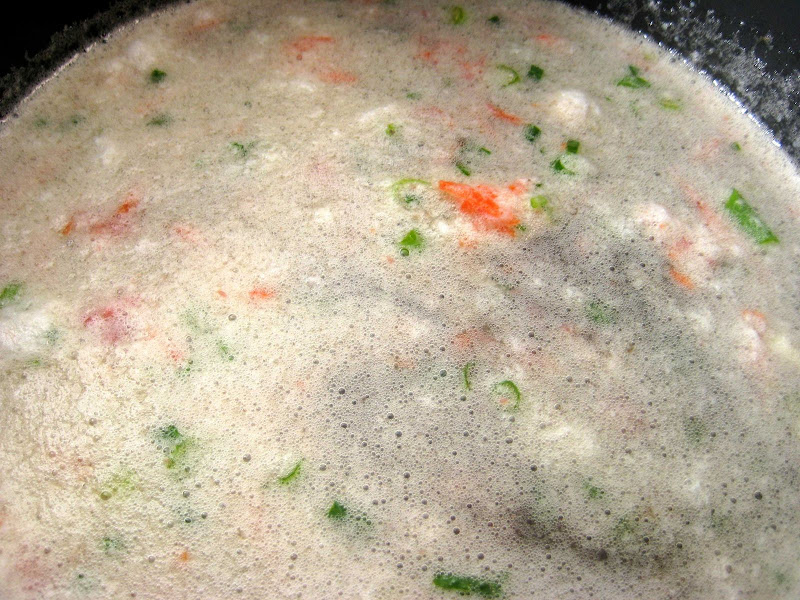
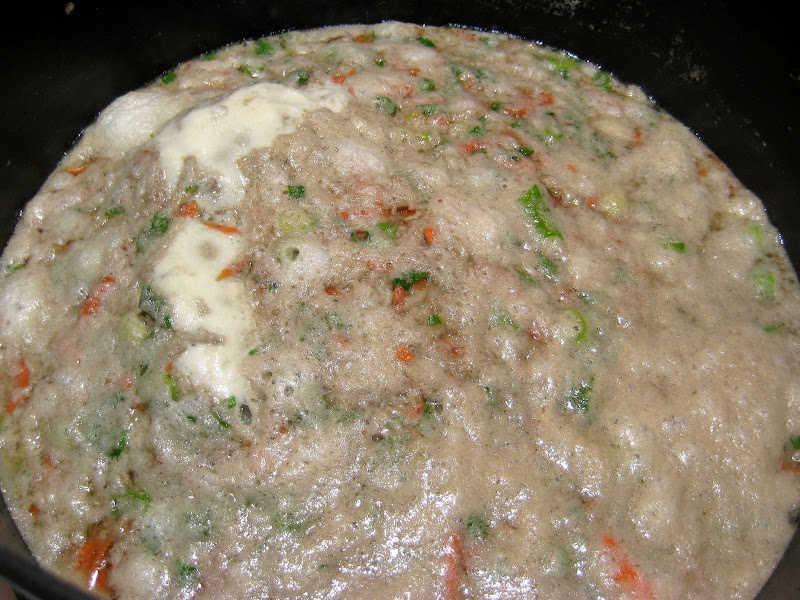
The egg white concoction was thoroughly mixed into the cold broth.


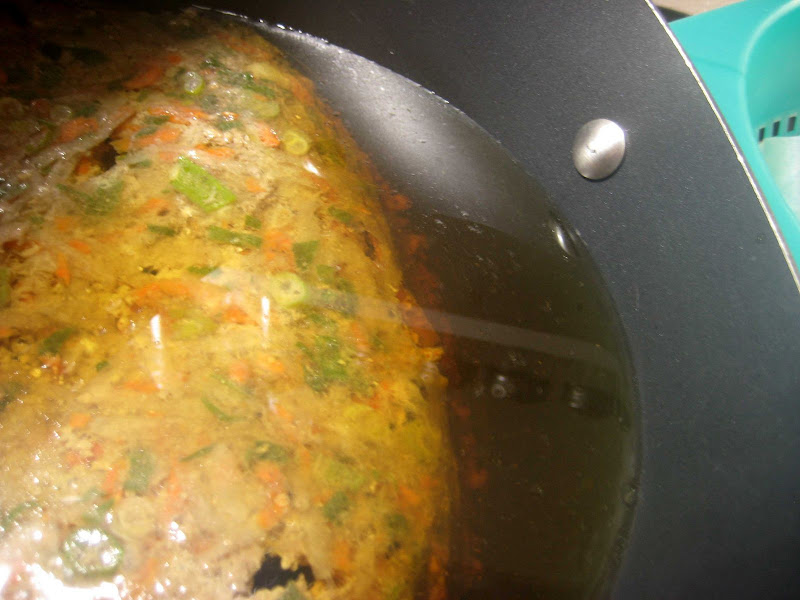
The broth was slowly brought to a simmer and allowed to simmer for about 35 minutes.


Wow! It worked!
I'm about to decant the broth into a colander lined with a coffee filter.


Before Clarifying (From Monday)


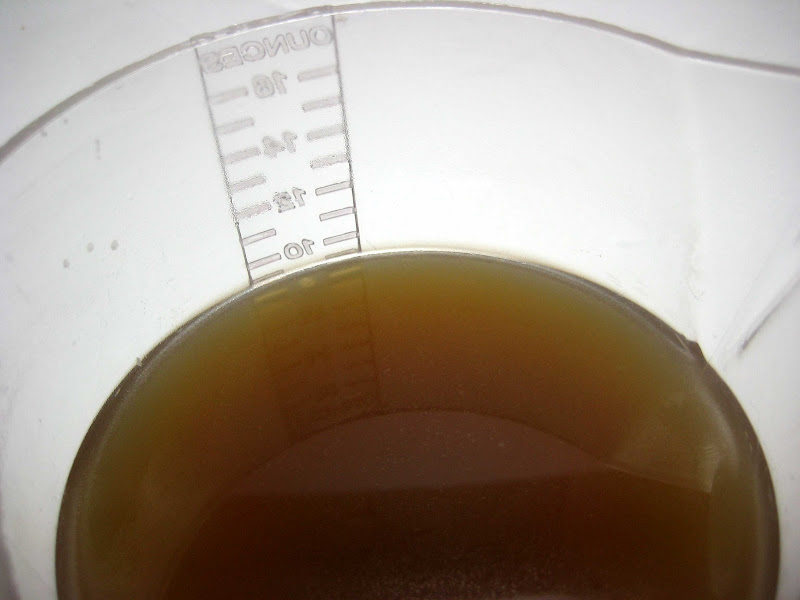
I would say it was a success. The muddiness is gone and now the broth is transparent. The broth looks like apple juice or apple cider vinegar. The extra ingredients also added more flavor to the so-so broth.

After Clarifying (Today)


More Info…
I found this discussion about clarifying broths using egg whites.
Also, it looks like someone watched the Iron Chef episode and was curious about clarifying broth too. :-)

http ://forums.egullet.org/index.php?showtopic=112366


Another method - you can clarify using gelatin instead of egg whites.
My post from Oct 3: http://eat4fun.blogspot.com/2008/10/oct-03-experiment-clarifying-stock-with.html

Tuesday, September 9, 2008

Sep 09: Ramen Cabbage Salad

During my college years, ramen was an inexpensive staple, but my repertoire was very limited to just cooking in water and adding a veg or meat. Ramen was a soup dish.

However, after college and pretending to be an adult, I went a potluck where a Japanese couple brought a cabbage slaw with ramen noodles. Interesting... I've never seen that before. The salad was delicious.

Here's my attempt at a Cabbage Salad with Ramen.

Since I was experimenting around, I kept the portions small. Just in case it didn't work out. Also, I kept the dish vegetarian by using fried tofu.

The Fixins'
-The Base
1 C Cabbage, thinly sliced
1/2 C Nappa Cabbage, thinly sliced
1/2 Package of Ramen, crushed

-The Topping
1/2 C fried Tofu (marinaded in soy sauce, toasted sesame oil and garlic powder)
2 T Waterchestnut, julienned
2 T Carrot, julienned
Lime Juice
Toasted sesame seed oil

Mix. I purposely kept the tofu topping lightly seasoned since I was adding a reduction on top.

-Soy Ginger Garlic Reduction
4T Soy sauce
2T Green onions, minced
1t Ginger, minced
1 clove Garlic, minced
Lime Juice (1 lime about 2T)

Lightly saute the garlic, green onion, ginger.
Add the lime juice and the soy sauce... mix and gently reduce the mixture.

-Dressing
Lime juice and Red wine vinegar... enough for 2T
1T Chive oil
1T Vegetable oil
1/4t Toasted Seasame Seed oil
couple pinches of sugar.

The Dressing - I like my dressing to be tart so I just used a couple pinches of sugar cut back on the tartness of the red wine vinegar.


The Dressing Mixed


The Salad
The Cabbage forms the base.
Uncooked ramen act as the croutons.
Tofu Salad topped with the soy sauce reduction.
Salad dressing drizzled around the salad.


The salad reminded me of a Chinese style chicken salad with a tart dressing. I think I smashed the ramen too much. :-)

The reduction is very intense. Has a strong garlic and green onion flavor. The soy is very present and pleasant. The lime juice adds the acidity that cuts through the strong flavors.

Mix everything together before eating makes for just the right amount of salt from the reduction.

Overall, not bad, but needs some more work. Next time I may add just a touch more sesame seed oil.

Using uncooked ramen!
Ramen is actually cooked before packaging. When made in the factory, the fresh noodles roll off the assembly line into a deep fat fryer. The deep frying dries the noodles for packaging. That's why a whole package of ramen is 400 or 500 Calories.

Monday, September 8, 2008

Sep 08: Homemade attampt at Pho

Most of the time what I decide to cook comes about based upon my cravings and shopping while hungry.

For example, I spied a package of beef neck bones. Looking at the beef bones, I thought to myself, “How about making a soup? Let’s try my hand at Pho (pronounced, "fuh")?”

Pho is a flavorful Vietnamese beef soup served with rice noodles, bean sprouts, holy basil and lime. Condiments used in the soup are typically hoisin sauce and Sriracha hot sauce.

I was first introduced to Pho by a Vietnamese classmate in college back in 1987, 1988 or 1989. (Hmmm… I guess it's true what is said about the mind going first when you get older. lol!) He was kind enough to drive me home from college during a holiday. We stopped in San Jose, which has a large Vietnamese population, for a bowl of Pho.

Pho? What's Pho? Wikipedia comes through with a description: Pho lol!

My reaction upon tasting the soup was wow! This is a great tasting soup with a lot of flavor from star anise and other new flavors! This hot sauce is hot, but I can’t stop eating it. :) Afterwards, I made it a point to stop by San Jose for a bowl of Pho when I had a chance.

Currently, pho restaurants are becoming mainstream and quite popular so my need to drive to SJ can be appeased locally.

Searching the internet, there are many recipes but I homed in on this one… http://www.vietworldkitchen.com/bookshelf/articles/pho_SJM.htm which I used as a basis. I didn’t make the recipe verbatim. I didn’t buy enough soup bones so I used it as a guide.

Pho Broth
2 lb Beef Bones, meaty ones preferred
1 lb Chuck Steak
5 Cloves
2 Star Anise
1 inch pieced of Ginger
1 Onion, halved
1 T Rock Sugar (about the size of a tablespoon)
Water for parboiling the bones.
3 quarts of water for the broth
2 T Fish Sauce

1. Bring a pot of water (enough to cover the bones) to boil and add the beef bones. Boil about 3 minutes. Drain and rinse the bones. Wash the pot of any residue.

2. Since I don’t have a gas stove, charred the onion and ginger under the broiler.

3. Salt and pepper the chuck steak and brown in a frying pan with a little oil.

4. Add the 3 quarts of water and all the ingredients, except the fish sauce.

5. Bring to a boil and let simmer. (I actually placed in a 175F oven for overnight.)

6. After the broth is done… add the fish sauce plus salt to taste. Refrigerate to de-fat the broth.

This is the finished broth. Darker and not as clear as I wanted. Also, the flavor is kind of mild. It doesn't have the “Wow!” I was looking for.


Thank goodness for pictures on packages. The rice noodles for the pho. Rice noodles are reconsituted by soaking in boiling hot water for about 5 minutes.


My bowl ready for the broth - bean sprouts, limes, holy basil, chili paste and hoisin sauce.


The finished bowl... Hot broth added and limes squeezed.


Overall, the broth was dark and slightly cloudy. The taste was a little on the mild side. Lack of beefiness? Adding the chili paste and the hoisin sauce helped, but I was hoping the broth could carry the Pho without those additions.

Next time, I should boost the amount of beef bones and beef. Some recipes call for using oxtails, but oxtails are just as expensive as a decent steak, or I should just follow the recipe. :-)

Saturday, September 6, 2008

Sep 06: Chive Oil

I enjoy the flavor of chives. My parents grew chives in the backyard. I remember from my childhood, when the chives were in season, we would snip chives for our weekend scrambled eggs. Very Delish! To me it's one of those herbs that's underutilized, because they are expensive.

While shopping at an Asian supermarket, I purchased a pound of garlic chives. Garlic chives are common in Asian cooking and typically milder than the typical "snipped" chives you find in your local supermarket. However, garlic chives are easily 20x less expensive than (regular) chives, which is a big factor for me. lol

What am I going to do with a big bunch of chives?

Chive oil
5 or 6 ounces (about 2 cups) Garlic Chives, cut into 1 to 2 inch lengths
1/2 C Olive oil
1/2 C Vegetable oil (Soybean oil)
11/2 tsp Kosher salt

1. Blanch the cut chives in boiling water for about 10 seconds... drain on a towel. Squeeze out extra moisture as needed.

2. Add the blanched chives, oils and salt into a blend and blend into a smooth puree.

3. The mixture will be frothy from blending so let sit for an hour or two before straining. I used a paper towel to strain since I didn't have a coffee filter or cheesecloth.

The Taste:

Surprisingly, the oil is quite mild. I thought there would be a taste wallop of chives, but the oil is a lot more subtle than I expected. However, if I were to make this again, I would experiment with using no olive oil. The olive oil seemed to slightly overwhelm the oil's chiveness.


What can you do with the oil?
I can see using chive oil as a finishing (or garnishing) oil by adding a few drops on food before serving. Also, I think it would be a nice oil to use for a dressing.

Here's my first use of chive oil.
Eggs with smoked salmon finished with chive oil.


I enjoyed the flavor, but miss the wallop of chives, but I'm also the type of guy that uses hot sauce as others would use ketchup. :-)

Thursday, September 4, 2008

Sep 04: Roasted Potatoes with Smoked Salmon

There's a recipe clipped from a magazine (don't know/remember which magazine) that's been on my fridge for the summer.

Basically it's grilled red potatoes, sour cream, smoked salmon and topped with dill.
I have the ingredients (two 5 lb bag of red potatoes) but didn't get a chance to make the recipe until now.

I modified the recipe so I don't have to start the grill.

Roasted Potatoes with Sour Cream, Smoked Salmon and Dill
Preheat oven 400F

The Fixins'
1 lb Red Potatoes (baby potatoes... just a little larger than a golf ball)
1/4 tsp Garlic Powder
Dash Thyme, dried
Dash Tarragon, dried
1/4 tsp Salt
Dash Pepper
1 tsp Olive Oil
Sour Cream
Smoked Salmon, I used Nova Scotia style smoked salmon

Cut potatoes in half
Coat with olive oil
Add garlic powder, thyme, tarragon, salt and pepper. How much? Whatever looks good.

Mix the potatoes and ingredients


Place potatoes in a single layer on a baking sheet. Bake at 400F for about 45 minutes.


When done... a dab of sour cream, top with a little smoked salmon and finish with dill. I, also, used chives.


The potatoes turned out nicely and flavorful as is.
The taste was akin to a baked potato. :-)
Not bad, except I'm not a big fan of plain sour cream. I should have just waved the potatoes over the sour cream container... lol.

Tuesday, September 2, 2008

Sep 02: Eclair Follow-Up (The Experiment)

This is a follow-up/continuation of the Daring Bakers Challenge - Chocolate Eclairs which I posted Sept 31st.

I was initially disappointed with the results of the eclairs. The choux did not puff the way I imagined and some deflated into ladyfingers... and this (I thought) was supposed to be the "easy" part of the challenge.

Seeking advice in the Daring Bakers Forum, the advice centered around baking times. The reason for the deflating eclairs is undercooking. Another factor that I wasn't sure of was the consistency of the choux before piping. The recipe called for "ribbons". Julia Childs recipe shows a stiffer scoopable choux while Alton Brown's choux was in-between - soft but no ribbons.

The flat eclairs bugged me so much that I decided to make the choux recipe one more time, but this time I'll experiment with baking times. I also tried another consistency of the dough and another piping tip.

The Dough
The basic recipe was the same as the challenge... the only difference was the amount of egg added to form the final choux dough.

Try #1 - followed the recipe to the letter. The final dough was smooth and free flowing, but viscous like honey or molasses.


Try #2 - I looked through a Julia Childs cookbook and the picture of the finished choux was firm and scoopable. I beat the eggs this time instead of adding whole unbeaten eggs. This dough is scoopable. I added about 4 eggs instead of 5.


Try #3 (about 2 1/2 weeks after tries #1 and #2) - I caught Alton Brown's show on choux pastry. His recommendation was the dough should form a "V" when lifted by the spoon and it should tear. Again, I added beaten the eggs... added about 4.5 eggs. The texture was sticky... like getting stuck in the mud. Note the jagged edges where the dough did tear.


The Tip
The recipe called for a 2cm tip (which is about 0.75 inches).

Try #1 - used a ziploc with a corner cut out. Note eclairs are flat to start out with and not really round.


Try #2 - I noticed the end of my water bottle had a 0.75" diameter opening so I used that as a tip in the ziploc. :-) A little dough did slip pass the end of the bag.


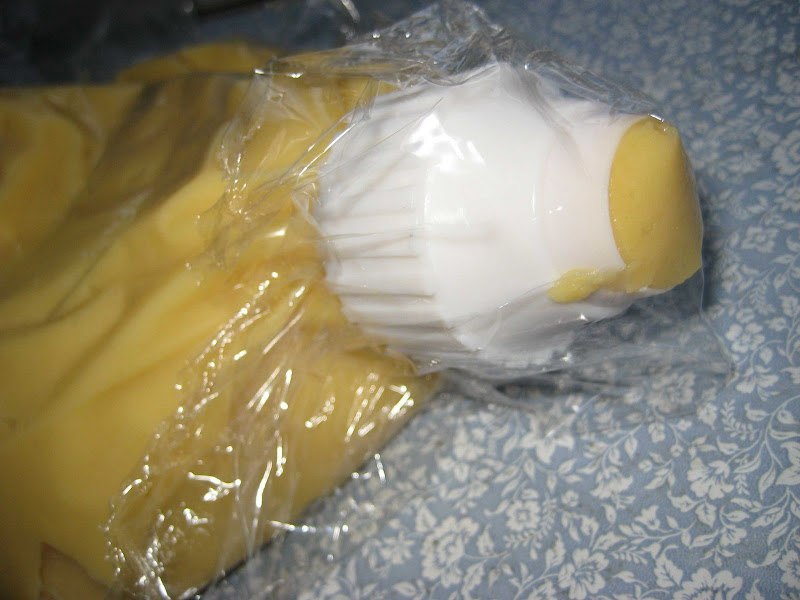
For Try #3 - I caved in and purchased a large piping coupler. I was actually looking in a craft store and there it was. Tip diameter is 0.75 inches. The coupler is two parts that screws together so there should be no problems with leakage.


The Baking Experiment
I decided on 6 baking times and temperatures
1. PH Method (Basic recipe) - 375F, with spoon, without spoon... 20 minutes total.
2. PH Method, no spoon - 375F no door propping, but rotated... 20 minutes total
3. PH Method With Water - Same as one except added a pan of water in the oven... 20 minutes total
4. CIA Method - 325F for 30 minutes (rotate at 15)
5. Alton Brown Method - 425F for 10 mins, rotate, 350F another 10 minutes... 20 minutes total
6. PH Method (Basic recipe) again to see if anything changed.

PH = Pierre Herme
CIA = Culinary Institute of America

Example: Experiment 3 - Water
A pan of water is placed in the oven while the oven is preheating. The water increases the humidity in the oven which is supposed to help the choux rise.

Note: I only baked 3 at a time.
From left to right:
W01 - as piped
W02 - scored with a fork (the lines are supposed to help the choux puff up like an accordion)
W03 - scored with a sharp paring knife (to see if a sharp cut into the dough would work better than the tines of a fork)


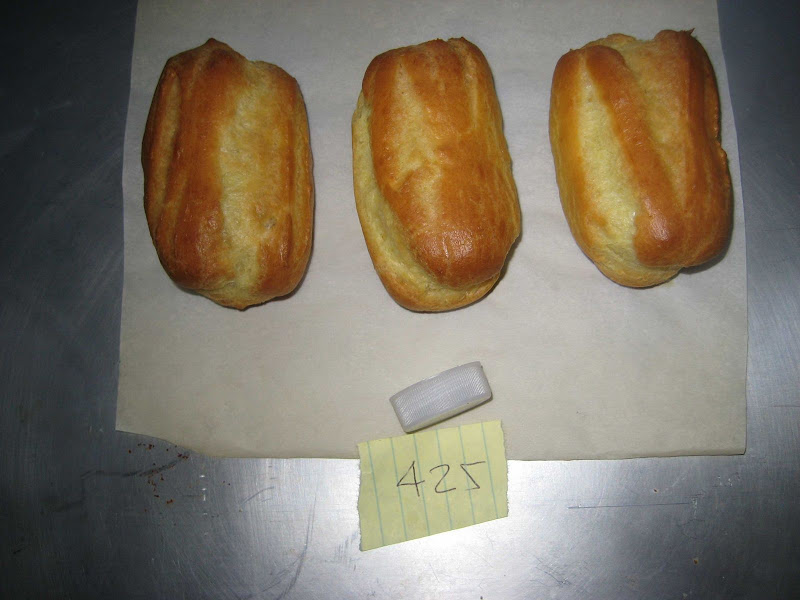
The finished results - The water bottle cap gives scale. The inner ring (dark) is 0.75 inches.
Definite puffing in this shot. Taken out of the oven. No deflating.


A top view - an increase in width too! All these sizes are about the same, but the knife slits seemed to puff the best.


These puffed the most and were baked at 425F. Makes sense. More heat gives more steam.


Comparison of all the results for Try #3.
All methods puffed really well and there was no deflating.
The water pan seemed to help with size, but the choux baked at 425F seemed to puff the most.
Using a knife to make shallow grooves seemed to help. However, using a knife to make grooves should be done on the sides so the top is thicker and uniform looking.


Try #3 - The finished eclairs. Made the chocolate pastry cream filling, but he topping this time is a ganache (because it was easier).


Conclusion - All baking methods seemed to produce good results. General rule of thumb... The hotter the oven the better.

However, I'm starting to believed dough consistency contributes a lot more to the final product size. For example, the ribbony choux produced flat eclairs (too much liquid?) while try #2 was better but still had some deflation (too little water?) and try #3 was the best. A lot of puffing and no deflation.