INTRODUCTION:
Aparna (My Diverse Kitchen) and Deeba (Passionate About Baking) are setting the Daring Bakers a challenge this month to make their own Tiramisu, from scratch.
MASCARPONE + SAVOIARDI BISCUITS + ZABAGLIONE = TIRAMISU!
This divine Italian dessert translates to mean ‘pick me up’, supposedly referring to the ‘kick’ provided by the strong coffee, sugar and alcohol in it!
On the other hand, a slight mistake in spelling it as "Tiramuso" could end up meaning that you were "pulling a sulky face"!
Classic tiramisu is made of alternate layers of espresso soaked ladyfinger biscuits and a cream made from mascarpone cheese and zabaglione (an egg custard).
The perfect Tiramisu is a balance of flavors of a sweet zabaglione, strong coffee, marsala wine, creamy mascarpone cheese and the dusting of unsweetened cocoa.
THE CHALLENGE:
Aparna and Deeba have chosen Baltimore pastry chef Carminantonio Iannaccone’s version of tiramisu for a couple of reasons.
* Firstly, his recipe is different from most other tiramisu recipes as he makes a zabaglione, an egg custard which is flavoured with Marsala wine (you may use coffee instead). Even more important is that his zabaglione is cooked so there is no risk from using raw eggs.
* He also makes a vanilla flavoured pastry cream which we haven't seen in other tiramisu recipes.
MANDATORY:
You MUST make your own savoiardi/ladyfinger biscuits and mascarpone cheese with the given recipes.
Sponge cake may be not be used as a substitute. After all, a large part of this challenge is making those biscuits.
RECIPE SOURCE:
Mascarpone Cheese – Vera’s Recipe (Baking Obsession) for Homemade Mascarpone Cheese.
Savoiardi/ Ladyfinger Biscuits – Recipe from Cordon Bleu At Home
Tiramisu – Carminantonio's Tiramisu from The Washington Post, July 11 2007
PREPARATION TIME:
Tiramisu is made up of several components which can be made separately and ahead of time and put together the day before serving.
Making tiramisu from scratch requires about 2 to 3 days (including refrigeration) from when you start making the mascarpone to the time the tiramisu is served. So this challenge requires some prior planning.
The zabaglione & pastry cream also need 4 hours to an overnight for chilling, as does the main dessert. The flavours mature after an overnight rest, and the dessert can be kept refrigerated for 2-3 days.
Once assembled, the tiramisu can be frozen till you need to serve it, in case you are not serving it immediately.
[As usual, my comments are in red. I've always wanted to make tiramisu. This is an extra challenge with making our own Mascarpone and Ladyfingers. Fun times!]
MASCARPONE CHEESE
(Source: Vera’s Recipe for Homemade Mascarpone Cheese)
This recipe makes 12oz/ 340gm of mascarpone cheese
Ingredients:
500 ml whipping (36 %) pasteurized (not ultra-pasteurized), preferably organic cream
1 tablespoon fresh lemon juice
[Only two ingredients and heat, this should be easy peasy. Right?]

Method:
Bring 1 inch of water to a boil in a wide skillet. Reduce the heat to medium-low so the water is barely simmering. Pour the cream into a medium heat-resistant bowl, then place the bowl into the skillet. Heat the cream, stirring often, to 190 F. If you do not have a thermometer, wait until small bubbles keep trying to push up to the surface.
[I used a large pot of water which held more than the specified 1" of water. I figured the more water the faster the heating. The plate on the bottom was meant to act as a buffer between the bottom of the pan and the bottom of the bowl. Easy Peasy!]

It will take about 15 minutes of delicate heating. Add the lemon juice and continue heating the mixture, stirring gently, until the cream curdles. Do not expect the same action as you see during ricotta cheese making. All that the whipping cream will do is become thicker, like a well-done crème anglaise.
[The reality... even with the extra water which retains the heat... the cream took longer than 15 minutes to heat up. Maybe my thermometer needed to be submerged more, but the cream seemed to hold steady at 175. How could this be? The water itself was 195.
I even turned up the heat to increase the water temp and still no budge in the temperature. I rationalized at 55 minutes, the cream has to be at 190F.
I added the lemon juice and stirred. As seen in the picture below, there was definitely thickening.]

It will cover a back of your wooden spoon thickly.
[Here's how I checked the back of the spoon for thickness. My finger left a streak on the back of the spoon. My wooden spoons are so well oiled they shine... lol]

You will see just a few clear whey streaks when you stir. Remove the bowl from the water and let cool for about 20 minutes. Meanwhile, line a sieve with four layers of dampened cheesecloth and set it over a bowl. Transfer the mixture into the lined sieve. Do not squeeze the cheese in the cheesecloth or press on its surface (be patient, it will firm up after refrigeration time). Once cooled completely, cover with plastic wrap and refrigerate (in the sieve) overnight or up to 24 hours.
[The unveiling - stored in the refrigerator overnight over a double layer of coffee filters and covered with plastic wrap.]

[Instead of a soft, spreadable cheese... I ended with a flat firm disk of something akin to cream cheese. However, the flavor was rich and creamy. That's a good thing.]

Keep refrigerated and use within 3 to 4 days.
LADYFINGERS/ SAVOIARDI BISCUITS
(Source: Recipe from Cordon Bleu At Home)
This recipe makes approximately 24 big ladyfingers or 45 small (2 1/2" to 3" long) ladyfingers.
Ingredients:
3 eggs, separated
6 tablespoons /75gms granulated sugar
3/4 cup/95gms cake flour, sifted (or 3/4 cup all purpose flour + 2 tbsp corn starch)
6 tablespoons /50gms confectioner's sugar,
Method:
Preheat your oven to 350 F (175 C) degrees, then lightly brush 2 baking sheets with oil or softened butter and line with parchment paper.
Beat the egg whites using a hand held electric mixer until stiff peaks form.
Gradually add granulate sugar and continue beating until the egg whites become stiff again, glossy and smooth.
[Sugar added to the whipped egg whites and whipped to stiff peaks. Notice the glossy shine of the eggs]

In a small bowl, beat the egg yolks lightly with a fork and fold them into the meringue, using a wooden spoon.

Sift the flour over this mixture and fold gently until just mixed. It is important to fold very gently and not overdo the folding. Otherwise the batter would deflate and lose volume resulting in ladyfingers which are flat and not spongy.
[Sifting in the flour and gently folding into the egg mixture.]

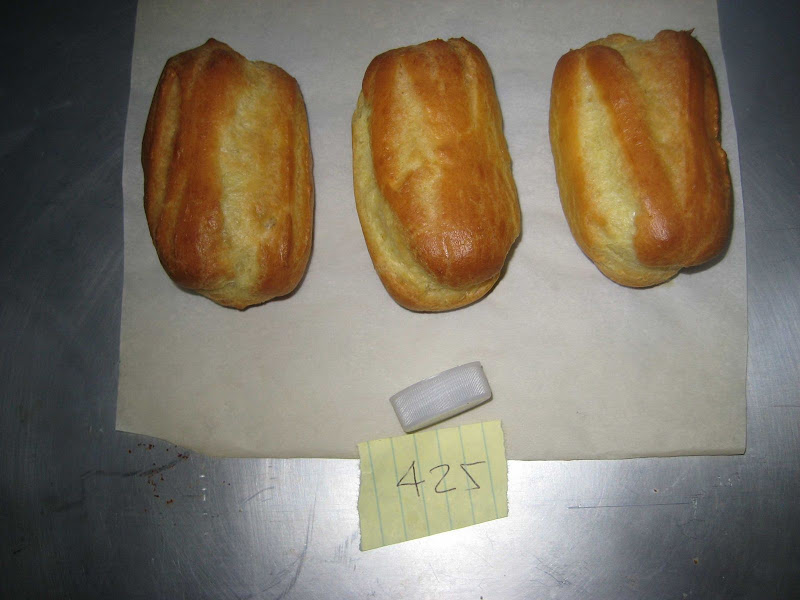
[No photos for the rest of the Savoiardi sequence. Camera battery needed recharging.
I tried to make small Savoiardi, but only ended up with 27 Ladyfingers.]
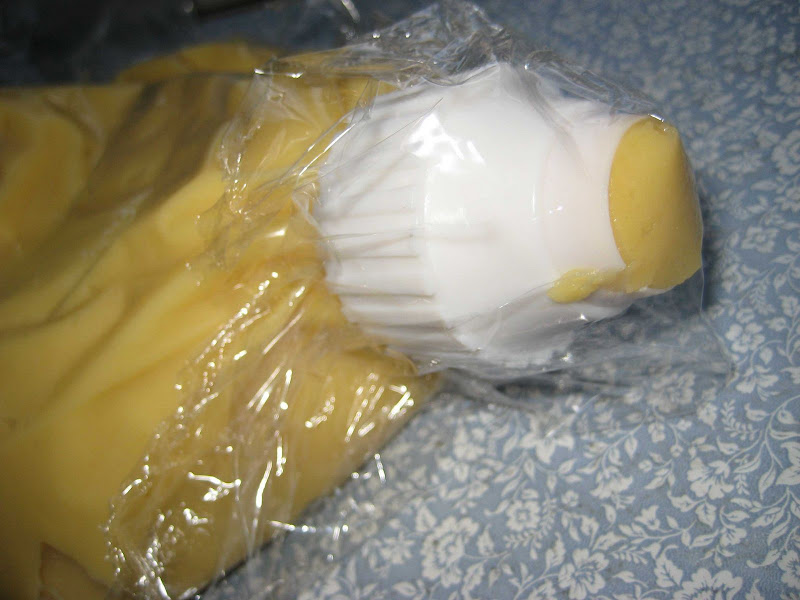
Fit a pastry bag with a plain tip (or just snip the end off; you could also use a Ziploc bag) and fill with the batter. Pipe the batter into 5" long and 3/4" wide strips leaving about 1" space in between the strips.
Sprinkle half the confectioner's sugar over the ladyfingers and wait for 5 minutes. The sugar will pearl or look wet and glisten. Now sprinkle the remaining sugar. This helps to give the ladyfingers their characteristic crispness.
Hold the parchment paper in place with your thumb and lift one side of the baking sheet and gently tap it on the work surface to remove excess sprinkled sugar.
Bake the ladyfingers for 10 minutes, then rotate the sheets and bake for another 5 minutes or so until the puff up, turn lightly golden brown and are still soft.
Allow them to cool slightly on the sheets for about 5 minutes and then remove the ladyfingers from the baking sheet with a metal spatula while still hot, and cool on a rack.
Store them in an airtight container till required. They should keep for 2 to 3 weeks.
TIRAMISU
(Recipe source: Carminantonio's Tiramisu from The Washington Post, July 11 2007 )
This recipe makes 6 servings
Ingredients:
For the zabaglione:
2 large egg yolks
3 tablespoons sugar/50gms
1/4 cup/60ml Marsala wine (or port or coffee)
1/4 teaspoon/ 1.25ml vanilla extract
1/2 teaspoon finely grated lemon zest
[Making the zabaglione... Marsala, sugar, lemon zest, egg yolks and vanilla.]

For the zabaglione:
Heat water in a double boiler. If you don’t have a double boiler, place a pot with about an inch of water in it on the stove. Place a heat-proof bowl in the pot making sure the bottom does not touch the water.
In a large mixing bowl (or stainless steel mixing bowl), mix together the egg yolks, sugar, the Marsala (or espresso/coffee), vanilla extract and lemon zest. Whisk together until the yolks are fully blended and the mixture looks smooth.
[The raw mixture in the double boiler.]

Transfer the mixture to the top of a double boiler or place your bowl over the pan/ pot with simmering water. Cook the egg mixture over low heat, stirring constantly, for about 8 minutes or until it resembles thick custard. It may bubble a bit as it reaches that consistency.
[The cooked, thickened, egg mixture.]

Let cool to room temperature and transfer the zabaglione to a bowl. Cover and refrigerate at least 4 hours or overnight, until thoroughly chilled.
For the vanilla pastry cream:
1/4 cup/55gms sugar
1 tablespoon/8gms all purpose flour
1/2 teaspoon finely grated lemon zest
1/2 teaspoon/ 2.5ml vanilla extract
1 large egg yolk
3/4 cup/175ml whole milk
For the pastry cream:
Mix together the sugar, flour, lemon zest and vanilla extract in a medium heavy-bottomed saucepan.

To this add the egg yolk and half the milk. Whisk until smooth.
[The sugar-flour mixture mixed with the egg yolks. I was concerned the flour would create lumps when mixed with the liquid. I took a page out of making roux - mix the fat with the flours.]

Now place the saucepan over low heat and cook, stirring constantly to prevent the mixture from curdling.
Add the remaining milk a little at a time, still stirring constantly. After about 12 minutes the mixture will be thick, free of lumps and beginning to bubble. (If you have a few lumps, don’t worry. You can push the cream through a fine-mesh strainer.)
Transfer the pastry cream to a bowl and cool to room temperature.
[The final bit of cream added to the cooking mixture.]

[The finished pastry cream... the thing about flour thickened sauces, the mixture will continue to thicken when cooled. I cooked the mixture until the whisk left streaks at the bottom of the pan.]

Cover with plastic film and refrigerate at least 4 hours or overnight, until thoroughly chilled.
For the whipped cream:
1 cup/235ml chilled heavy cream (we used 25%)
1/4 cup/55gms sugar
1/2 teaspoon/ 2.5ml vanilla extract
For the whipped cream:
Combine the cream, sugar and vanilla extract in a mixing bowl. Beat with an electric hand mixer or immersion blender until the mixture holds stiff peaks. Set aside
To assemble the tiramisu:
2 cups/470ml brewed espresso, warmed
1 teaspoon/5ml rum extract (optional)
1/2 cup/110gms sugar
1/3 cup/75gms mascarpone cheese
36 savoiardi/ ladyfinger biscuits (you may use less)
2 tablespoons/30gms unsweetened cocoa powder
To assemble the tiramisu:
Have ready a rectangular serving dish (about 8" by 8" should do) or one of your choice.
[Layered the bottom of the 8 x 8 with plastic wrap. My objective is to flip over the tiramisu for presentation.]

In a large bowl, beat the mascarpone cheese with a spoon to break down the lumps and make it smooth. This will make it easier to fold. Add the prepared and chilled zabaglione and pastry cream, blending until just combined. Gently fold in the whipped cream. Set this cream mixture aside.
[The cream cheese style mascarpone cheese.]

[To lighten the mascarpone, I forced it through a sieve.]

[The mascarpone over the zabaglione-pastry cream mixture.]

[The mixture ready for lightening into the whipped cream.]

[Mixing all the stuff together.]

Mix together the warm espresso, rum extract and sugar in a shallow dish, whisking to mix well. Set aside to cool.
[Used instant expresso, sugar and real rum. No rum extract for me... Pull out the good stuff! A little for the tiramisu and a little for me!]

Now to start assembling the tiramisu.
Workings quickly, dip 12 of the ladyfingers in the sweetened espresso, about 1 second per side. They should be moist but not soggy.
[The homemade Savoiardi ready for the coffee mixture.]

Immediately transfer each ladyfinger to the platter, placing them side by side in a single row. You may break a lady finger into two, if necessary, to ensure the base of your dish is completely covered.
[The first layer down and ready for the filling.]

Spoon one-third of the cream mixture on top of the ladyfingers, then use a rubber spatula or spreading knife to cover the top evenly, all the way to the edges.
Repeat to create 2 more layers, using 12 ladyfingers and the cream mixture for each layer.
[As I finished the tiramisu... I realized I was going to be short some ladyfingers (too much sampling???) I had to push the edge together with a couple slices of Italian bread. (See the upper left of the picture.] The bread filled the voids between layers so the cream filling would not ooze out.

Clean any spilled cream mixture; cover carefully with plastic wrap and refrigerate the tiramisu overnight.
To serve, carefully remove the plastic wrap and sprinkle the tiramisu with cocoa powder using a fine-mesh strainer or decorate as you please. Cut into individual portions and serve.
The Unveiling:
[Refrigerated overnight, flipped over onto a serving platter.]

[A coating of cocoa powder gives the top a nice uniform look. :-) ]

The finished dessert...
The Tiramisu was delicious. Not overly sweet and not too boozy from the rum.
The lemon was slight. It tasted stronger in the pastry cream. Overall the dessert turned out nice and was described as refreshing.

Thank you Aparna and Deeba for hosting this month's delicious challenge.