Showing posts with label flour. Show all posts

Saturday, September 20, 2008

Sep 20: Fried Chicken

My earliest memories of eating fried chicken was in SF's Chinatown at a luncheon somewhere. The chicken had a flavorful, juicy, crispy batter crust. The chicken seemed to be infused with a nice flavor of garlic and ginger.

Also, the local chicken place was not a KFC, but a Pioneer Chicken.
I remember Pioneer Chicken had a battered crust and a lot of flavor.
Their logo looked like an Italian Chef wearing chef whites and chefs hat riding in a chuck wagon. The color scheme of the restaurant was orange. Orange?!?!
Yes, in the 70's orange was an in-color. lol!

This website popped up with Pioneer memorabilia. They all must have looked the same for I could swear that's how the neighborhood Pioneer chicken looked with the brickwork and the sloping windows.

My first bite into KFC was in high school. Back then KFC was still known as Kentucky Fried Chicken until Fried became a bad word. I thought the colonel's chicken was kind of bland, except for salt, and soggy.

Moving away to college and with the closing of Pioneer Chicken, that's when I went on my quest to perfect my fried chicken recipe.

For me, the key to fried chicken is obtaining a thick crispy crust. Making flavorful chicken is actually the easy part. It's the crust that has been more elusive. I've tried batters, different types of coatings and flour. For the most part, the flavor was their, but the crust just wasn't their for me.

In college, my roommates were the Guinea pigs. I've had roommates wake up in the middle of the night to eat the last pieces of chicken. lol... funny stuff.

After college, my fried chicken quest kind went to the wayside. I lost recipes from numerous moves, frying makes a mess, takes a lot of time to fry and people eating healthy.

A few years ago, I was watching Paula Deen on The Food Network. She was making fried chicken using self-rising flour. I gave it a try and the crust turned out really nice. Crunchy and has some thickness to it... so self-rising flour has been my go to coating when I make fried chicken.

Today, I make fried chicken. The basis is Paula Deen's Recipe: Southern Fried Chicken.

Fried Chicken
2 eggs
1/4 to 1/2 C Hot Sauce
2T Water
1/2 Chicken - half breast, thigh, drumstick and wing.
salt
pepper
garlic powder
1 C flour
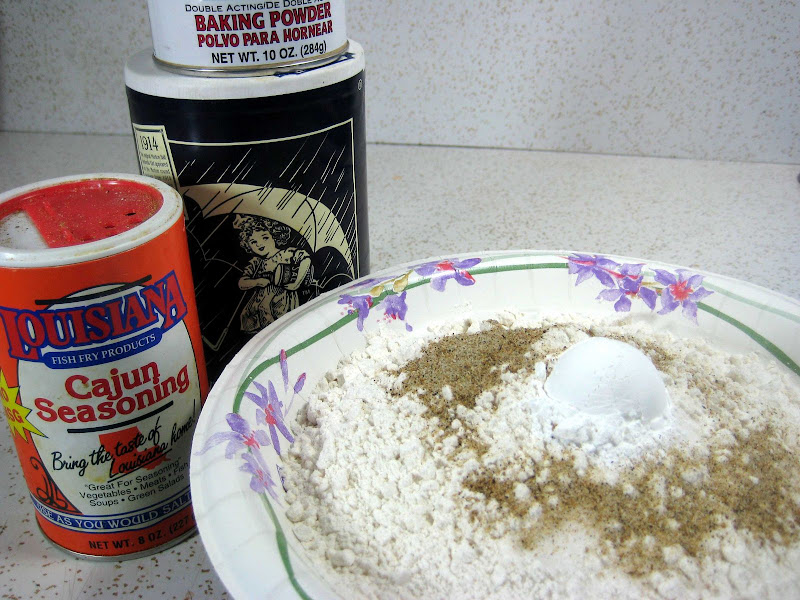
1 1/2 t Baking Powder
1/2 t Salt
1 t Cajun Seasoning
Oil for frying (I had soybean oil)

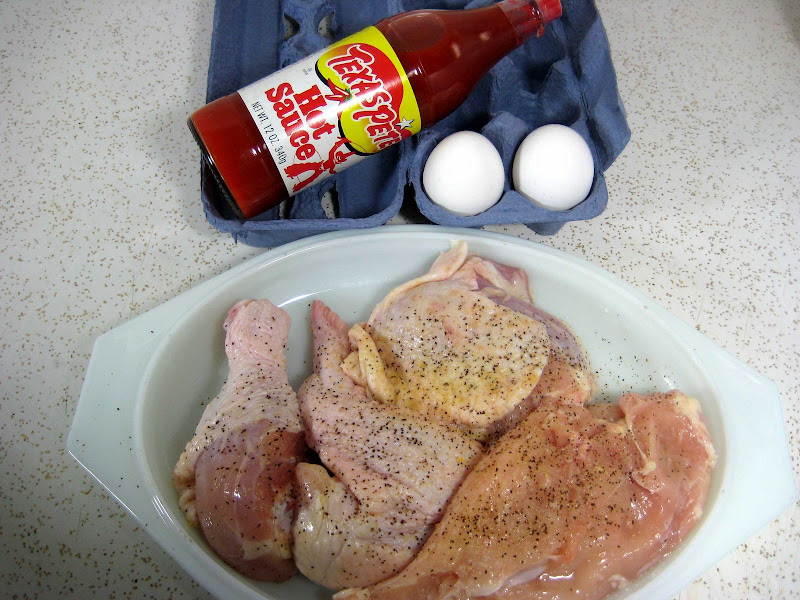
Hot sauce, eggs and chicken.


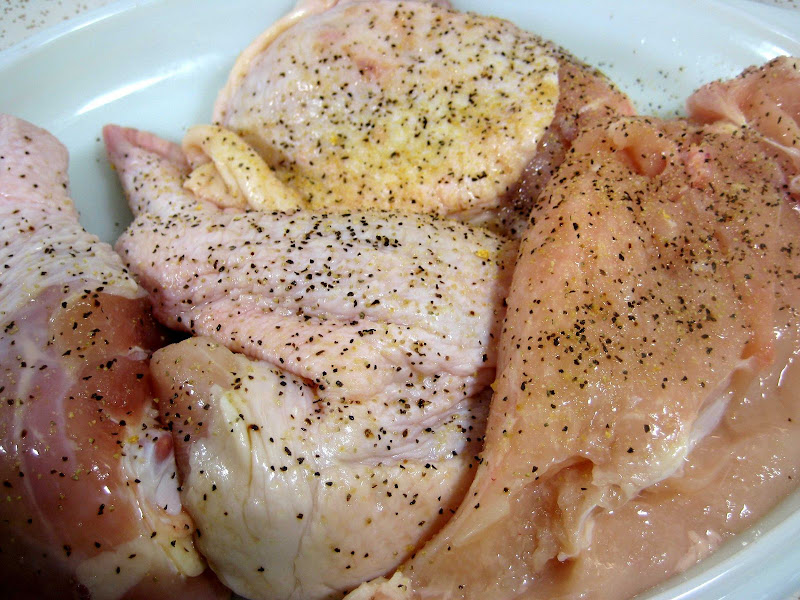
Season chicken with salt, pepper and garlic powder. I didn't measure the amount. Season to your liking.

Beat the egg with 2 T of water and add the hot sauce. I added about 1/4 of hot sauce or until the mixture looks orange.
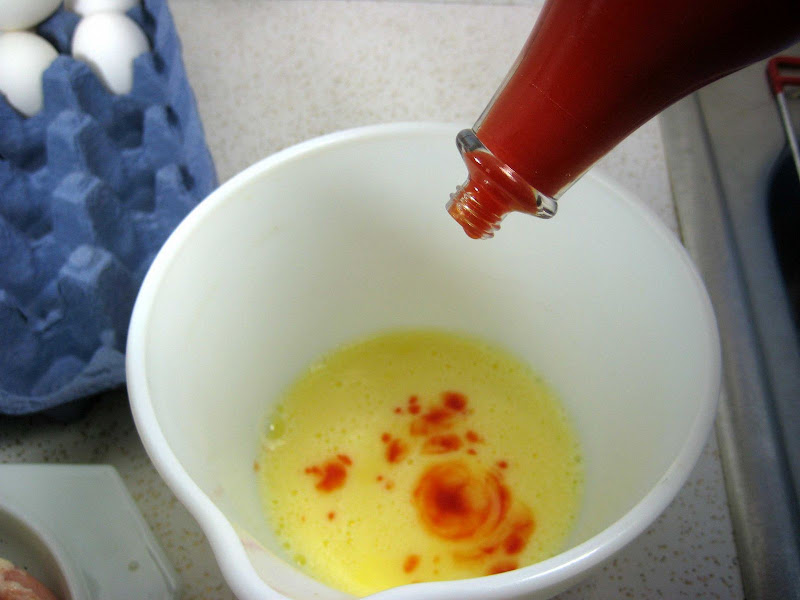

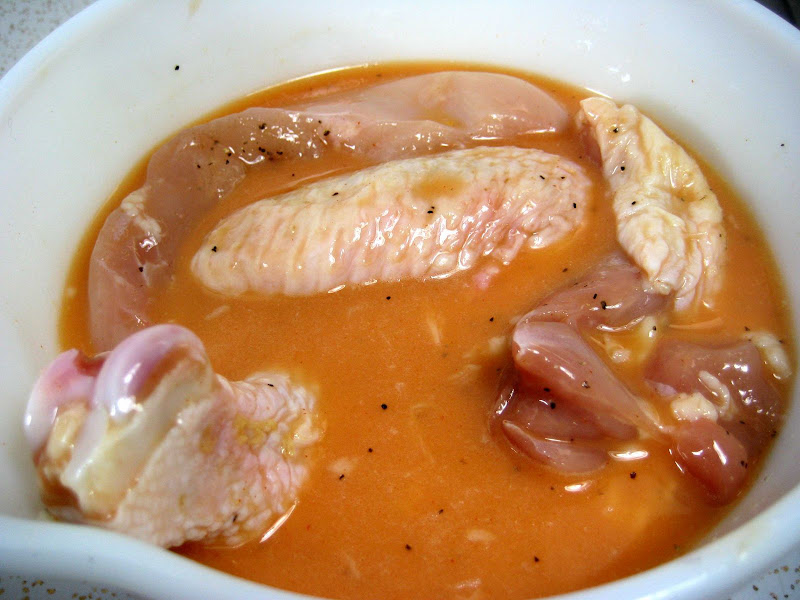
Add the chicken pieces to the egg mixture and let marinade.

Making self-rising flour is very easy. What makes self-rising flour self-rising is the addition of baking powder and a little salt. I added Cajun seasoning to add flavor to the flour.
Dump into a Ziploc and mix.

Heat a skillet or a pot with oil... 350F.
When the oil is about to reach temperature, add the chicken to the flour and coat thoroughly, as shown below.
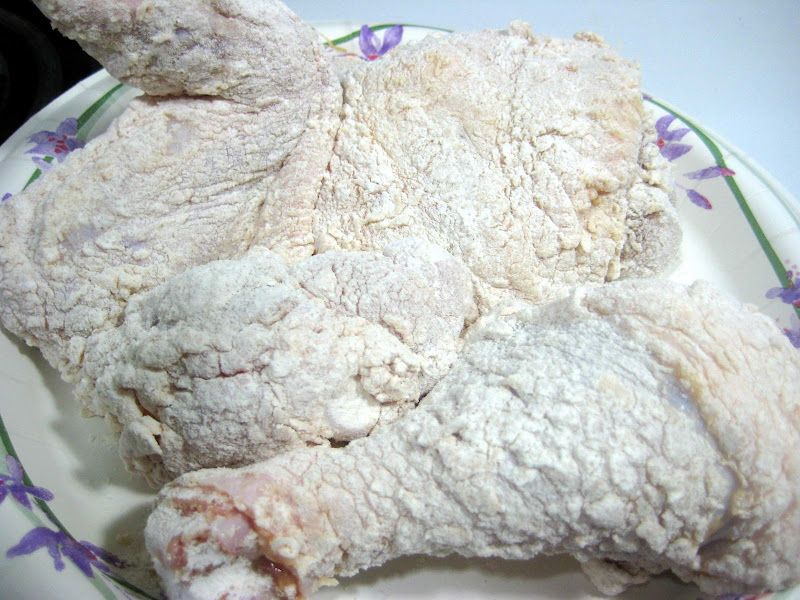

Carefully place the chicken into the oil. I increased the burner to medium-high.
Cook 10 minutes before flipping.
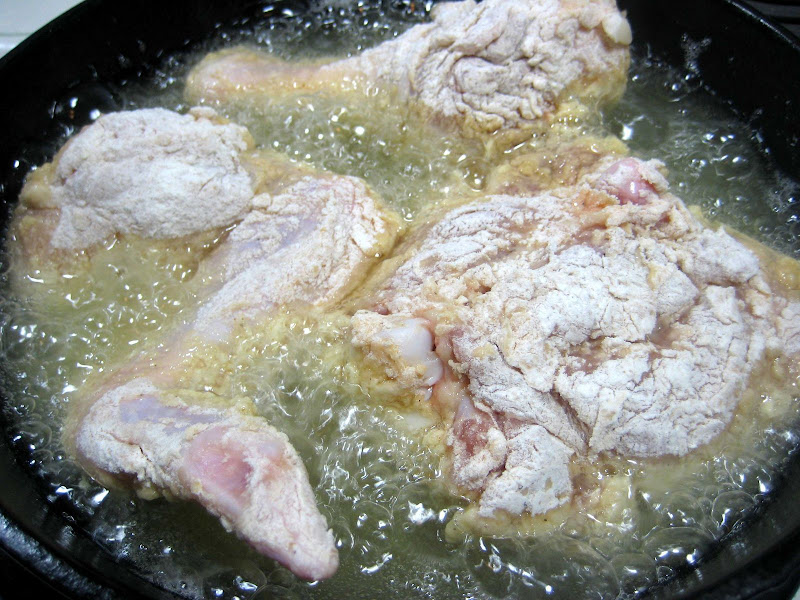


The pieces are flipped and allowed to cook another 15 to 20 minutes.
Turn occasionally to ensure even cooking.
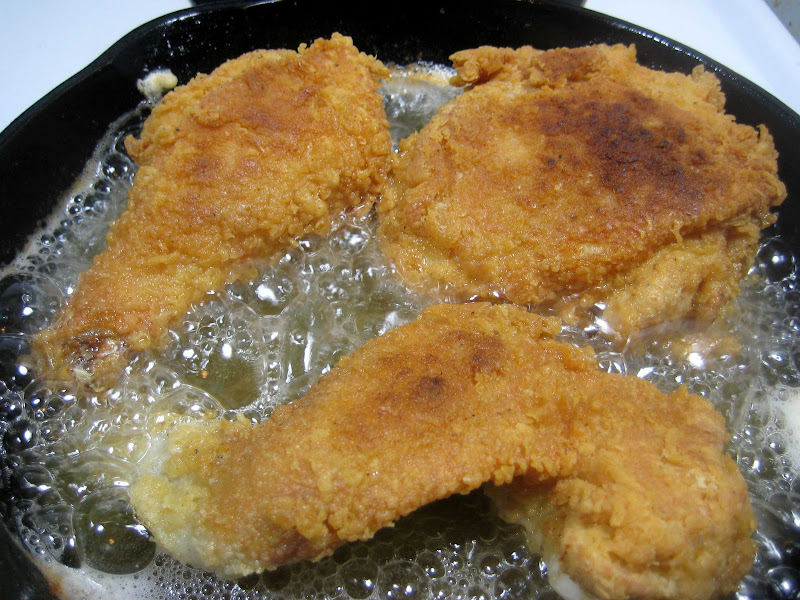

Total cooking time for these pieces was about 20 to 25 minutes.

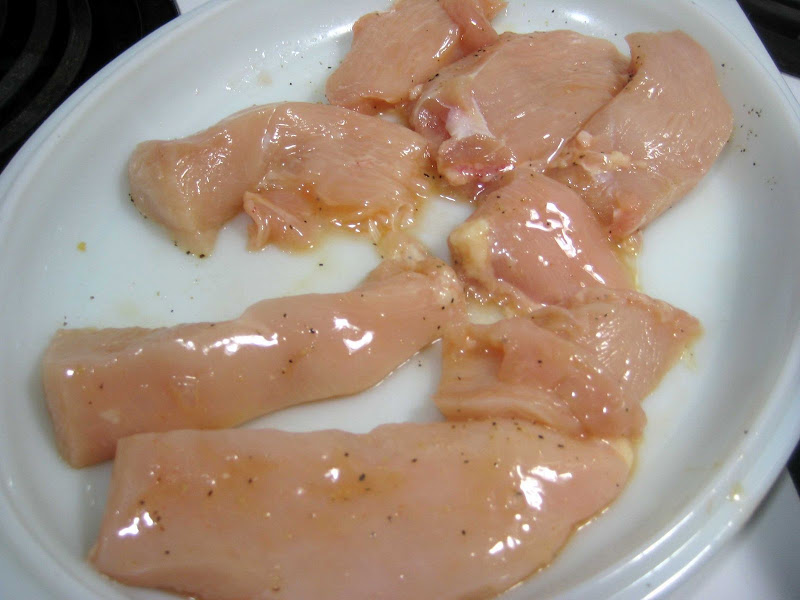
While the chicken was cooking, the breast was sliced into "fingers"/"nuggets" and placed back in the egg mixture to marinade.

Pieces dredged and coated.
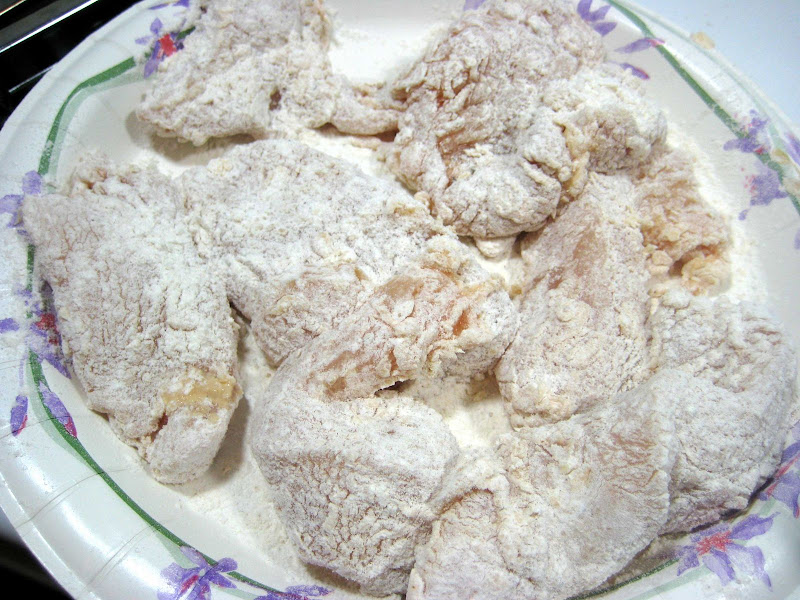

Fry about 3 or 4 minutes before flipping.
After flipping fry another 3 or 4 minutes.


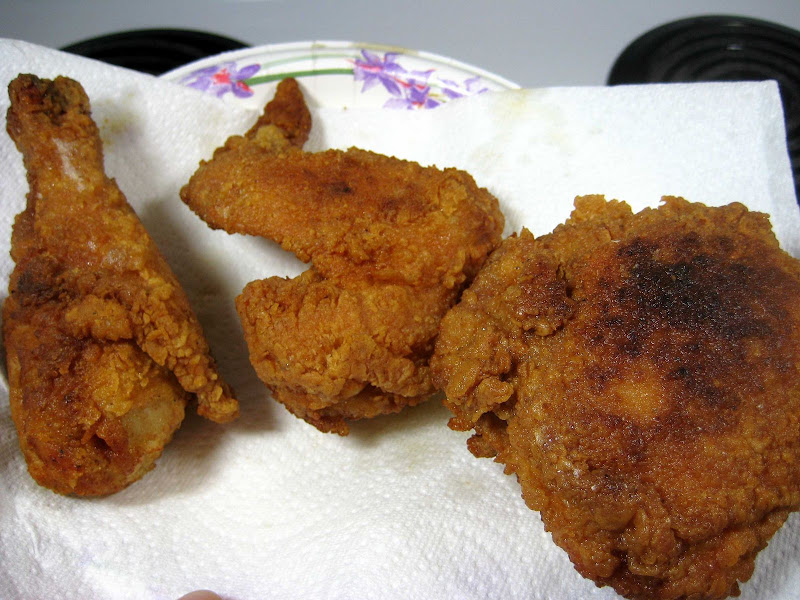
The finished chicken! Total cooking time was about 45 minutes.
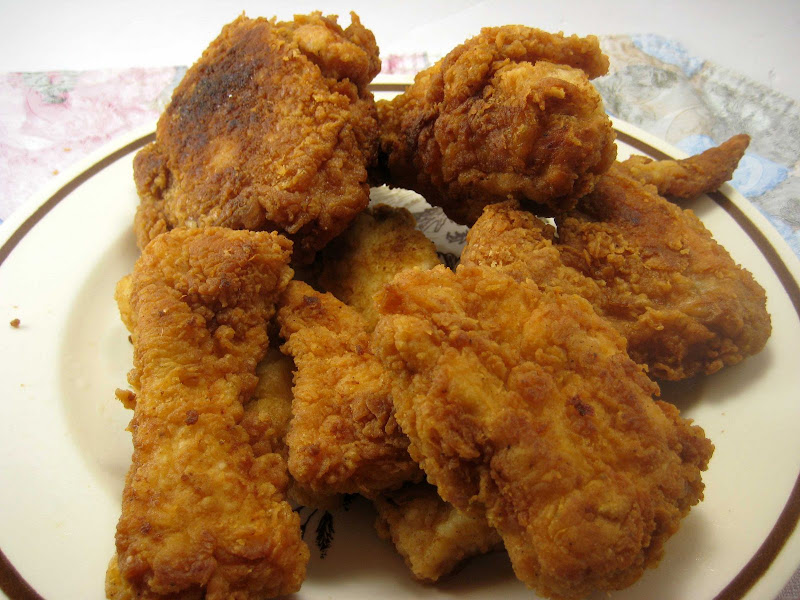

For me the thigh piece is the best part of fried chicken. Stays moist and has a lot of flavor.
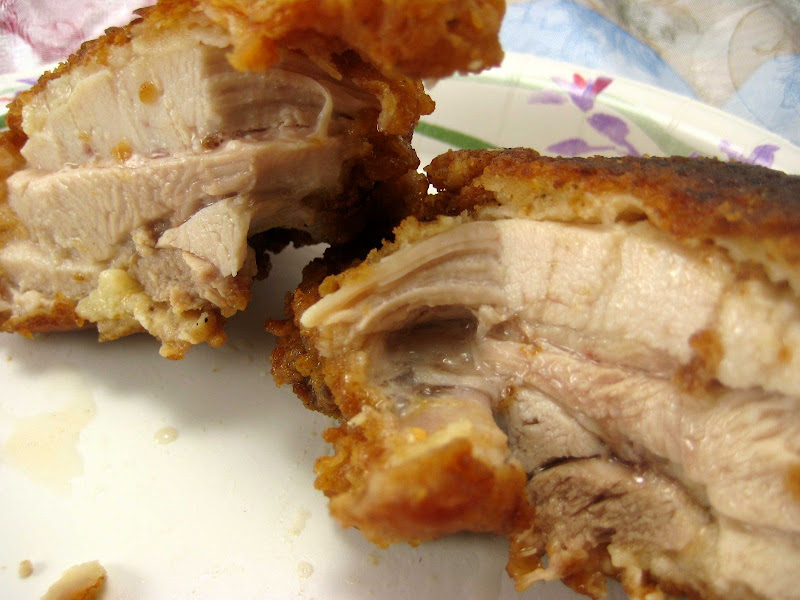

Overall, the chicken turned out nicely. Very nice, thick, crunchy coating.
A very nice flavor. The vinegary hot sauce adds a very faint tang and the Cajun season, plus the garlic powder, adds extra flavor.

I do usually add extra herbs and spices... my secret blend... but I wanted to keep the chicken very simple.

Tuesday, September 2, 2008

Sep 02: Eclair Follow-Up (The Experiment)

This is a follow-up/continuation of the Daring Bakers Challenge - Chocolate Eclairs which I posted Sept 31st.

I was initially disappointed with the results of the eclairs. The choux did not puff the way I imagined and some deflated into ladyfingers... and this (I thought) was supposed to be the "easy" part of the challenge.

Seeking advice in the Daring Bakers Forum, the advice centered around baking times. The reason for the deflating eclairs is undercooking. Another factor that I wasn't sure of was the consistency of the choux before piping. The recipe called for "ribbons". Julia Childs recipe shows a stiffer scoopable choux while Alton Brown's choux was in-between - soft but no ribbons.

The flat eclairs bugged me so much that I decided to make the choux recipe one more time, but this time I'll experiment with baking times. I also tried another consistency of the dough and another piping tip.

The Dough
The basic recipe was the same as the challenge... the only difference was the amount of egg added to form the final choux dough.

Try #1 - followed the recipe to the letter. The final dough was smooth and free flowing, but viscous like honey or molasses.


Try #2 - I looked through a Julia Childs cookbook and the picture of the finished choux was firm and scoopable. I beat the eggs this time instead of adding whole unbeaten eggs. This dough is scoopable. I added about 4 eggs instead of 5.


Try #3 (about 2 1/2 weeks after tries #1 and #2) - I caught Alton Brown's show on choux pastry. His recommendation was the dough should form a "V" when lifted by the spoon and it should tear. Again, I added beaten the eggs... added about 4.5 eggs. The texture was sticky... like getting stuck in the mud. Note the jagged edges where the dough did tear.


The Tip
The recipe called for a 2cm tip (which is about 0.75 inches).

Try #1 - used a ziploc with a corner cut out. Note eclairs are flat to start out with and not really round.


Try #2 - I noticed the end of my water bottle had a 0.75" diameter opening so I used that as a tip in the ziploc. :-) A little dough did slip pass the end of the bag.


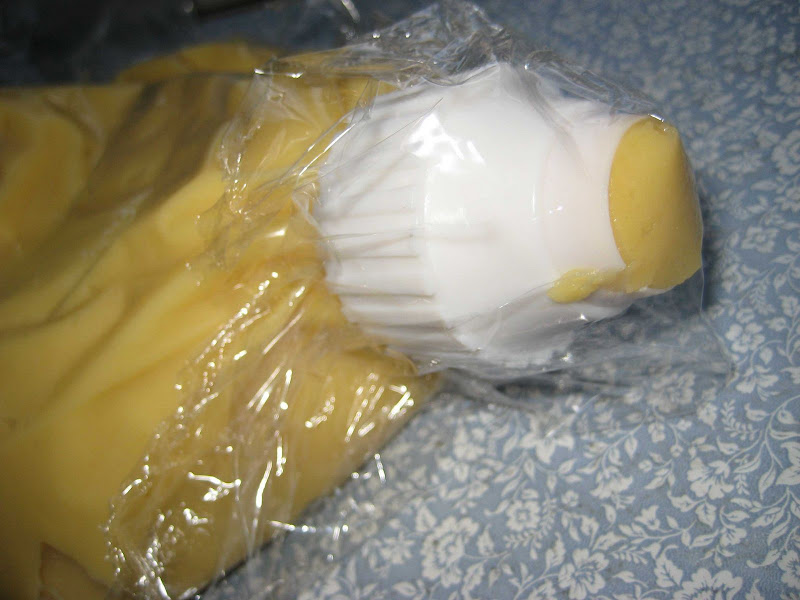
For Try #3 - I caved in and purchased a large piping coupler. I was actually looking in a craft store and there it was. Tip diameter is 0.75 inches. The coupler is two parts that screws together so there should be no problems with leakage.


The Baking Experiment
I decided on 6 baking times and temperatures
1. PH Method (Basic recipe) - 375F, with spoon, without spoon... 20 minutes total.
2. PH Method, no spoon - 375F no door propping, but rotated... 20 minutes total
3. PH Method With Water - Same as one except added a pan of water in the oven... 20 minutes total
4. CIA Method - 325F for 30 minutes (rotate at 15)
5. Alton Brown Method - 425F for 10 mins, rotate, 350F another 10 minutes... 20 minutes total
6. PH Method (Basic recipe) again to see if anything changed.

PH = Pierre Herme
CIA = Culinary Institute of America

Example: Experiment 3 - Water
A pan of water is placed in the oven while the oven is preheating. The water increases the humidity in the oven which is supposed to help the choux rise.

Note: I only baked 3 at a time.
From left to right:
W01 - as piped
W02 - scored with a fork (the lines are supposed to help the choux puff up like an accordion)
W03 - scored with a sharp paring knife (to see if a sharp cut into the dough would work better than the tines of a fork)


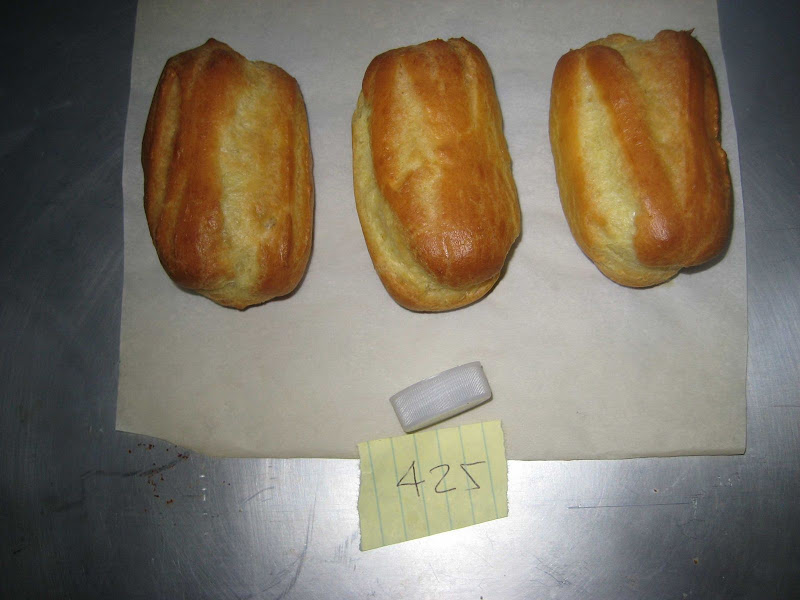
The finished results - The water bottle cap gives scale. The inner ring (dark) is 0.75 inches.
Definite puffing in this shot. Taken out of the oven. No deflating.


A top view - an increase in width too! All these sizes are about the same, but the knife slits seemed to puff the best.


These puffed the most and were baked at 425F. Makes sense. More heat gives more steam.


Comparison of all the results for Try #3.
All methods puffed really well and there was no deflating.
The water pan seemed to help with size, but the choux baked at 425F seemed to puff the most.
Using a knife to make shallow grooves seemed to help. However, using a knife to make grooves should be done on the sides so the top is thicker and uniform looking.


Try #3 - The finished eclairs. Made the chocolate pastry cream filling, but he topping this time is a ganache (because it was easier).


Conclusion - All baking methods seemed to produce good results. General rule of thumb... The hotter the oven the better.

However, I'm starting to believed dough consistency contributes a lot more to the final product size. For example, the ribbony choux produced flat eclairs (too much liquid?) while try #2 was better but still had some deflation (too little water?) and try #3 was the best. A lot of puffing and no deflation.